


How to Easily Change Bath Taps In Just 4 Simple Steps
Overview:
- Introduction
- Tools and Materials You'll Need
- Preparation: Isolating Water Supply
- Step 1: Removing the Old Tap
- Step 2: Fitting Your New Tap and Connections
- Step 3: Ensuring a Watertight Seal
- Step 4: Checking for Leaks
- Common Problems When Changing Bath Taps
- Conclusion
Introduction:
In this comprehensive guide, we will walk you through the process of How to Easily Change Bath Taps, addressing common problems you might encounter along the way.
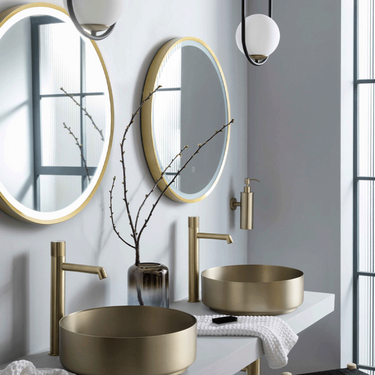
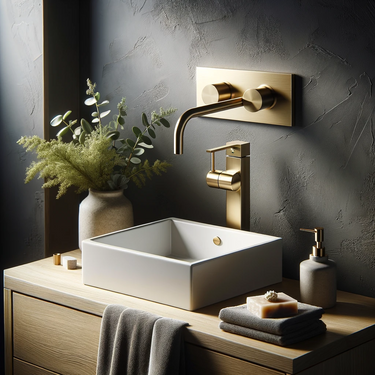
Whether you're looking to upgrade the style of your bathroom or your old taps have seen better days, our step-by-step instructions will help you complete this DIY project with confidence.
Before we dive into the step-by-step guide on changing bath taps, let's address some common questions that homeowners often have when considering this DIY project
Is it easy to change bath taps? Changing bath taps is a manageable DIY task, and with the right tools and instructions, you can do it yourself.
Can you change bathroom taps without a plumber? Yes, you can change bathroom taps without hiring a professional plumber. This guide will help you through the process.
How long does it take to change bath taps? The time required to change bath taps can vary depending on your level of experience and the complexity of the installation. On average, it can take a few hours to complete the task.
How to easily change bath taps
Tools and Materials You'll Need
Before you begin, make sure you have the following tools and materials on hand:
- Adjustable wrench
- Tube spanner
- Basin wrench
- Old towel
- Tube cutter (if necessary)
- New taps and connectors
- Penetrating oil
- Steel wool or wire brush
- Teflon tape (for sealing)
Preparation: Isolating Water Supply
Before you start the tap replacement process, you'll need to isolate the water supply. This ensures a safe working environment and prevents water damage. Here's how:
-
Locate the isolation valve: Most bathrooms have isolation valves near the taps. If you can find one, use it to shut off the water supply. If not, you may need to turn off the mains water supply.
-
Drain the remaining water: Turn on the old tap slightly to allow any remaining water to drain out. This will make the removal process easier and safer.
Step 1: Removing the Old Tap

Disconnect the tap: Use an adjustable wrench to disconnect the tap connectors from the supply pipes. If your tap has corroded or grime-covered connectors, clean them using steel wool or a wire brush. Apply penetrating oil to the back-nuts and tail threads, letting it sit for a couple of hours.
Prevent the tap from turning: To remove the old tap, prevent it from turning as you loosen the back-nuts. A piece of wood against the nearest wall can help keep it steady. Remember that the tap will turn in the same direction as the nuts, clockwise when viewed from above.
Remove the tap: Once the connectors are disconnected, and the nuts are loosened, lift the old tap out. Clean the area where the tap was seated for a clean installation.
Step 2: Fitting Your New Tap and Connections
-
Preparing the new tap: Start by fitting the threaded post supplied by the manufacturer onto the new tap. Then, connect the new flexible connectors to the tap.
-
Securing the tap: Secure the new tap to your basin. Refer to the supplied fixings as they may vary by manufacturer. Have someone assist you in keeping the tap straight while tightening the nuts underneath.
Step 3: Ensuring a Watertight Seal
-
Connecting to water supply: Attach the flexible connectors to the copper pipes of your water supply. Ensure there's a compression fitting between the two pipes to regulate pressure.
-
Double-check connections: Verify that all connections are tightened securely to prevent leaks.
Step 4: Checking for Leaks
Once everything is connected and tightened, it's time to test your new tap. Turn on the water supply and check for any leaks. Ensure the tap is in the open position when you do this to prevent damage from air rushing through the system.

Common Problems When Changing Bath Taps
-
Rust and Corrosion: Old taps can become corroded, making them difficult to disassemble.
Solution: Use a penetrating oil or rust dissolver to break down corrosion. You may also need to use more force with your wrenches to loosen the nuts. -
Mismatched Fixtures: Sometimes, the new tap may not perfectly match the existing holes or fixtures in your bathroom.
Solution: Measure and ensure the new tap's dimensions match the old one before purchasing. Consider using a cover plate or decorative escutcheon to hide any gaps or imperfections. -
Tap Won't Stop Dripping: After replacing the tap, you notice that it continues to drip.
Solution: Check the rubber washers or O-rings inside the tap for damage or wear. Replace them if necessary. If the issue persists, consult a plumber to inspect the valve seat for any damage. -
Water Supply Line Issues: If the supply lines are old or damaged, they may not connect properly to the new tap.
Solution: Replace old supply lines with new flexible connectors that are compatible with the new tap. Ensure they are the correct size and type for a secure connection. -
Stripped Threads: Accidentally stripping the threads on the tap or fittings can be a frustrating problem.
Solution: Be cautious when tightening connections and avoid overtightening, as this can damage the threads. If threads are already stripped, you may need to replace the affected part. -
Water Pressure Problems: After installing the new tap, you notice a decrease in water pressure.
Solution: Check for debris or sediment in the tap aerator or inside the tap itself. Clean or replace the aerator, and flush out any debris from the tap. If the problem persists, consult a plumber to inspect the water supply system. -
Mismatched Hole Sizes: The holes in your basin or bath might be larger or smaller than the new tap's fittings.
Solution: If the holes are too large, you can use a decorative base plate to cover the gap. For smaller holes, consult a professional plumber to assess whether the basin or bath needs modification or replacement. -
Damaged Valves: The valves in the new tap may become damaged during installation or over time.
Solution: Replace the damaged valves with new ones from the manufacturer. Ensure they are installed correctly and are the appropriate size for the tap. -
Water Temperature Issues: The water temperature from the new tap is inconsistent or doesn't match your desired setting.
Solution: Adjust the temperature settings on the tap according to the manufacturer's instructions. If the problem persists, consult a professional plumber to check for issues with the water heater or mixing valve. -
Plumbing Leaks: Even after careful installation, you may encounter leaks in the water supply lines or around the tap.
Solution: Tighten any loose connections, and check for damaged washers or O-rings. Replace any damaged components, and use thread seal tape or pipe joint compound for secure connections. -
Tap Finish Discoloration: Over time, the tap's finish may become discolored or tarnished.
Solution: Regularly clean and maintain the tap finish according to the manufacturer's recommendations. Use gentle cleaning agents and avoid abrasive materials.
Conclusion
Congratulations! You've successfully replaced your bathroom tap, giving your bathroom a fresh, updated look. If you ever feel unsure about the process, don't hesitate to consult a professional plumber. Now, you can enjoy your newly upgraded bathroom with confidence.
This article provides a detailed guide on how to easily change bath taps, ensuring your DIY project goes smoothly and results in a beautiful bathroom upgrade.
Share Your Experience
We invite readers to share their experiences and tips. Whether it's about how to change a bath tap or how to fit basin taps, your stories can inspire and help others.
Discover more at Gold Bathroom UK !