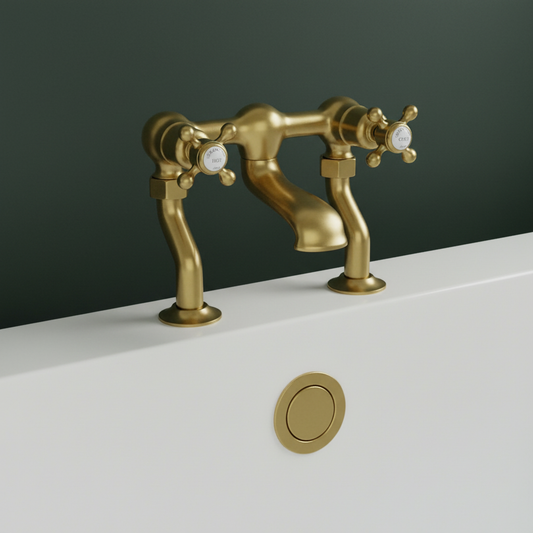
Fitting Bathroom Mixer Taps with Shower Attachment
Table Of Contents:
-
Introduction
→ -
Monobloc Bath Taps Collection
→ -
Benefits of Mixer Taps with Shower Attachments
→ -
Step-by-Step Installation Guide
→ -
Maintenance and Care
→ -
Conclusion
→
Introduction:
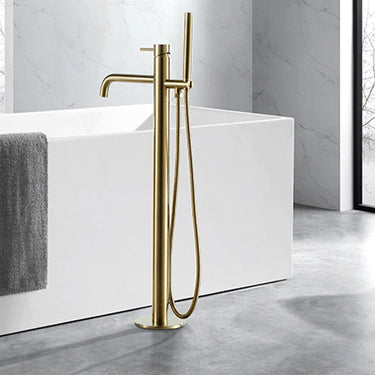
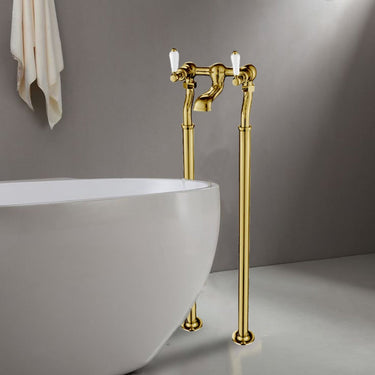
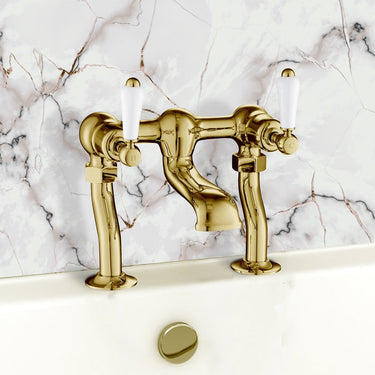
Upgrading your bathroom with a mixer tap that includes a shower attachment not only adds a touch of modern elegance but also introduces versatile functionality into your daily routine.
At Gold Bathroom UK, we understand the value of sophistication coupled with practicality. This detailed guide is designed to assist you in fitting a bathroom mixer tap with a shower attachment, ensuring a seamless installation process that enhances both the aesthetics and utility of your bathroom.
Benefits of Mixer Taps with Shower Attachments:
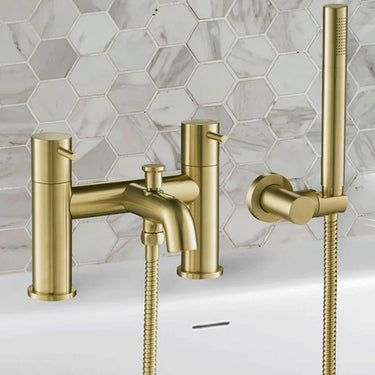
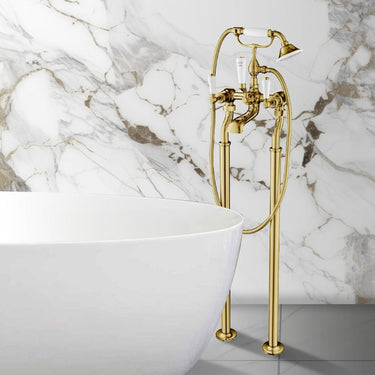
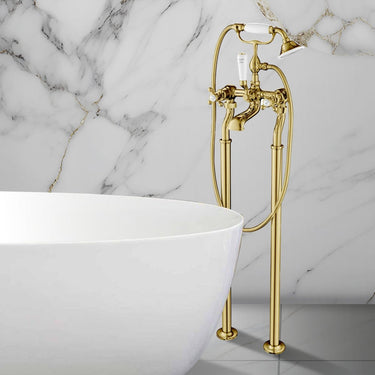
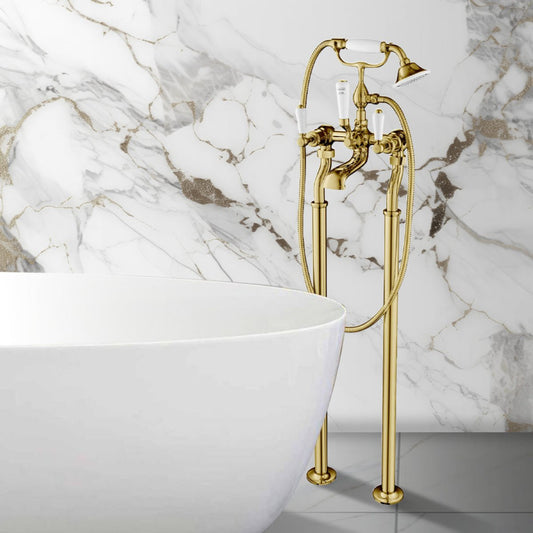
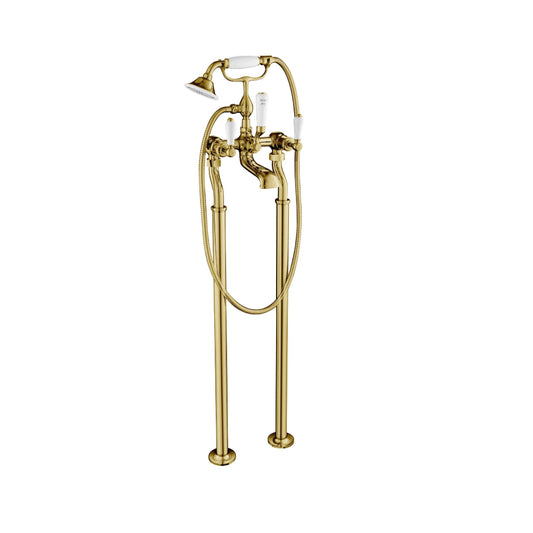
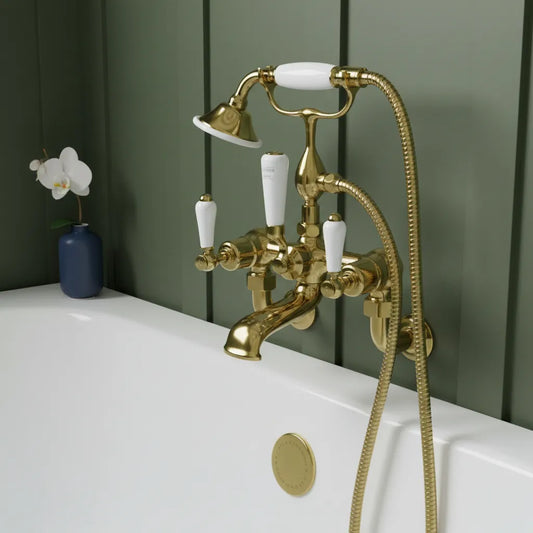
Mixer taps with shower attachments offer the perfect blend of convenience and style. They allow for easy temperature control and provide the flexibility of a shower head, making them ideal for baths without a separate shower, assisting in tasks like hair washing or cleaning the bath.
Tools and Materials Needed:
-
Bathroom mixer tap with shower attachment
-
Adjustable wrenches
-
Plumber's tape
-
Pipe cutter (if adjustment of pipes is needed)
-
Silicone sealant
-
Screws and wall plugs (for securing the shower attachment)

Step-by-Step Installation Guide:
Preparation:
-
-
Begin by turning off your water supply to prevent any leaks during installation.
-
Clear the area under the sink to provide ample workspace.
-
Remove the Existing Tap (if applicable):
-
-
Disconnect the water supply lines using an adjustable wrench.
-
Unscrew the mounting nuts that secure the tap to the basin.
-
Carefully lift the old tap away from the basin.
-
Install the New Mixer Tap:
-
-
Place the new mixer tap into the hole(s) in the basin. Ensure any washers or gaskets provided are placed correctly to prevent leaks.
-
From underneath, screw on the mounting nuts to secure the tap. Do not overtighten, as this may damage the basin.
-
Wrap plumber's tape around the threads of the water supply pipes for a watertight seal and connect them to the mixer tap.
-
Fitting the Shower Attachment:
-
-
Determine the best position for the shower attachment. It should be easily reachable from the bath and securely mounted to the wall.
-
Drill holes for the mounting bracket, using wall plugs if necessary for added stability.
-
Attach the shower hose to the mixer tap, ensuring a snug fit. Use plumber's tape if recommended by the manufacturer.
-
Testing and Final Touches:
-
-
Turn on the water supply and check all connections for leaks.
-
Test the mixer tap and shower attachment to ensure proper operation.
-
Apply silicone sealant around the base of the tap where it meets the basin for an additional leak-proof barrier.
-
Maintenance and Care:
To ensure the longevity and continued performance of your bathroom mixer tap with shower attachment:
-
Regularly clean the tap and shower head with a mild cleaner to prevent limescale buildup.
-
Check the hose periodically for any signs of wear or damage and replace it as necessary.
explore our mixer taps with shower attachment collection here
Conclusion:
Fitting a bathroom mixer tap with a shower attachment can significantly upgrade the functionality and look of your bathroom. By following these detailed steps, you can achieve a professional-quality installation, enhancing your daily bathroom experience. Gold Bathroom UK offers a wide range of stylish and practical mixer taps with shower attachments, perfect for any bathroom renovation or update.
Your Experience:
Have you recently installed a bathroom mixer tap with a shower attachment in your home? We’d love to hear about your process and any tips you might have for fellow DIY enthusiasts. Share your stories in the comments below!


