How to Knock a Tap Hole in a Ceramic Sink: A Step-by-Step Guide
Table of Contents:
-
Introduction
→ -
Countertop Basins Collection
→ -
Understanding Ceramic Sinks
→ -
Tools and Materials Needed
→ -
Marking the Tap Hole Location
→ -
Drilling the Pilot Hole
→ -
Enlarging the Hole
→ -
Finishing the Tap Hole
→ -
Safety Precautions and Tips
→ -
Conclusion
→
Introduction
Installing a tap in a ceramic sink is a task that requires precision and care. Whether you're fitting a new sink or modifying an existing one, knowing how to properly knock a tap hole is essential.
This blog provides a comprehensive guide on how to safely and effectively create a tap hole in a ceramic sink. By following these steps, you can ensure a clean, professional finish without damaging your sink.
Understanding Ceramic Sinks
Ceramic sinks are popular due to their durability and aesthetic appeal. However, their hard and brittle nature makes them susceptible to cracks and chips if not handled correctly.
Before beginning the process of knocking out a tap hole, it’s important to understand the properties of ceramic. Unlike softer materials, ceramic requires specific tools and techniques to modify. Precautionary measures and proper preparation are key to avoiding any damage.
Tools and Materials Needed
To knock a tap hole in a ceramic sink, you will need the following tools and materials:
- Safety goggles and gloves
- Tape measure and marker
- Electric drill with a diamond-tipped or carbide-tipped drill bit
- Hammer and nail set or a center punch
- Masking tape
- Sandpaper (fine-grit)
- Water for lubrication (optional)
Ensure all tools are in good condition and choose a drill bit that is specifically designed for use on ceramic materials.
Marking the Tap Hole Location
The first step is to determine where the tap hole should be located. Measure the sink and mark the center point for the tap hole. It's crucial to double-check measurements to ensure accuracy.
Once you have the location, apply a small piece of masking tape over the area. The tape helps prevent the drill bit from slipping and also reduces the risk of chipping the ceramic. Mark the exact point on the tape where you will drill.
Drilling the Pilot Hole
Begin by drilling a pilot hole at your marked point. Use a small, diamond-tipped or carbide-tipped drill bit and set your drill to a low speed. Apply gentle, steady pressure and keep the drill bit perpendicular to the sink surface.
If possible, use water to lubricate the drill bit and reduce heat build-up. The pilot hole will guide your larger drill bit in the next step and helps prevent cracking.
Enlarging the Hole
After the pilot hole is drilled, switch to a larger drill bit suitable for the size of your tap. Carefully and slowly enlarge the hole, maintaining steady pressure and keeping the drill straight. Continuously check the progress to ensure you do not drill too deep or off-center. Patience is key during this step to avoid any sudden movements that could crack the ceramic.
Finishing the Tap Hole
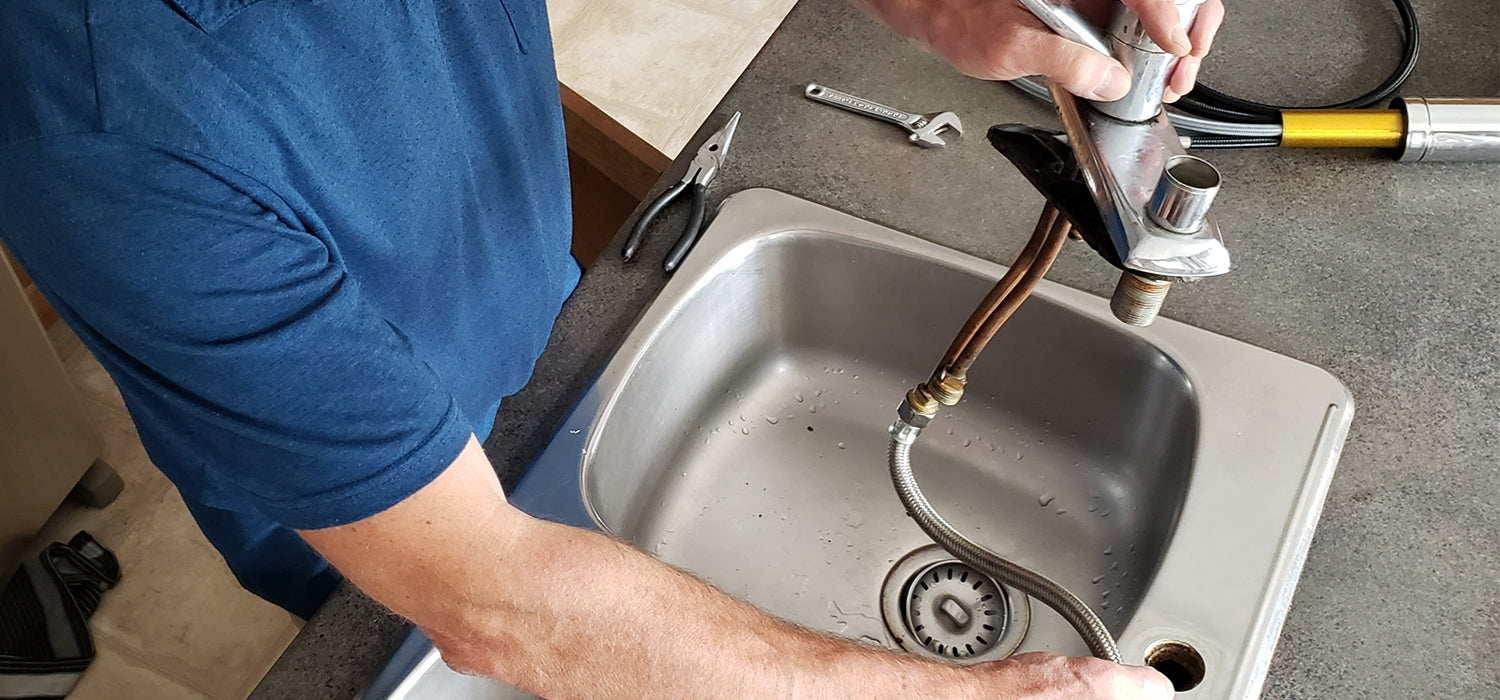
Once the hole is drilled to the correct size, remove any rough edges using fine-grit sandpaper. Be gentle to avoid scratching the ceramic surface. Clean the area to remove any ceramic dust or debris. At this stage, you can fit your tap according to the manufacturer's instructions, ensuring it is securely in place and properly sealed.
Safety Precautions and Tips
Safety is paramount when working with power tools and hard materials like ceramic. Always wear safety goggles to protect your eyes from ceramic chips and dust. Wearing gloves can provide a better grip and protect your hands. Keep your work area clean and well-lit. If at any point you feel unsure or uncomfortable with the process, consider seeking professional help.
Conclusion
Knocking a tap hole in a ceramic sink can be a rewarding DIY project if done with care and precision. By following these steps and taking necessary precautions, you can successfully install a tap in your ceramic sink.
Remember, taking your time and ensuring accuracy at each step is crucial to a successful installation. With the right tools and a bit of patience, you can achieve a professional-looking result that enhances your kitchen or bathroom sink.


