The Ultimate Guide: How to Change a Deck-Mounted Tap
Table Of Contents:
-
Introduction
→ -
Monobloc Bath Taps Collection
→ -
What is a Deck-Mounted Tap?
→ -
Why Change Your Deck-Mounted Tap?
→ -
Types of Deck-Mounted Taps
→ -
How to Choose the Perfect Deck-Mounted Tap
→ -
A Step-by-Step Guide to Replacing Your Deck-Mounted Tap
→ -
Essential Tips for Maintaining Your New Deck-Mounted Tap
→ -
Cost of Deck-Mounted Taps in the UK
→ -
Conclusion
→ -
Frequently Asked Questions
→
Introduction
Changing a deck-mounted tap may seem like a daunting task, but with the right tools and some basic knowledge, it’s an easy and rewarding DIY project. Whether you want to upgrade your tap, replace a worn-out one, or fix a leak, learning how to change a deck-mounted tap will save you time and money. This ultimate guide covers everything you need to know, from understanding what a deck-mounted tap is, to replacing it with a new one in both your bathroom basin or bath.
What is a Deck-Mounted Tap?

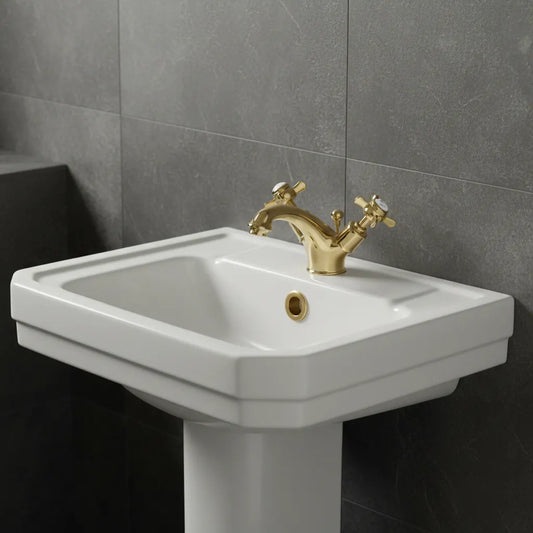
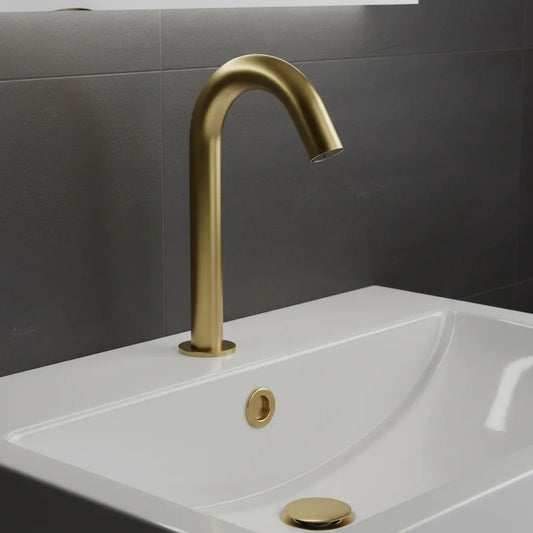
A deck-mounted tap is a tap that is installed directly on the surface of a sink or basin (in the bathroom) or a bath. It’s called deck-mounted because it’s placed on the deck—the flat surface surrounding the sink or bath. These taps are connected to the plumbing underneath and typically control both the water flow and temperature. Deck-mounted taps are popular in both kitchens and bathrooms and are easy to access for maintenance and upgrades.
In bathrooms, deck-mounted taps are used for basins or bathtubs. For a basin deck-mounted tap, the tap sits directly on the basin or countertop, while for a bath deck-mounted tap, the tap is installed on the edge of the bathtub. Both types of taps function similarly, but the design and size may differ to match the specific needs of the space.
Why Change Your Deck-Mounted Tap?
There are several reasons why you might choose to change your deck-mounted tap in your bathroom, whether it’s for your basin or bath. One of the most common reasons is deterioration over time. Taps are exposed to constant use and water flow, leading to potential wear and tear, such as leaks, corrosion, or limescale buildup. When the tap starts to show signs of wear that can’t be easily fixed, replacing it is often the best solution.
Another reason could be styling preferences. Over time, the design of your deck-mounted tap may feel outdated or no longer match the overall aesthetic of your bathroom. Changing to a more modern or sleek design can instantly refresh the space and give it a more cohesive look.
Functionality issues are also a driving factor. If your current tap is difficult to operate, has low water pressure, or experiences temperature inconsistencies, upgrading to a newer model can improve the user experience. Some newer taps come with water-saving features or enhanced controls for better water flow.
Lastly, you may want to replace your tap if it’s no longer performing well or has become inefficient. Whether it's a dripping tap, a broken seal, or other issues that affect daily use, replacing it can restore both comfort and functionality to your bathroom.
Types of Deck-Mounted Taps
There are several types of deck-mounted taps to choose from, each designed to suit different needs and bathroom styles. Here’s a look at some of the most common types:

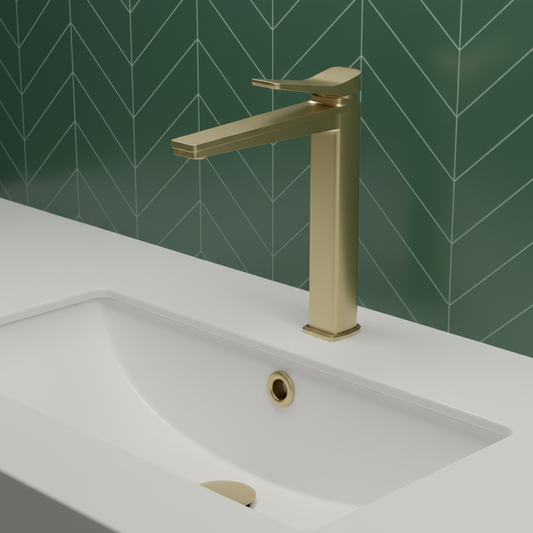
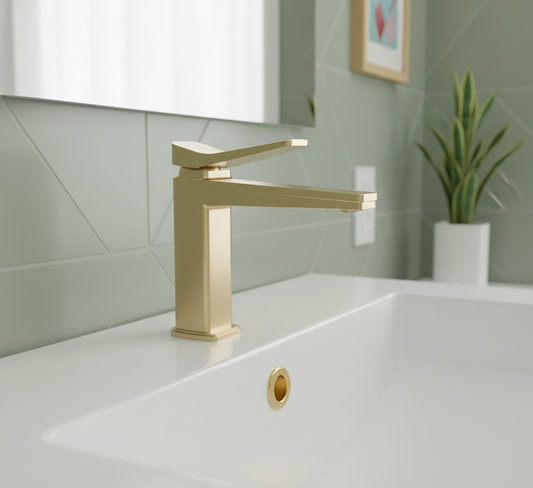
Single-Lever Taps:
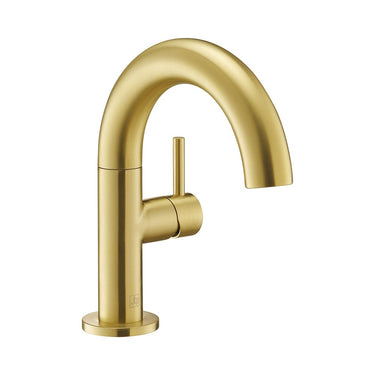
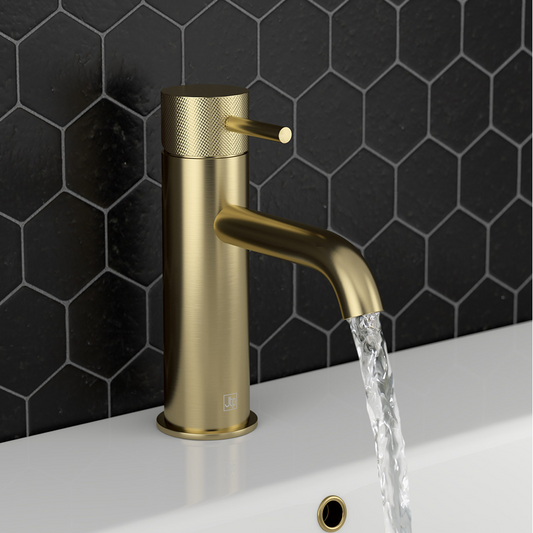
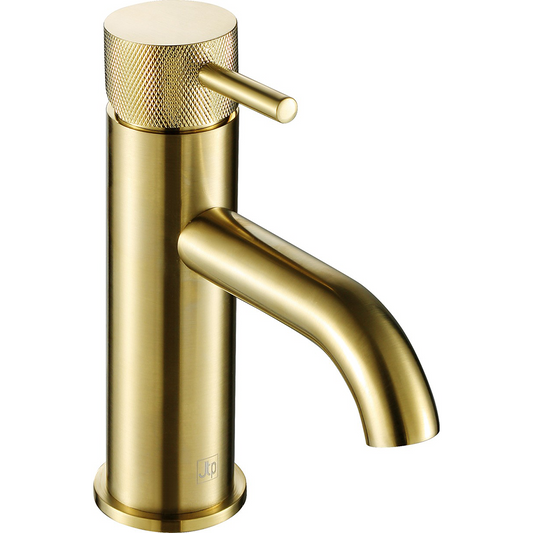
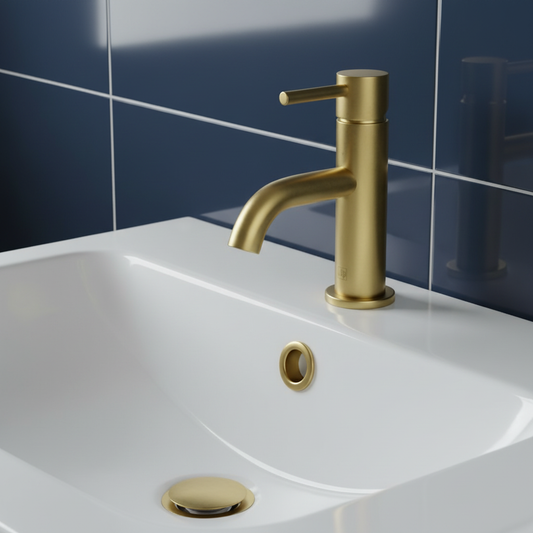
These are modern taps featuring a single lever that controls both the water flow and temperature. With a simple, sleek design, single-lever taps are ideal for contemporary bathrooms. They are easy to use, making them a popular choice for both basins and baths.

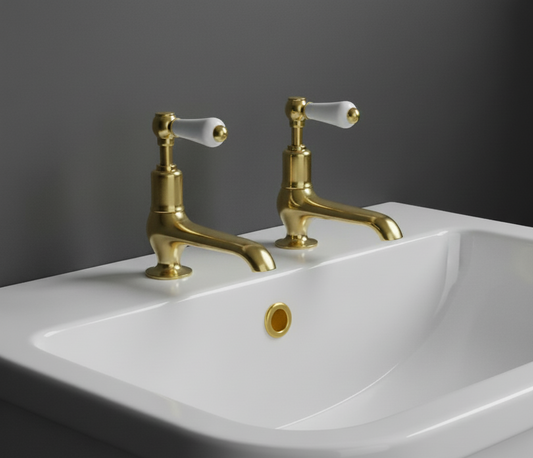
Two-Handle Taps:
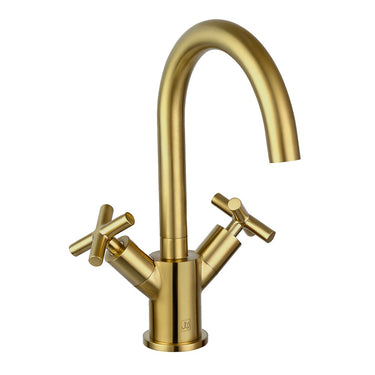
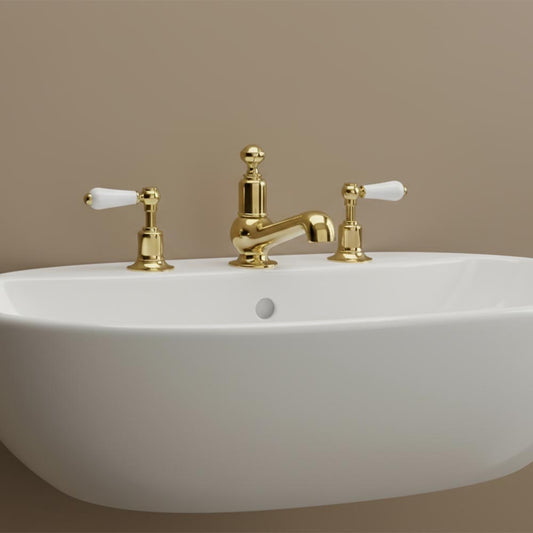
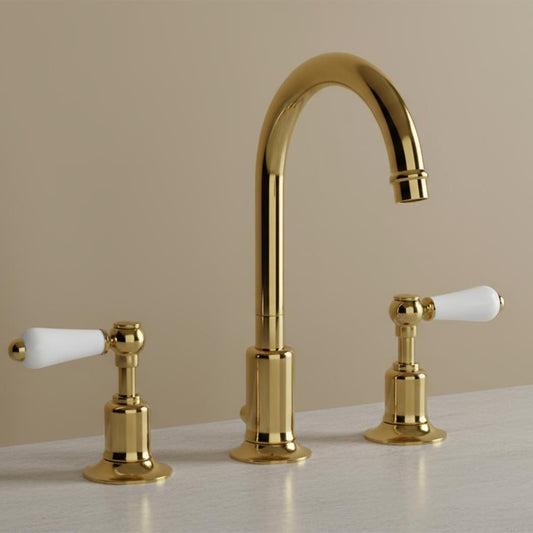
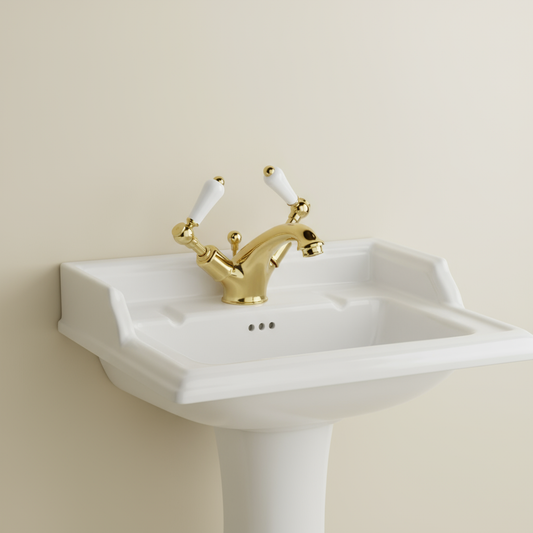
As the name suggests, these taps have separate controls for hot and cold water, allowing for more precise temperature adjustment. They often have a more traditional or vintage look and are a great option for classic bathroom designs. These taps are commonly found in both bathroom basins and baths.

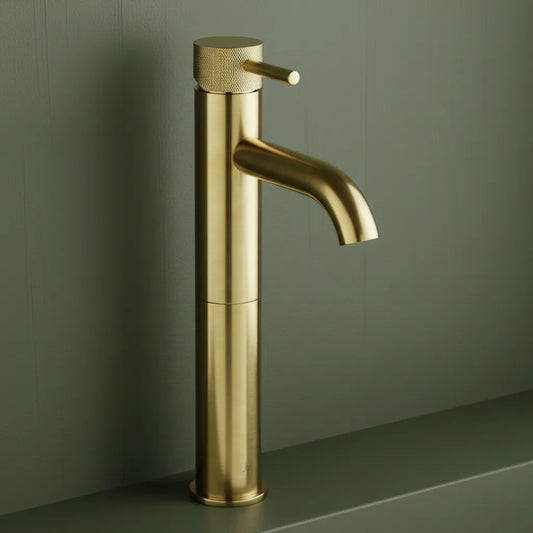
Monobloc Taps:
A popular option for modern bathroom basins, monobloc taps combine the hot and cold water supplies into one unit. This style provides a neat and streamlined look, making it ideal for minimalist designs. They’re often available with a single lever or separate controls.

Deck-Mounted Bath Taps with Hand Showers:
These taps are designed for bathtubs and come with a spout as well as an integrated hand shower or flexible hose. This combination provides added convenience for rinsing and bathing. Perfect for larger bathrooms or those with a shower-bath combination, these taps offer versatility.

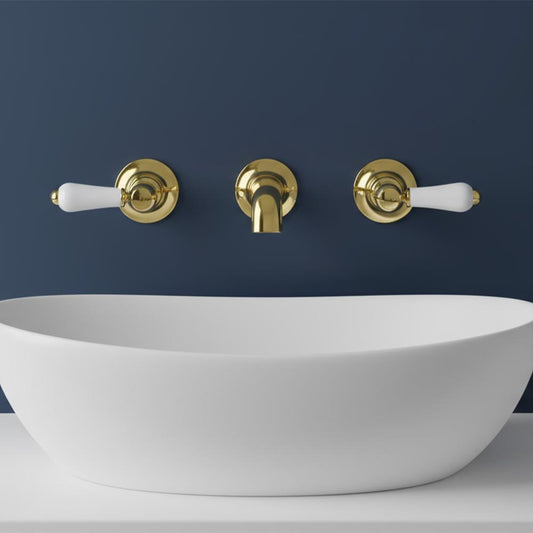
Wall-Mounted Taps (with Deck-Mounted Spout):
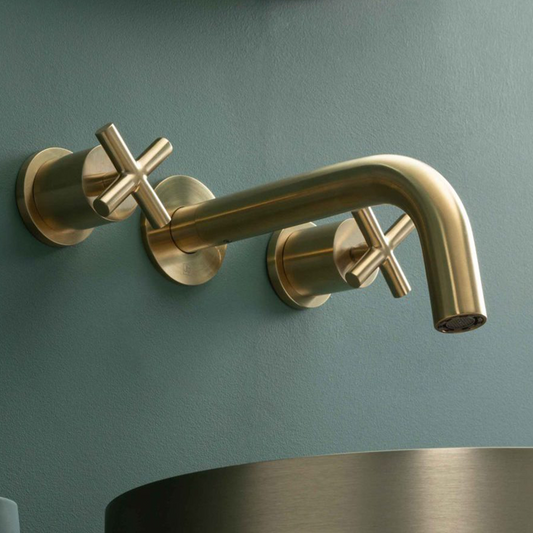
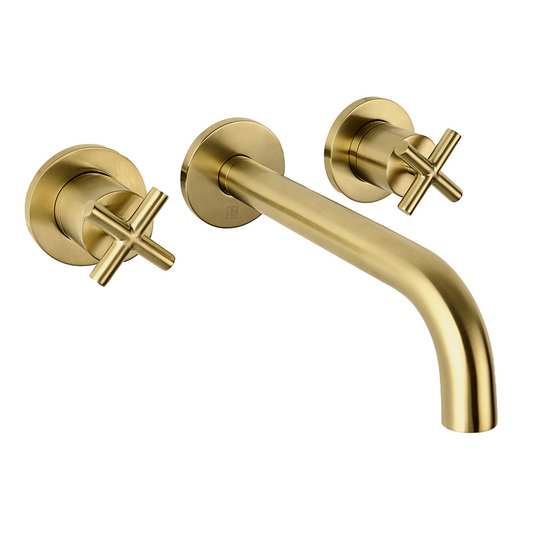
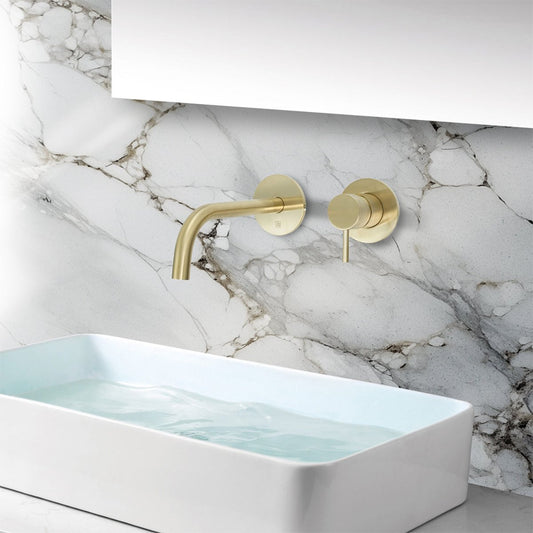
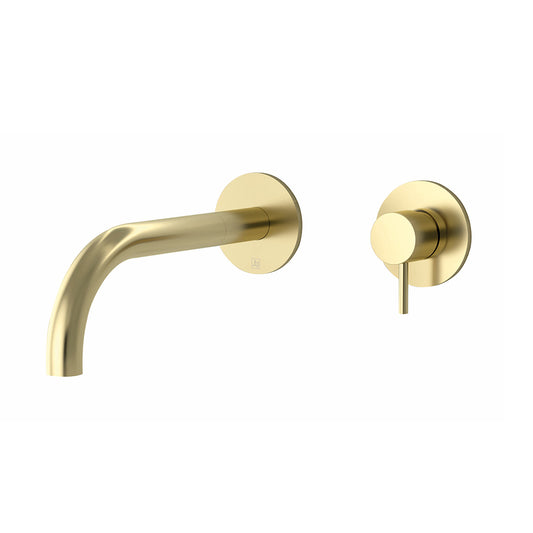
Although these taps are technically wall-mounted, the spout is deck-mounted, sitting on the edge of the bath or basin. They offer a clean, modern look and are particularly popular in contemporary bathrooms. The separation of the tap and spout provides a minimalist aesthetic.

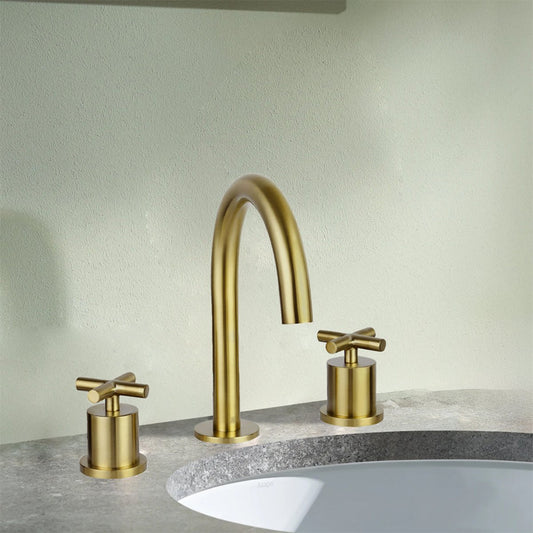
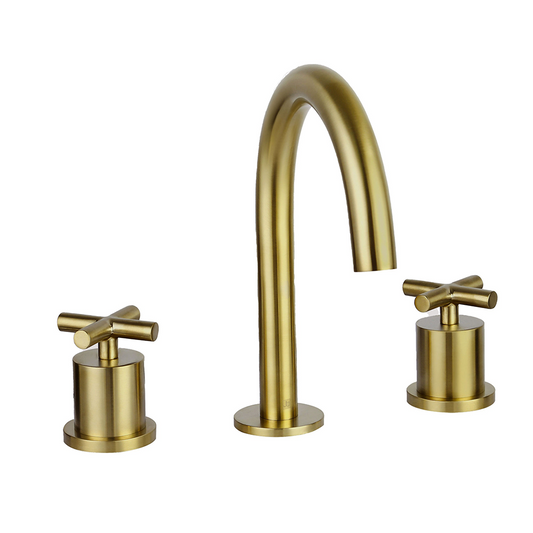
Traditional Cross-Handle Taps:
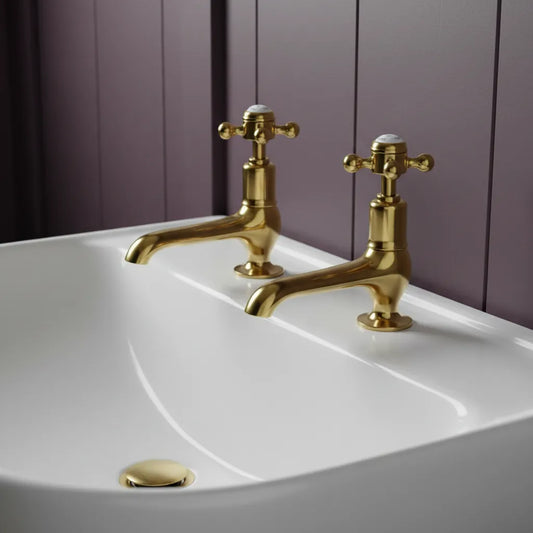
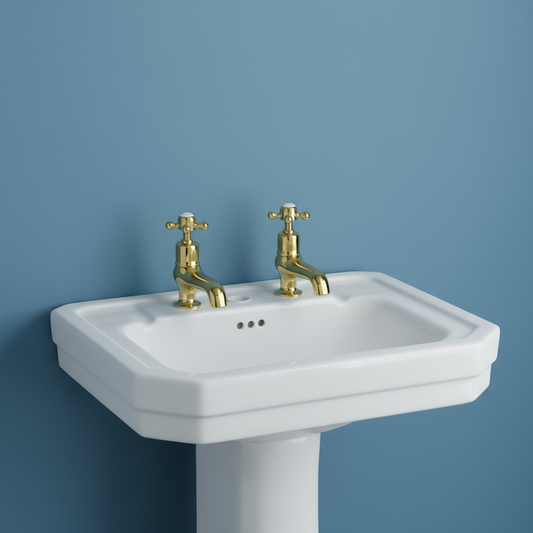
For those who prefer vintage or classic styles, cross-handle taps are a timeless option. These taps feature two separate cross handles—one for hot water and one for cold water—and are often found in more traditional bathrooms.

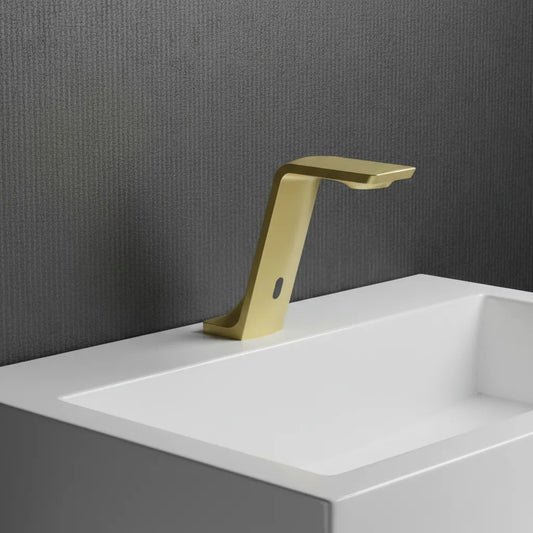
Touchless or Sensor-Activated Taps:
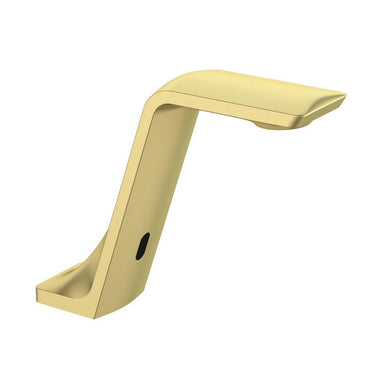
This newer type of tap uses sensors to detect your hand movements and activate the water flow without physical contact. This technology is especially useful in maintaining hygiene and water conservation in both basins and bathtubs. These taps are a great option for modern, high-tech bathrooms.
Each of these tap types has its own advantages depending on the style of your bathroom, your functional needs, and the type of user experience you're seeking. Whether you prefer the modern ease of a single-lever tap or the classic elegance of cross-handle taps, there’s a deck-mounted tap that can complement your bathroom’s design and functionality.
How to Choose the Perfect Deck-Mounted Tap for Your Bathroom
Choosing the right deck-mounted tap for your bathroom can greatly enhance the style, functionality, and overall experience of your space. Whether you’re upgrading your basin or bath tap, it’s important to consider several factors to ensure that the new tap meets your needs. Here are the key aspects to think about when selecting your new deck-mounted tap:
 |
1. Style and DesignThe design of your tap should complement your bathroom’s overall aesthetic. If you have a modern, minimalist bathroom, you may want to choose a sleek, single-lever tap with a clean finish like chrome or matte black. For more traditional or vintage-inspired bathrooms, two-handle taps with classic cross handles or elegant brass finishes can create a timeless, sophisticated look. Choose a style that aligns with your personal taste and the vibe you want for your bathroom. |
2. Type of TapConsider the type of deck-mounted tap you need based on your preferences and the functionality you require:
|
 |
 |
3. Water EfficiencyWith environmental concerns on the rise, many taps now come with water-saving features such as aerators or flow restrictors. If you want to reduce your water usage and save on your water bills, opt for a tap that is labeled as water-efficient. Look for taps with a low flow rate, typically around 5 to 6 liters per minute, to help reduce water consumption without compromising performance. |
4. Material and FinishThe material and finish of your tap play a crucial role in its durability, maintenance, and aesthetic appeal. Common materials for deck-mounted taps include:
|
 |
 |
5. Durability and QualityWhen purchasing a deck-mounted tap, durability should be a top consideration. Look for taps that are made from high-quality materials and come with a solid warranty. A good-quality tap will last longer, perform better, and be less prone to issues like leaks, corrosion, or rust. It’s worth investing in a reliable brand with a proven track record for quality. |
6. Size and CompatibilityEnsure the tap you choose fits the dimensions of your sink or bath and is compatible with the existing installation. Measure the size of the hole where the tap will be mounted to ensure the tap fits perfectly. If you're replacing an old tap, check whether the new one will align with the existing holes or if you’ll need to make modifications. |
 |
 |
7. Ease of InstallationSome deck-mounted taps are easier to install than others. If you’re tackling the installation yourself, you may want to choose a model that comes with easy-to-follow instructions and all the necessary mounting hardware. Consider whether the tap requires professional installation or if it’s something you can do on your own. |
8. BudgetYour budget will also play a role in the type of deck-mounted tap you choose. While there are plenty of high-quality options at various price points, remember that cheaper taps may not offer the same durability or functionality as mid-range or premium models. Set a budget and look for the best balance between quality, style, and cost. |
 |
By considering all these factors when choosing your deck-mounted tap, you can ensure that it not only enhances the aesthetic of your bathroom but also meets your functional needs. Whether you’re upgrading your bath or basin, selecting the right tap will elevate your bathroom experience and make it feel like a true sanctuary.
A Step-by-Step Guide to Replacing Your Deck-Mounted Tap
Replacing a deck-mounted tap is a relatively straightforward DIY task, but it does require careful attention to detail to ensure everything is installed properly. Follow this step-by-step guide to help you replace your deck-mounted tap efficiently.
Step 1: Gather Your Tools and Materials
Before you begin, make sure you have all the necessary tools and materials:
 |
|
Step 2: Turn Off the Water Supply
 |
The first step is always to turn off the water supply to avoid any flooding or leaks. Locate the shutoff valves under your sink or bath and turn them off. Open the old tap to release any remaining water in the pipes. You may want to place a bucket or towel beneath the work area to catch any residual water that could spill. |
Step 3: Disconnect the Water Supply Lines
 |
Use your adjustable wrench to disconnect the water supply lines that connect the old tap to the water supply. These are typically located underneath the sink or bathtub. If you're replacing a bath tap, you may need to remove the panel around the bath area to access the connections. Once the lines are disconnected, set them aside for reuse or replacement, depending on their condition. |
Step 4: Remove the Old Tap
 |
Next, remove the old tap from the deck. This usually involves unscrewing the bolts or nuts that secure the tap to the sink or bath surface. In some cases, you may need a basin wrench to reach bolts in tight spaces. Once everything is loosened, carefully lift the old tap off the deck and set it aside. You may also need to clean the area where the tap was mounted before installing the new one. |
Step 5: Prepare the New Tap
 |
Before installing the new deck-mounted tap, read the manufacturer’s instructions to ensure you're assembling it correctly. Many deck-mounted taps come in multiple parts that need to be attached before installation, such as handles, spouts, or sprayers. Apply plumber’s tape to the threads of the water supply connections to ensure a tight, leak-proof seal. |
Step 6: Install the New Tap
 |
Position the new tap on the deck where the old tap was installed. Secure it by tightening the bolts or nuts that hold it in place. Make sure the tap is aligned correctly before tightening to avoid any strain on the installation. You may need a basin wrench to tighten the nuts beneath the sink or bath. |
Step 7: Reconnect the Water Supply Lines
 |
Once the new tap is in place, reconnect the water supply lines. Ensure that the connections are snug and secure, but avoid over-tightening, which could cause damage. If your new tap has separate hot and cold connections, double-check that each is properly aligned to the corresponding water supply line. |
Step 8: Turn on the Water Supply
 |
After everything is securely in place, turn the water supply back on and check for any leaks. Open the tap to ensure the water is flowing correctly and that both the hot and cold water work properly. If you notice any drips or leaks, tighten the connections slightly. |
Step 9: Test the New Tap
 |
Finally, test the functionality of the new deck-mounted tap. Check for proper water pressure, temperature regulation, and smooth operation of the handles. If your new tap has additional features, like a hand shower or sprayer, test those as well to ensure they’re functioning as expected. |
Step 10: Clean Up
 |
Once you’ve confirmed that everything is working properly, clean up the area. Remove any tools, dispose of the old tap, and wipe down the surrounding surfaces to remove any debris or watermarks. |
By following these steps, you’ll be able to replace your deck-mounted tap with ease and enjoy your newly upgraded bathroom or bath area!
Essential Tips for Maintaining Your New Deck-Mounted Tap
Once you've installed your new deck-mounted tap, proper maintenance is key to ensuring it remains in top condition and continues to function smoothly for years to come. Regular care can help prevent common issues such as leaks, limescale buildup, and wear and tear. Here are some essential maintenance tips to keep your new tap in great shape:
 |
1. Regular CleaningRegular cleaning is essential to maintain the appearance and functionality of your deck-mounted tap. Clean the tap at least once a week to prevent the build-up of dirt, soap scum, or watermarks. Use a soft cloth or sponge along with a mild dish soap or gentle cleaner to wipe down the surface. Avoid abrasive cleaners or scrubbing pads that can scratch the surface and damage the finish. |
2. Remove Limescale BuildupLimescale can accumulate over time, especially in hard water areas, leading to unsightly deposits on your tap. To remove limescale, use a vinegar solution (mix one part vinegar to one part water) and apply it to the affected areas. Let it sit for 15-20 minutes before gently scrubbing with a soft brush or sponge. For a gentler approach, you can use a commercial limescale remover specifically designed for taps. |
 |
 |
3. Check for LeaksPeriodically check for leaks around the base of your tap and the connections to the water supply. Leaks can be caused by worn-out seals or loose connections. If you notice a drip or pool of water around the base, turn off the water supply and tighten any loose connections. If the problem persists, the rubber washers or seals may need to be replaced. |
4. Lubricate the Moving PartsMany deck-mounted taps have moving parts such as handles or cartridges that can become stiff over time. Use a silicone-based lubricant to keep the moving parts functioning smoothly. Avoid petroleum-based lubricants, as they can damage rubber seals or gaskets. Apply the lubricant to the moving parts and gently operate the handles to ensure even distribution. |
 |
 |
5. Inspect the Water FlowOver time, debris or mineral deposits may clog the aerator (the small mesh filter at the tip of the spout) or water supply lines. To maintain proper water flow, check the aerator for blockages. Remove it carefully using pliers, rinse it thoroughly under running water, and reattach it. If the aerator is damaged, it may need to be replaced. |
6. Keep the Area DryAfter each use, wipe down the area around the base of the tap and the surrounding countertop or sink. Excess water can contribute to the growth of mold or mildew, particularly in areas with high humidity. Keeping the area dry can help prolong the life of your tap and reduce the need for frequent deep cleaning. |
 |
 |
7. Tighten Any Loose ComponentsAfter several months of use, some components, such as mounting bolts or handle screws, may become loose. Periodically check all parts of the tap to ensure they are securely fastened. Use an adjustable wrench or screwdriver to tighten any loose connections. However, avoid over-tightening, as this could damage the tap. |
8. Avoid Harsh ChemicalsWhen cleaning your deck-mounted tap, avoid using harsh chemicals or abrasive scrubbing tools that can damage the finish or the internal components. Stick to gentle, non-abrasive cleaners and a soft cloth to preserve the appearance and functionality of your tap. |
 |
 |
9. Professional ServicingIf you encounter persistent issues with your tap, such as low water pressure, leaks that can't be fixed with tightening, or faulty operation, it may be time to call a professional plumber. Regular professional maintenance can help identify any underlying issues and prevent major problems in the future. |
By following these maintenance tips, you can extend the life of your new deck-mounted tap and keep it working smoothly for years to come. Regular cleaning, inspection, and maintenance will ensure that your tap continues to function efficiently and maintain its stylish appearance.
Cost of Deck-Mounted Taps in the UK
The cost of a deck-mounted tap in the UK can vary widely depending on several factors, including the type, material, design, and features of the tap. Whether you're replacing a bathroom or bath tap, it’s essential to understand the price range to make an informed decision. Below is an overview of the typical costs associated with deck-mounted taps in the UK:
 |
1. Basic Deck-Mounted TapsBasic, no-frills deck-mounted taps in brass with a brushed brass finish typically range between £30 and £100. These taps offer a simple yet elegant look and are often designed to provide a functional and budget-friendly option for most bathrooms or baths. The brushed brass finish helps to reduce the appearance of water spots and fingerprints, giving the tap a more sophisticated feel. |
2. Mid-Range Deck-Mounted TapsFor a more stylish and durable option, mid-range deck-mounted taps made from brass with a brushed brass finish usually cost between £100 and £250. These taps are made from higher-quality materials and typically feature better durability, allowing them to withstand the test of time. The brushed brass finish in this price range often adds a modern touch, making it perfect for a sleek and contemporary bathroom or bath setup. |
 |
 |
3. High-End Deck-Mounted TapsIf you’re looking for a top-tier, designer deck-mounted tap, the price can range from £250 to £500 or even more. High-end taps are typically made from brass with a brushed brass finish and often include premium features such as water-saving technology, temperature control, and intricate designs. The brushed brass finish in these high-end models is often highly refined, giving the tap a luxurious and polished look that complements high-end bathrooms or baths. |
4. Bath Deck-Mounted TapsBath taps made of brass with a brushed brass finish generally cost more than basin taps, especially if you're installing a model with a hand shower or additional features. Basic bath deck-mounted taps typically start at £60, with mid-range models costing between £150 and £350. Premium models with a brushed brass finish and advanced features can reach £500 or more. |
 |
 |
5. Additional CostsIn addition to the cost of the tap itself, there may be additional expenses associated with the installation and accessories:
|
In the UK, deck-mounted taps made from brass with a brushed brass finish offer a timeless and sophisticated aesthetic for your bathroom or bath. These taps range from affordable options starting at £30 to premium models that can go beyond £500. Mid-range options are typically priced between £100 and £250 and provide a perfect balance of style and durability. When selecting a tap, it’s important to consider the style of your bathroom and your budget to choose the best option.
Be sure to also factor in installation and any additional accessories when planning your budget for replacing or upgrading your deck-mounted tap.
Conclusion
Changing a deck-mounted tap is a simple yet effective way to upgrade your bathroom, whether it's for your basin or bath. With the right tools, a bit of time, and some careful attention to detail, you can easily replace your old tap with a new one that enhances both the style and function of your space. By following this guide, you can confidently take on the task and enjoy the benefits of a newly installed deck-mounted tap in your home.
Frequently Asked Questions
You can easily replace a deck-mounted tap yourself as long as you follow the steps carefully. However, if you’re unsure or uncomfortable with DIY plumbing, hiring a professional plumber is a good option.
Yes, deck-mounted taps are designed specifically for installation on both sinks and bathtubs. If you are replacing a bath deck-mounted tap, ensure that the new tap fits the installation holes on the edge of the bathtub.
Check the size of the mounting holes on your sink or bathtub. Most deck-mounted taps are designed to fit standard hole sizes, but it’s a good idea to measure the hole diameter before purchasing your new tap.
Typically, replacing a deck-mounted tap can take between 1 to 2 hours, depending on your experience and the complexity of the installation.
If your new tap starts leaking, check the connections under the sink or bath. Tighten any loose nuts and make sure plumber’s tape is applied properly. If the leak persists, you may need to reapply tape or replace the washers.


