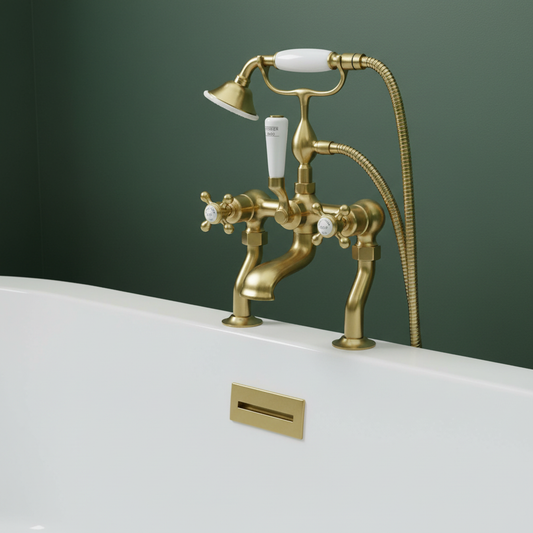
The Complete Guide to Fitting Baths and Taps
Introduction:
Embarking on a bathroom renovation or simply upgrading your bath and taps can dramatically enhance the look and functionality of your bathroom. At Gold Bathroom UK, we understand that installing a new bath and taps can seem daunting. This guide aims to demystify the process, offering step-by-step instructions to ensure a successful installation, complementing your space with elegance and style.
Preparation: Choosing Your Bath and Taps
The first step in your installation journey involves selecting the right bath and taps that not only meet your aesthetic preferences but also fit your bathroom’s specifications. Consider:
- The size and shape of your bathroom
- The style of bath and taps that complement your decor
- Your water pressure system to ensure your taps function efficiently
Tools and Materials Needed:
- Adjustable wrench
- Silicone sealant
- Pipe cutter
- Spirit level
- Teflon tape
- Screws and wall plugs
- Drill
Installing the Bath:
-
Positioning the Bath: Place the bath in the desired location. Use a spirit level to ensure it’s level. Adjust the feet of the bath as necessary.
-
Securing the Bath: Once level, secure the bath to the wall using the brackets provided. Ensure it’s firmly in place to prevent any movement.
-
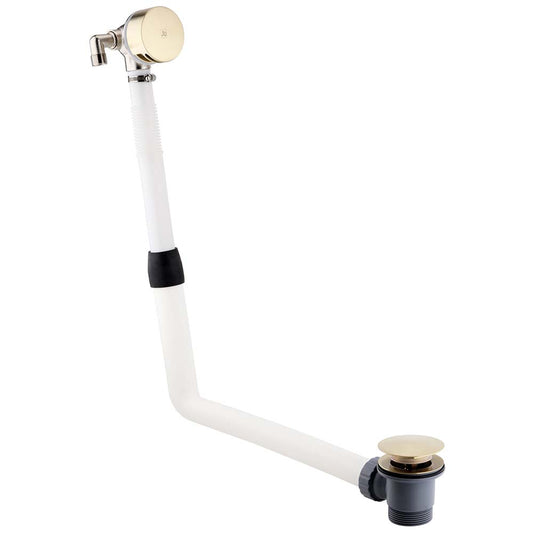
Fitting the Waste and Overflow: Install the waste and overflow according to the manufacturer's instructions. Ensure all connections are tight and sealed with silicone sealant to prevent leaks.
-
Sealing the Bath: Apply silicone sealant along the edges of the bath where it meets the wall. Smooth it out for a neat finish, ensuring there are no gaps.

Fitting the Taps:
-
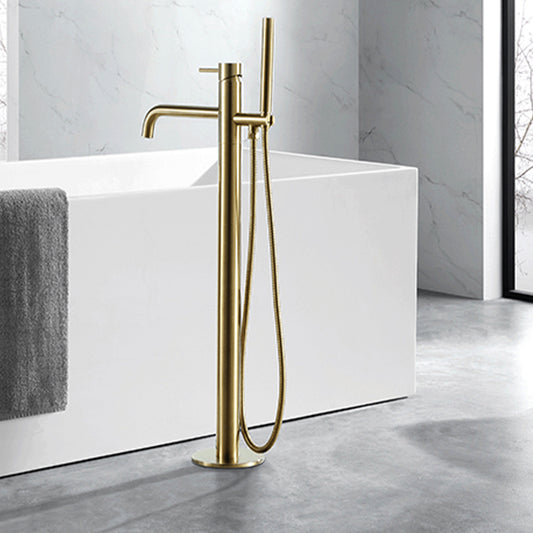
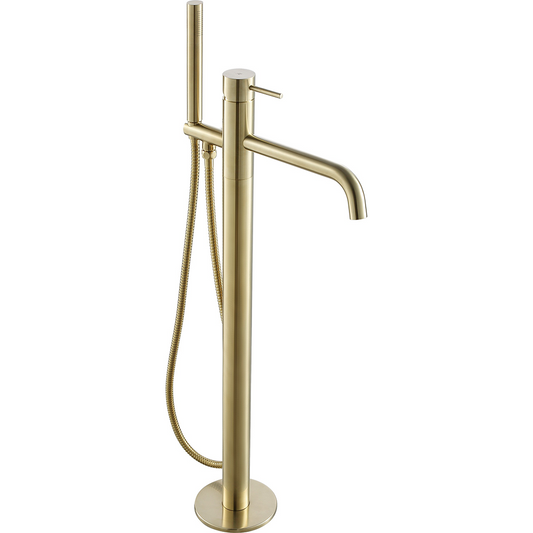
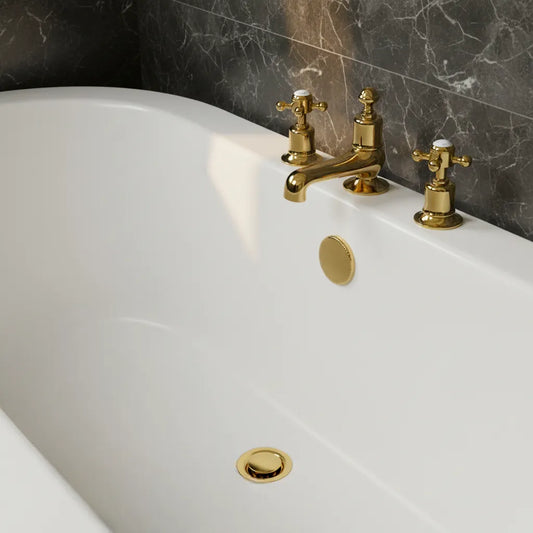
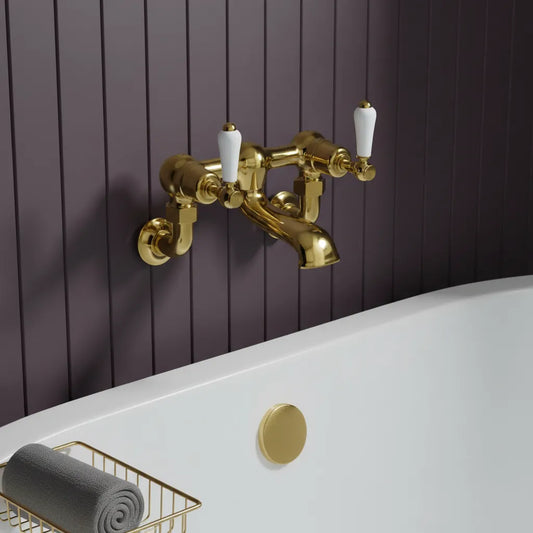
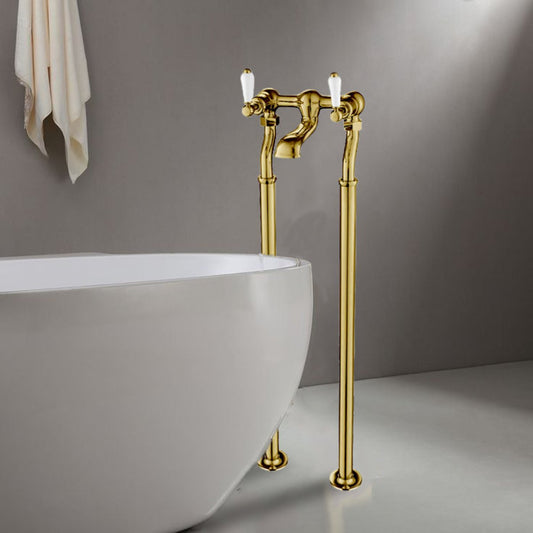
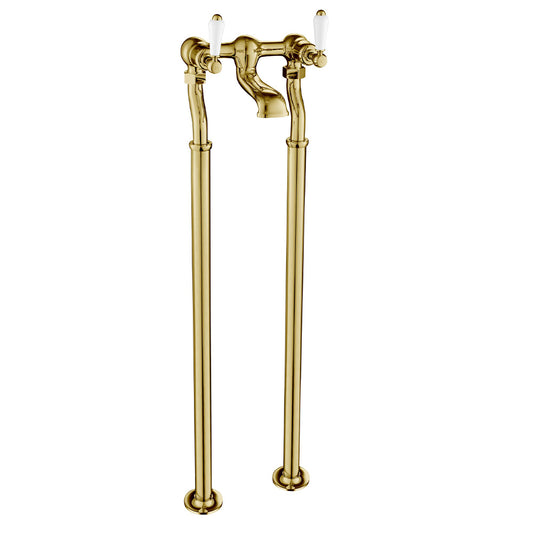
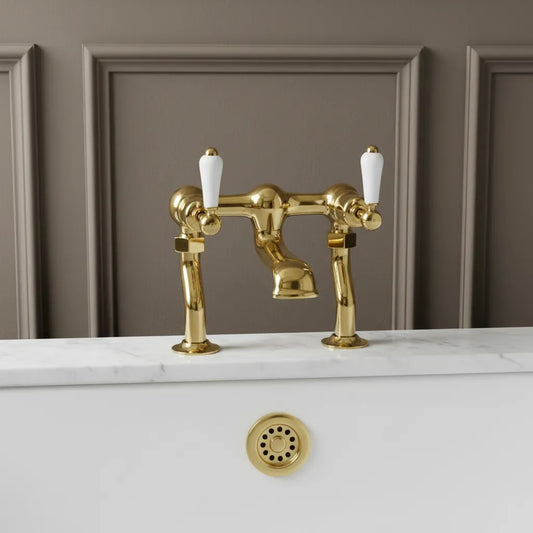
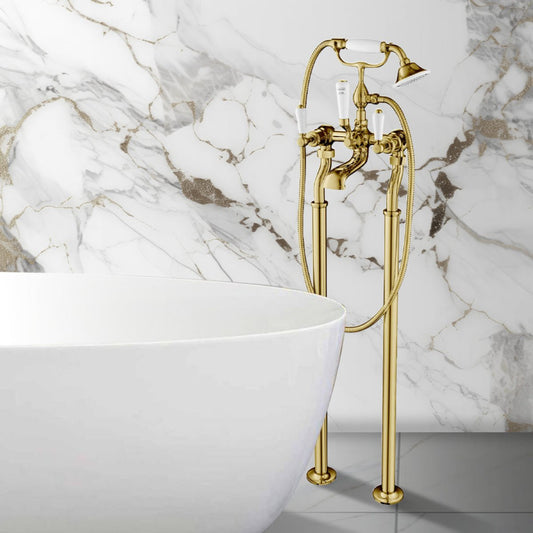
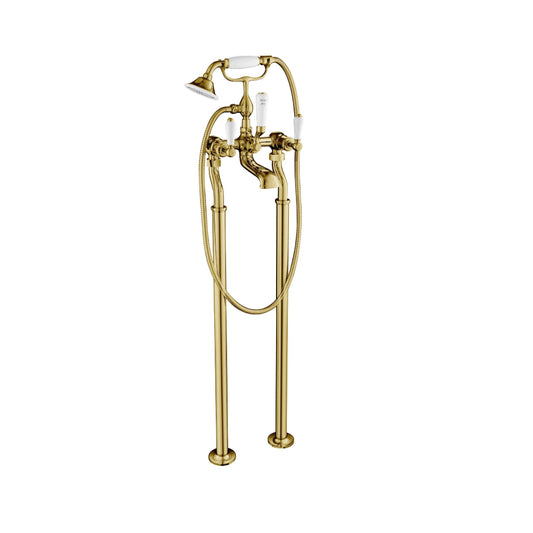
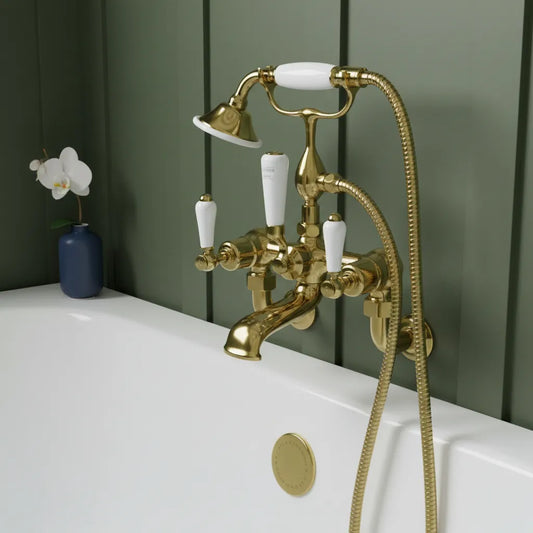
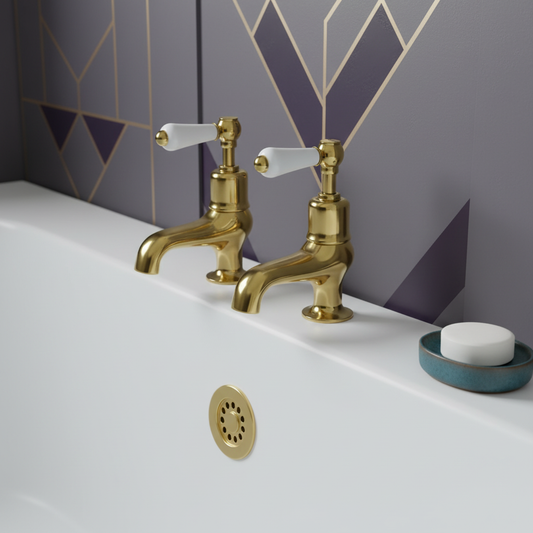
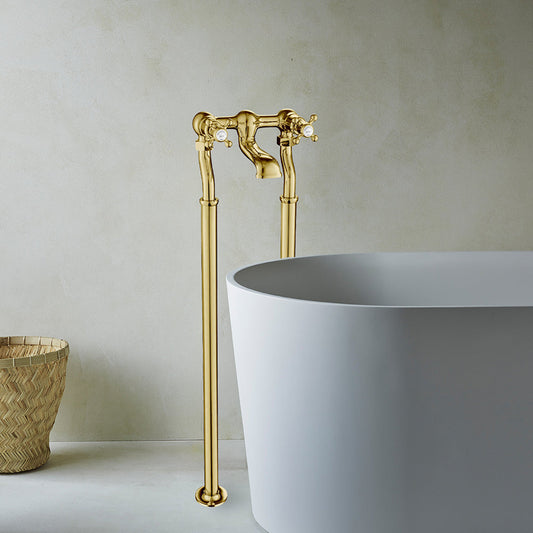
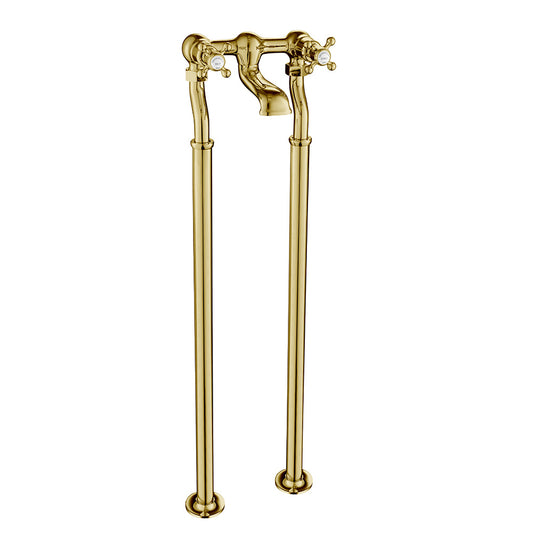
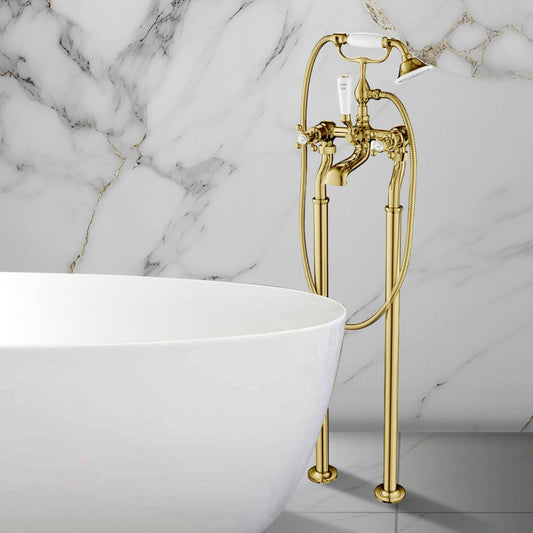
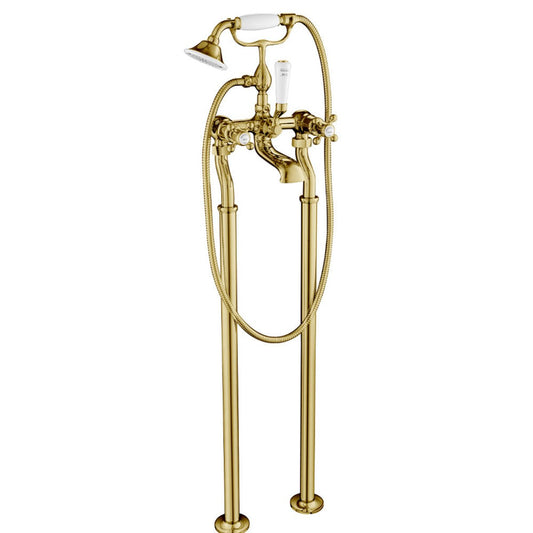
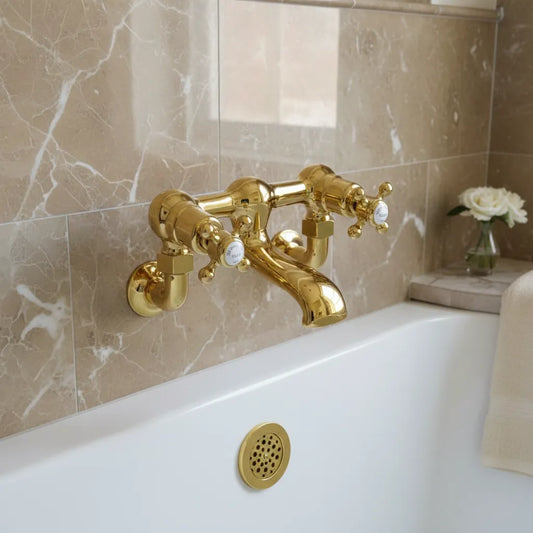
Preparing the Tap Area: If your bath has pre-drilled tap holes, ensure they match your tap fittings. If not, you may need to drill holes or opt for wall-mounted or floor-standing taps.
-
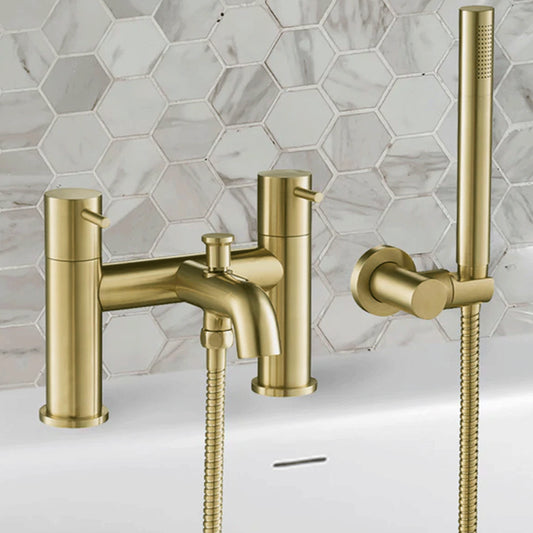
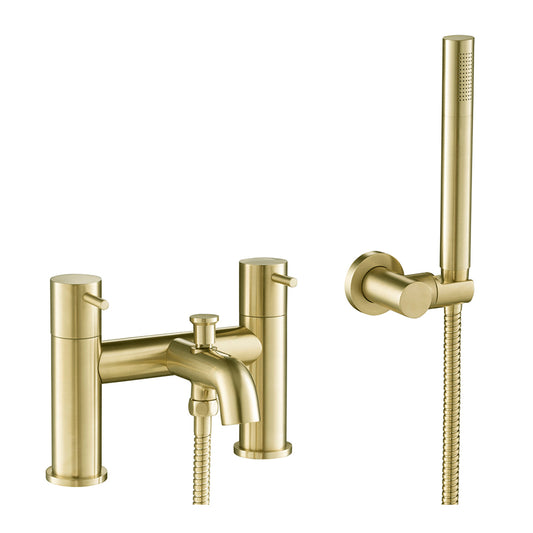
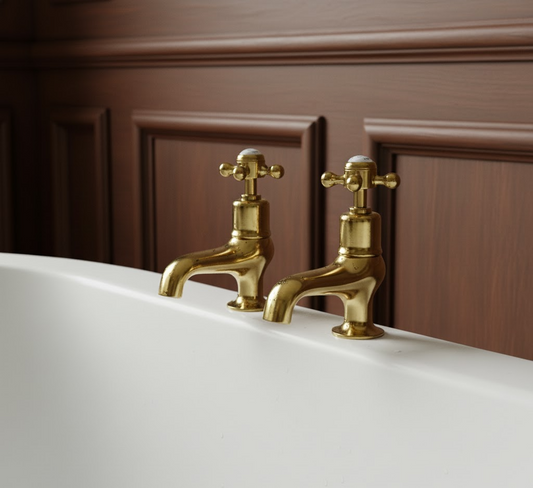
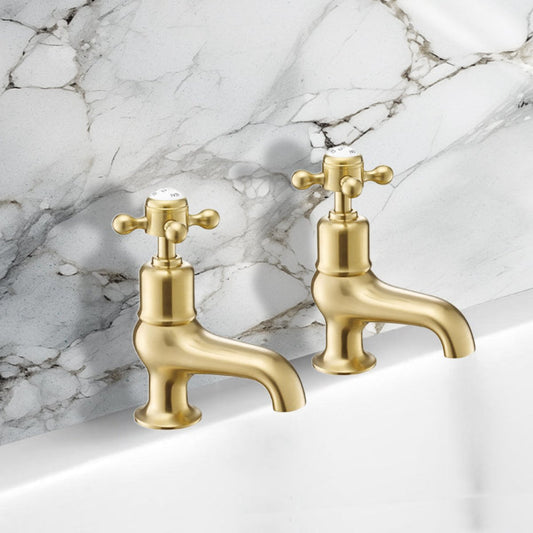
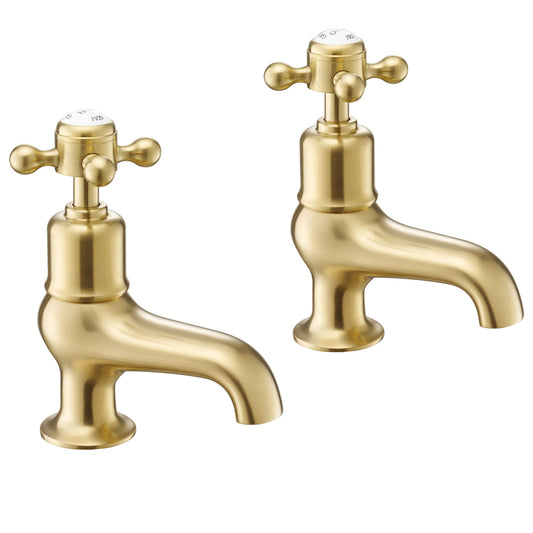
Installing the Taps: Insert the taps through the tap holes (if applicable). From underneath, screw the backnuts onto the tap tails to secure them in place. Use Teflon tape on the threads for a watertight seal.
-
Connecting the Water Supply: Attach the flexible tap connectors to the tap tails and then to the water supply pipes. Ensure all connections are secure and leak-free.
-
Testing: With the taps installed, turn on the water supply and check for any leaks. Make any necessary adjustments.
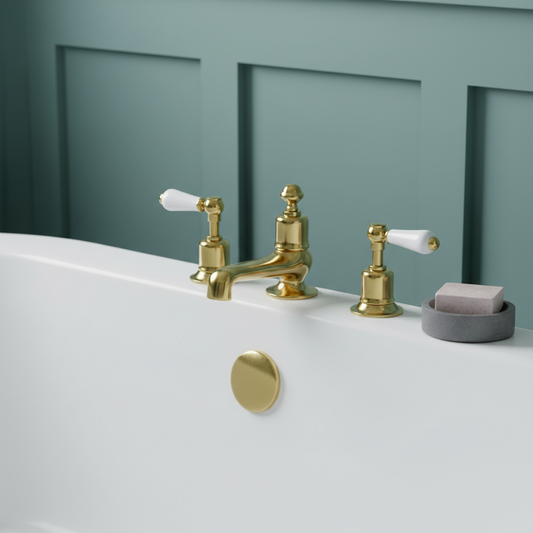
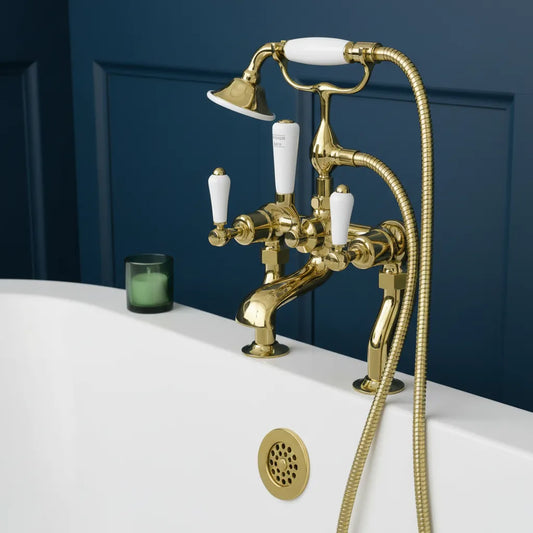
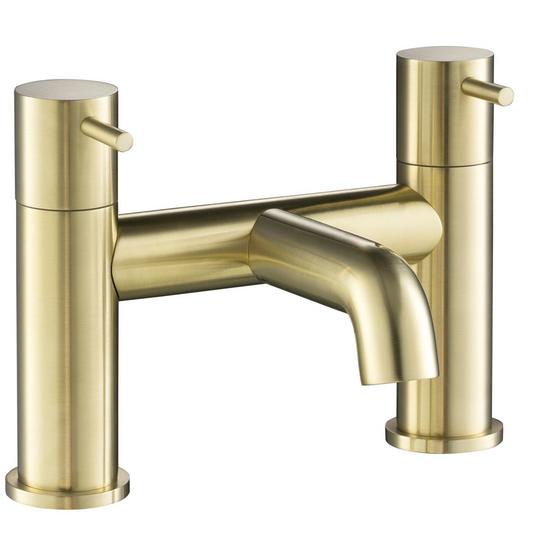
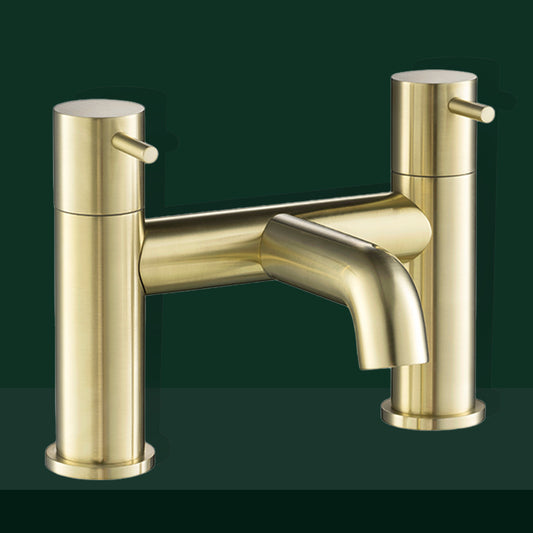
Explore our bath taps collection here
Maintenance and Care:
To keep your new bath and taps in pristine condition:
- Regularly clean with a non-abrasive cleaner to avoid damage to the finish.
- Check seals and connections periodically for signs of wear or leaks and address promptly.
Conclusion:
Fitting a new bath and taps can transform your bathroom into a luxurious retreat, adding value and comfort to your home. With the right tools, preparation, and careful attention to detail, this project can be a rewarding DIY endeavor. Explore the extensive selection at Gold Bathroom UK to find the perfect bath and taps that reflect your style and meet your functional needs.
Your Experience:
Have you recently installed a new bath or taps in your bathroom? Share your tips, challenges, or how choosing from Gold Bathroom UK has enhanced your bathroom renovation project. Your insights can help others embark on their bathroom transformation journey.
Other related blogs here:


