A Step-by-Step Guide to Fitting a Toilet Seat
Table Of Contents:
-
Introduction
→ -
Toilets Collection
→ -
Do all toilet seats fit any toilet?
→ -
How do you know what size toilet seat fits your toilet?
→ -
How to Install a Toilet Seat?-Step By Step Process:
→ -
Maintenance Tips for Your Toilet Seat
→ -
Troubleshooting Common Issues
→ -
Choosing the Right Toilet Seat
→ -
Conclusion
→
Introduction
When it comes to home maintenance and DIY projects, fitting a new toilet seat may not be the most glamorous task, but it's a practical skill that every homeowner should have in their toolkit.
Whether you're upgrading to a more comfortable seat, replacing a damaged one, or simply giving your bathroom a fresh look, learning how to fit a toilet seat is a straightforward process that can save you time and money.
In this comprehensive guide, we will walk you through the steps of fitting a toilet seat. By following these instructions, you can ensure a secure and comfortable seat that will last for years.
Do all toilet seats fit any toilet?
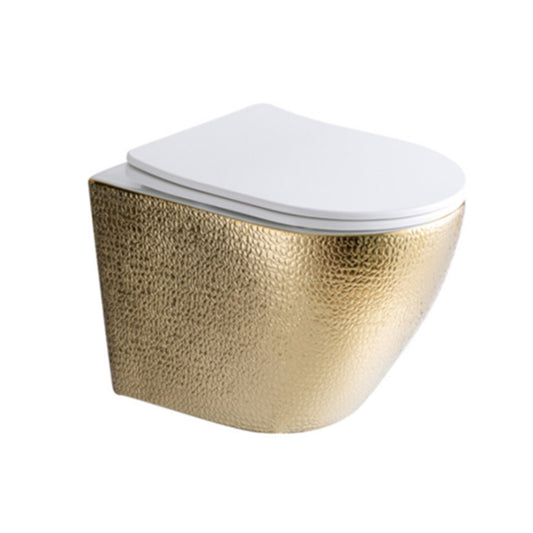
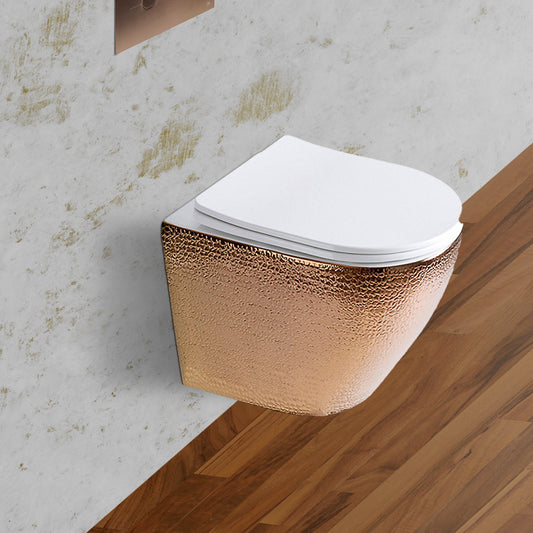
No, not all toilet seats fit any toilet. Toilet seats come in various sizes, shapes, and designs to accommodate different toilet models. To ensure a proper fit, it's crucial to match the specific dimensions and shape of the toilet bowl with the corresponding toilet seat. Additionally, some toilets have unique features or mounting mechanisms, such as concealed hinges or elongated bowl shapes, which require specialized seats. Therefore, it's essential to check the compatibility of the toilet seat with your specific toilet model to guarantee a secure and comfortable fit.
How do you know what size toilet seat fits your toilet?
 |
To determine the correct size toilet seat for your toilet, you should first measure the dimensions of your toilet bowl. Start by measuring the distance from the front of the bowl to the center of the mounting holes at the back. This measurement will help you determine whether you need a round or elongated seat. Additionally, measure the width of the bowl to ensure the seat will cover it adequately. Standard toilet seats typically fit most round or elongated bowls, but some toilets may have unique shapes or sizes that require specialized seats. Consulting the manufacturer's specifications or seeking assistance from a knowledgeable retailer can also help you find the right-sized seat for your specific toilet model. |
How to Install a Toilet Seat?-Step By Step Process:
Tools and Materials You'll Need
1. New Toilet Seat:
-
Choose a toilet seat that fits your toilet bowl and matches your bathroom décor.
2. Adjustable Wrench:
-
For loosening and tightening bolts.
3. Screwdriver:
-
A Phillips or flat-head screwdriver, depending on the type of screws used.
4. Rubber Gloves:
-
To maintain hygiene.
5. Cleaning Supplies:
-
You may want to clean the toilet bowl and surrounding area before installing the new seat.
Step 1: Prepare the Area
 |
Start by ensuring that your bathroom is clean and tidy. Remove any items from the toilet tank or seat area to give yourself ample working space. Consider wearing rubber gloves for hygiene. |
Step 2: Remove the Old Toilet Seat
 |
Locate the plastic or metal caps covering the bolts that secure the toilet seat to the bowl. These caps are usually at the back of the seat, near the tank. Use a flat-head screwdriver to pry off the caps gently. Be careful not to damage them if you plan to reuse them with the new seat. Once the caps are removed, you will see the bolts that hold the seat in place. Use an adjustable wrench to loosen and remove the nuts on the bolts. Turn the nuts counterclockwise to loosen them. Lift the old toilet seat and lid away from the toilet bowl, exposing the mounting holes on the bowl. |
Step 3: Prepare the New Toilet Seat
 |
Before attaching the new seat, examine it for any instructions or labels that indicate the front and back. Most toilet seats have a tapered design, with the narrower end typically facing towards the front of the toilet bowl. |
Step 4: Position the New Seat
 |
Hold the new toilet seat over the bowl, aligning the mounting holes in the seat with the holes in the bowl. Make sure the seat is centered and sits evenly on the bowl. Double-check the alignment to ensure a comfortable seating position. |
Step 5: Secure the New Seat
 |
Insert the bolts provided with the new seat through the mounting holes from the top, with the threaded end pointing down into the bowl. Place washers over the bolts, followed by the nuts. Tighten the nuts by hand initially, ensuring that the seat remains centered and level. Use an adjustable wrench to further tighten the nuts, but be careful not to over-tighten, as this can damage the toilet bowl or seat. |
Step 6: Cover the Bolts
 |
If your new toilet seat includes caps or covers for the bolts, snap them into place to give the seat a finished look. These covers also protect the bolts and make cleaning easier. |
Step 7: Test the Seat
 |
Finally, test the newly installed seat to make sure it's securely fastened. Gently sit on the seat and check for any wobbling or movement. If everything feels stable, congratulations – you've successfully fitted a new toilet seat! |
Maintenance Tips for Your Toilet Seat
 |
Regular Cleaning:To keep your toilet seat looking fresh and hygienic, clean it regularly using a mild detergent or bathroom cleaner. Avoid abrasive or harsh chemicals that can damage the seat's finish. |
Avoid Harsh Cleaners:Harsh chemical cleaners can damage the plastic or finish of your toilet seat. Stick to mild, non-abrasive cleaners to preserve the seat's appearance. |
 |
 |
Check Tightness:Periodically check the nuts and bolts that secure the seat. Over time, they may loosen due to regular use. If you notice any wobbling or movement, simply tighten the nuts using an adjustable wrench. |
Replace Damaged Parts:If your toilet seat experiences any cracks, chips, or damage, it's essential to replace it promptly. Damaged seats can be uncomfortable and unsightly, and they may not provide adequate support. |
 |
Troubleshooting Common Issues
 |
Seat Wobble:If your toilet seat wobbles or feels loose after installation, it's likely due to loose nuts and bolts. Follow the tightening procedure mentioned in the first part of this guide to secure the seat properly. |
Squeaking Hinges:Squeaky hinges can be annoying. To fix this issue, apply a lubricant or silicone spray to the hinge points. Make sure to wipe off any excess lubricant. |
 |
 |
Cracked or Broken Seat:If your toilet seat is cracked or broken, it's best to replace it entirely. Cracks can worsen over time and may lead to further damage if not addressed promptly. |
Seat Discoloration:Toilet seats can discolor over time due to exposure to cleaning chemicals and everyday use. To prevent discoloration, choose a seat made of materials that resist staining, or use non-abrasive cleaners. |
 |
 |
Loose Caps or Covers:If the caps or covers over the bolts become loose or fall off, you can reattach them. They serve both an aesthetic and protective purpose. |
Unpleasant Odors:If your toilet seat emits unpleasant odors, it may be due to bacteria buildup. Regular cleaning with disinfectant can help eliminate odors and maintain a fresh bathroom environment. |
 |
Choosing the Right Toilet Seat

When fitting a toilet seat, it's essential to choose the right one for your needs and preferences. Consider factors such as material, shape, design, and additional features like slow-close hinges or quick-release mechanisms. Additionally, ensure that the seat is compatible with your toilet bowl size and shape.
Conclusion
Fitting a toilet seat is a straightforward home improvement task that can enhance the comfort and aesthetics of your bathroom. By following the steps outlined in this guide and practicing proper maintenance, you can enjoy a securely fitted toilet seat for years to come.
Remember that a well-maintained toilet seat not only adds to the overall hygiene of your bathroom but also contributes to a more comfortable and functional space. If you ever encounter any issues with your toilet seat, the troubleshooting tips provided here should help you address them effectively.
We hope this comprehensive guide has been helpful in demystifying the process of fitting and maintaining a toilet seat. If you have any further questions or concerns, feel free to consult with a professional plumber or handyman for assistance.
Thank you for reading, and may your bathroom upgrades continue to enhance your home!
check our toilets collection here


