How to Change Your Shower Arm – What You Need to Know
Table Of Contents:
-
Introduction
→ -
Shower Arms Collection
→ -
Understanding Shower Arms
→ -
Tools and Materials Needed
→ -
Step-by-Step Guide to Changing Your Shower Arm
→ -
Conclusion
→
Introduction:
Embarking on a journey to enhance the luxury of your gold bathroom often starts with the simplest upgrades, such as changing the shower arm. This seemingly minor adjustment can significantly impact the shower's functionality and aesthetic appeal, aligning it more closely with the opulence of a gold bathroom setting. This guide will navigate you through the essential steps and considerations for changing your shower arm, ensuring a seamless transition to elevated luxury.
Understanding Shower Arms:
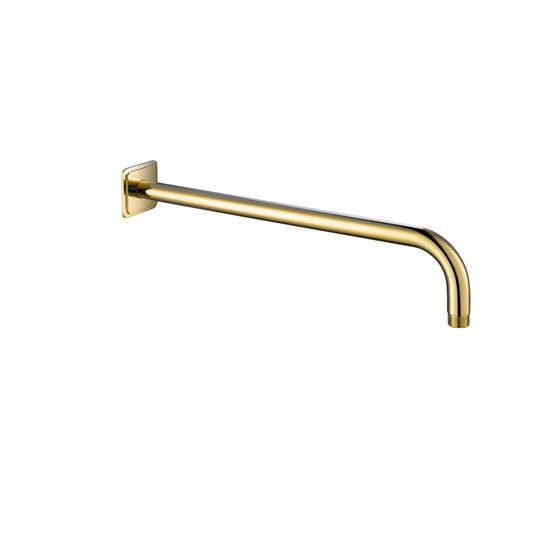
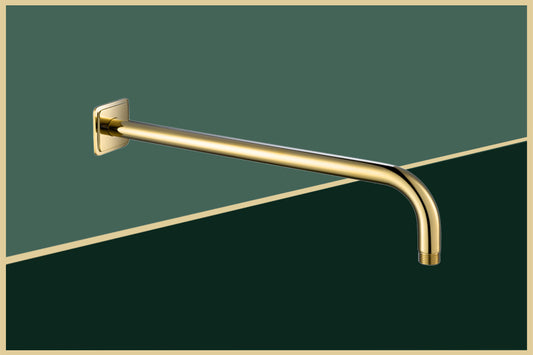
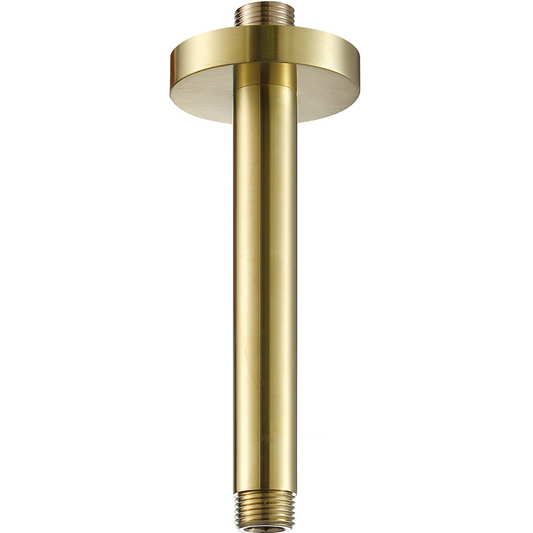
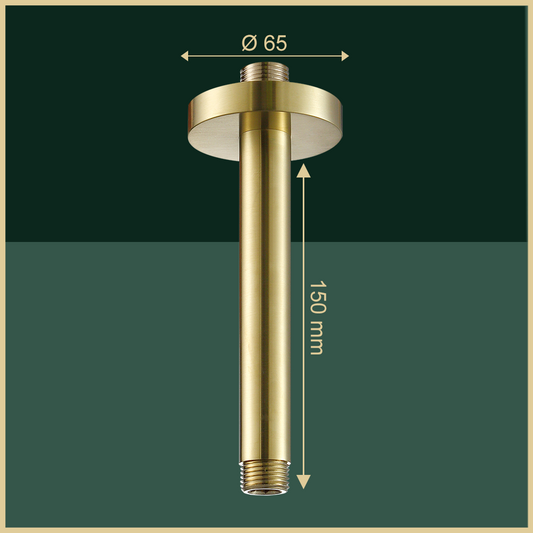
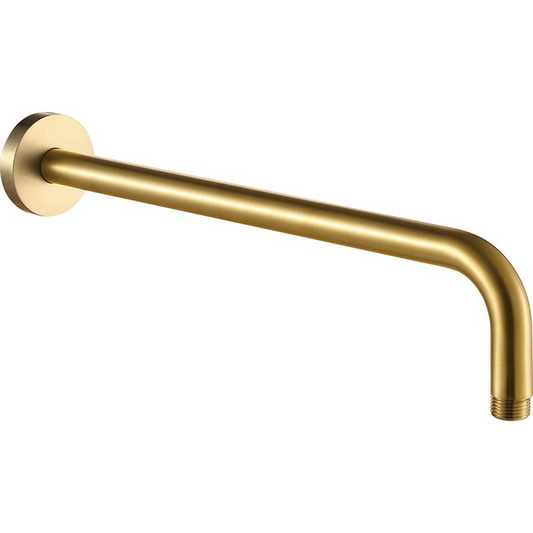
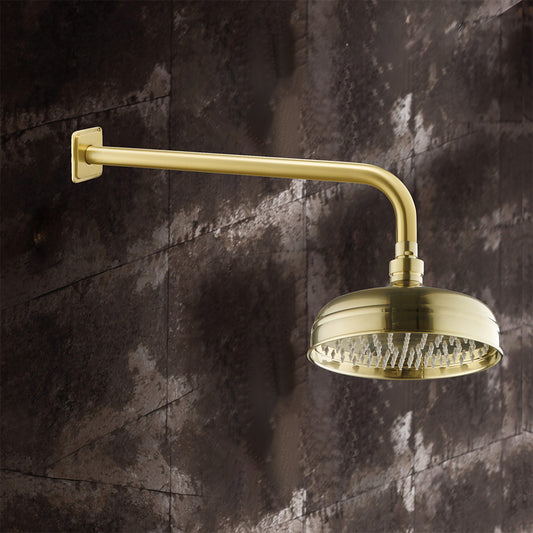
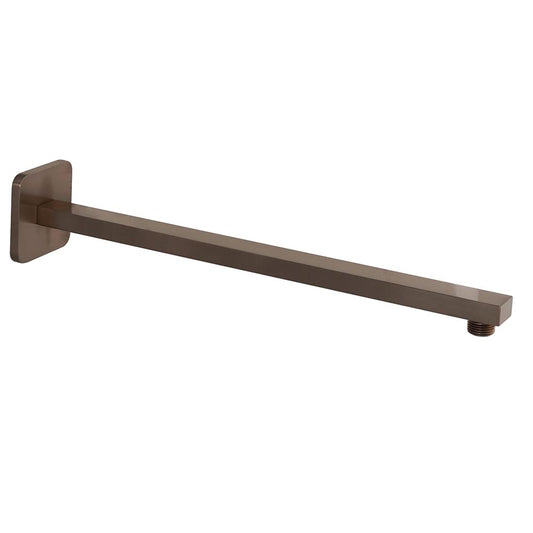
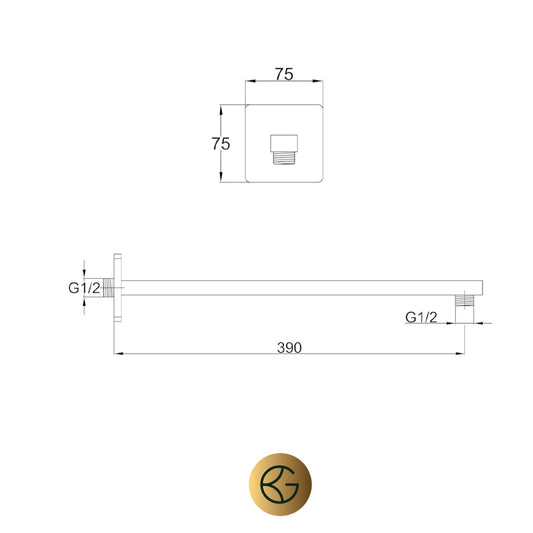
Before diving into the replacement process, it's crucial to understand that a shower arm is more than just a conduit for water. It plays a significant role in defining the shower's height, angle, and overall experience. Additionally, in a gold bathroom, the shower arm's finish and design contribute to the space's overall elegance.
Tools and Materials Needed:
Adjustable wrench or pipe wrench
Teflon tape (plumber's tape)
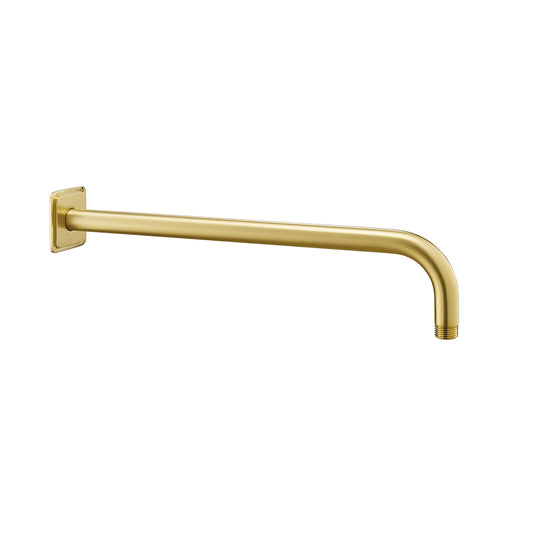
New shower arm and flange
Cloth or towel to protect the finish
Sealant (optional for extra leak protection)
Step-by-Step Guide to Changing Your Shower Arm:
-
Preparation:
Begin by turning off the water supply to your shower to prevent any unexpected water flow.
Open the shower faucet to drain any remaining water in the pipes.
Cover the drain with a cloth or towel to prevent any dropped tools or parts from causing blockages.
-
Removing the Old Shower Arm:
Protect the finish of the old shower arm and your tools by wrapping a cloth around the arm's base.
Using the adjustable wrench, carefully unscrew the old shower arm by turning it counterclockwise. If it's been in place for a long time, you might need to apply more force.
-
Preparing the Shower Pipe:
Once the old shower arm is removed, clean the threads on the shower pipe coming out from the wall to ensure a smooth installation for the new arm.
Wrap Teflon tape clockwise around the threads of the shower pipe. This helps create a watertight seal and makes it easier to screw in the new shower arm.
-
Installing the New Shower Arm:
Carefully screw in the new shower arm by hand to avoid cross-threading. Once it's hand-tight, use the adjustable wrench for the final turns. Remember to protect the finish with a cloth.
Ensure the shower arm is angled correctly for optimal water flow and aesthetics.
-
Attaching the Shower Head:
Wrap Teflon tape around the threads at the end of the new shower arm.
Screw on the shower head, again starting by hand to avoid cross-threading and finishing with a wrench for a secure fit.
-
Final Touches:
Turn on the water supply and test the new shower arm and head for leaks.
If any leaks are detected, gently tighten the connections until they stop. If leaks persist, applying some sealant around the threads can offer an additional layer of protection.

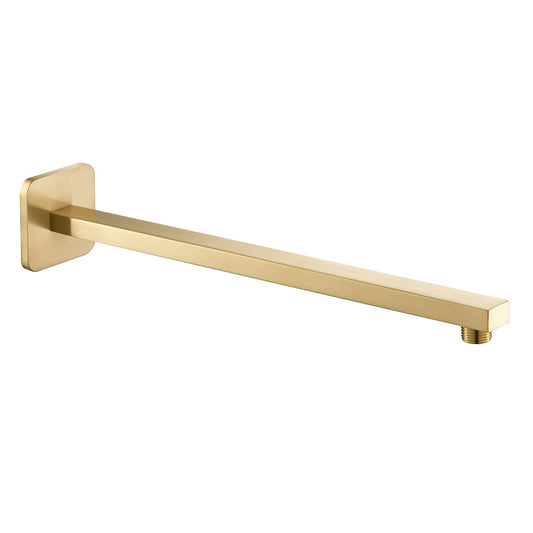
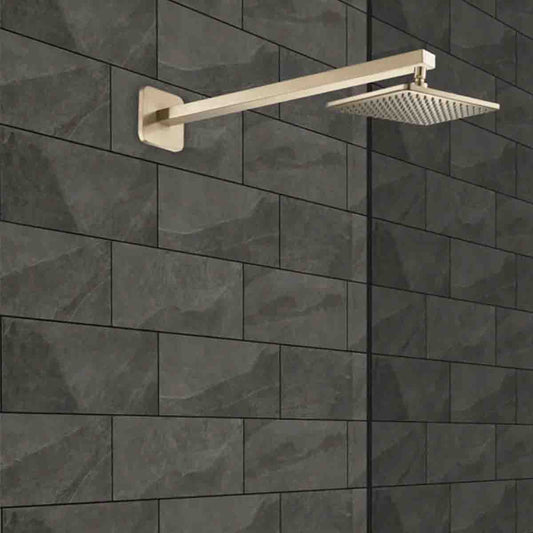
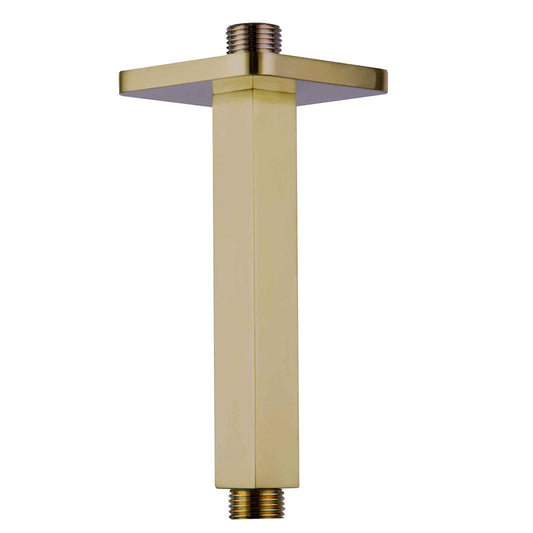
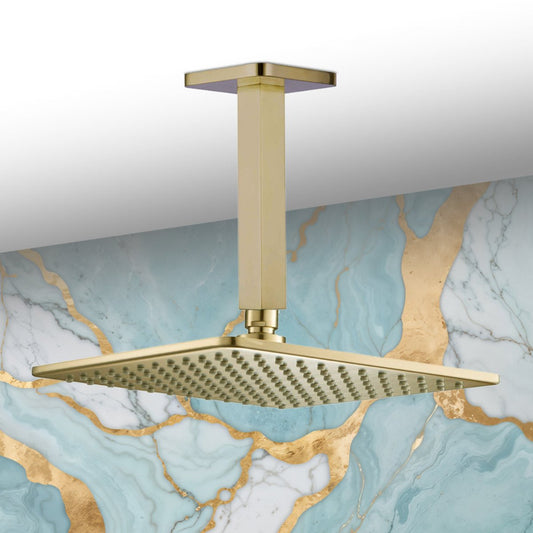
Explore our shower arms collection here at our Gold Bathroom UK
Conclusion:
Changing the shower arm in your gold bathroom is a straightforward process that can significantly impact the space's functionality and luxury appeal. By following these steps, you can ensure a smooth installation, resulting in a shower that perfectly complements the opulence of your bathroom. Remember, while DIY projects can be rewarding, don't hesitate to seek professional help if you encounter any issues during the installation process.


