How to Clean and Maintain a Toilet Brush and Holder
Table of Contents:
-
Discover the Hidden Tricks to Keep Your Toilet Brush and Holder Impeccably Clean
→ -
Toilet Accessories Collection
→ -
Types of Toilet Brushes and Holders
→ -
Cleaning a Toilet Brush
→ -
Regular Maintenance for Toilet Brushes
→ -
Tackling Tough Stains
→ -
Bleach-Free Alternatives
→ -
Toilet Brush Holder Maintenance
→ -
Replacement Guidelines
→ -
Conclusion
→ -
Frequently Asked Questions
→
Discover the Hidden Tricks to Keep Your Toilet Brush and Holder Impeccably Clean
Maintaining a clean and sanitary toilet brush and holder is essential for a fresh and healthy bathroom environment. In this guide, we provide practical and straightforward steps to keep these often-overlooked items spotless and effective. You’ll learn how to tackle tough stains, explore both chemical and natural cleaning solutions, and understand when it’s time to replace your brush. With our expert tips, you’ll not only ensure that your toilet brush and holder remain hygienic but also enhance the overall cleanliness of your bathroom. Get ready to transform your routine with easy, actionable advice for a cleaner, more pleasant space!
Types of Toilet Brushes and Holders
Traditional Toilet Brushes: Traditional toilet brushes are characterized by their classic design, featuring a long handle and a round or oval brush head. Typically made from nylon or plastic bristles, these brushes are paired with holders crafted from plastic, wood, or metal. The holder's primary purpose is to discreetly store the brush and keep it out of sight. While traditional brushes are generally affordable and readily available, they may lack the modern aesthetic of newer designs. Their performance in cleaning tight spaces may also be less efficient compared to more advanced options.
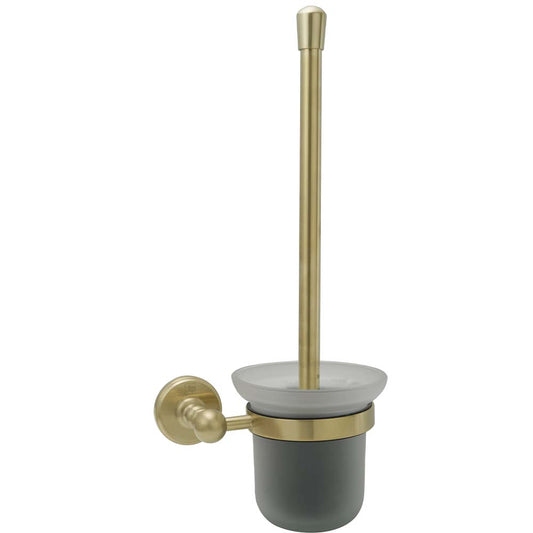
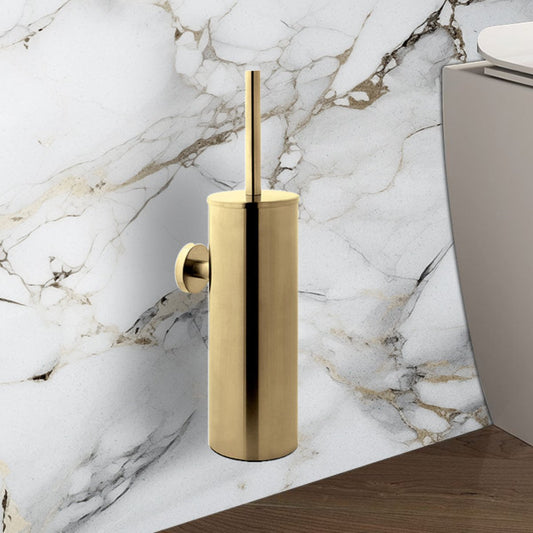
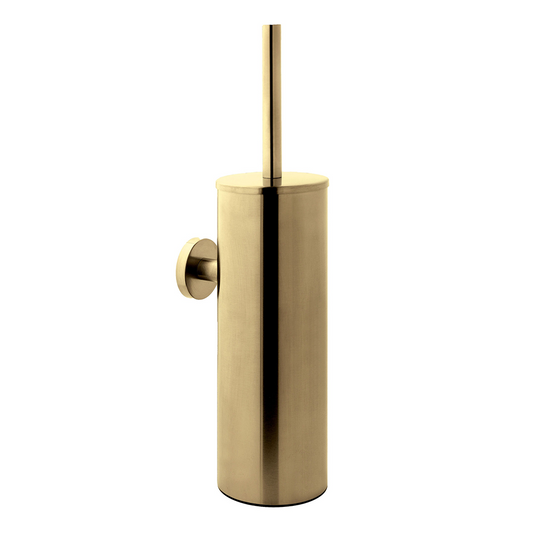
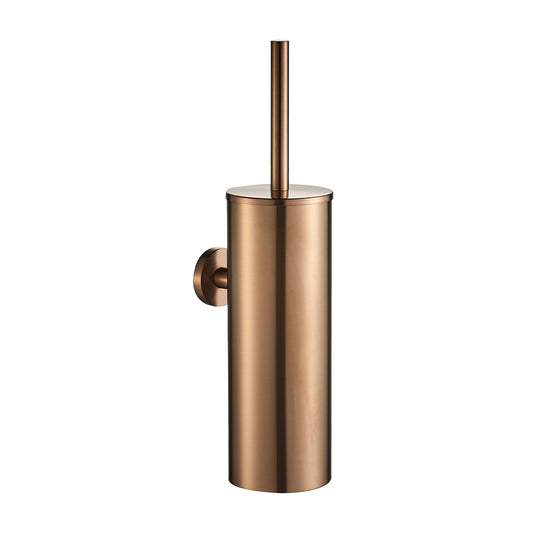
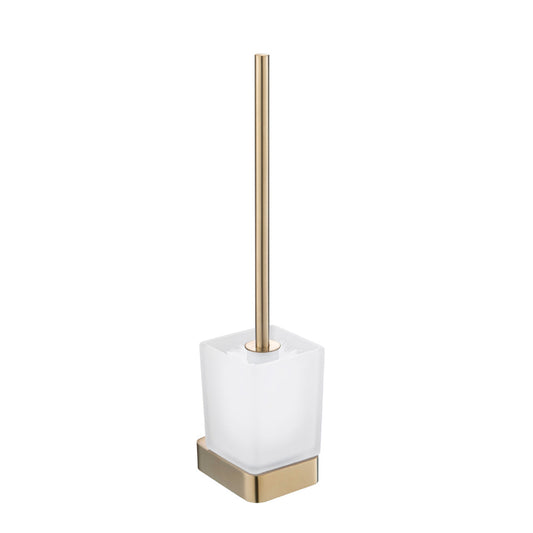
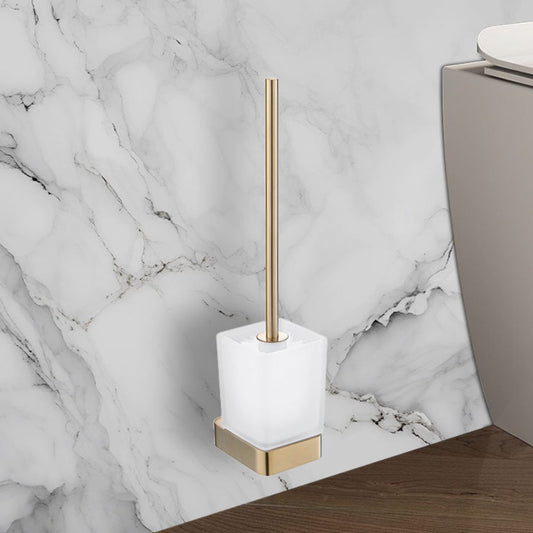
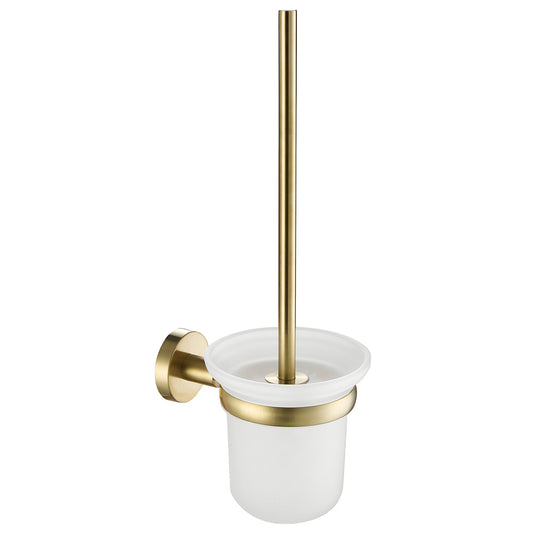
Modern Toilet Brushes: Modern toilet brushes are designed with a focus on sleek, minimalist aesthetics. These brushes often come with geometric or cylindrical holders that complement contemporary bathroom decor. Made from high-quality materials such as stainless steel or brushed gold, modern brushes offer both durability and style. Features may include removable heads or self-cleaning mechanisms. Although modern toilet brushes are stylish and functional, they can be more expensive and require a shift in maintenance practices from traditional brushes.
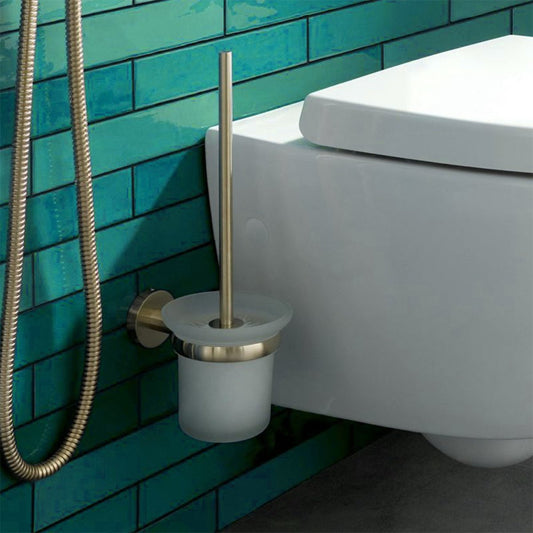
Wall-Mounted Toilet Brushes: Wall-mounted toilet brushes are an excellent choice for those looking to save floor space. These brushes are affixed directly to the wall, keeping the bathroom area tidy and accessible. The holders are typically made from stainless steel, ceramic, or plastic, and the brush features durable nylon bristles. Wall-mounted designs are space-saving and often come with a sleek look but require installation, which involves drilling into the wall. They are less portable compared to freestanding options but offer a clean and organized appearance.
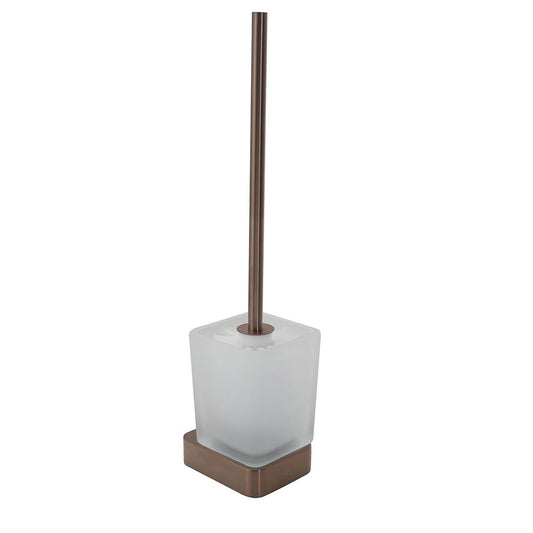
Freestanding Toilet Brushes: Freestanding toilet brushes come with a standalone holder that sits on the floor. These brushes often feature a weighted base to prevent tipping and can be made from materials such as stainless steel, plastic, or ceramic. Freestanding brushes are easy to move and do not require installation, making them a convenient choice. However, they do occupy floor space and may necessitate more frequent cleaning around their base to avoid dirt and grime accumulation.
Dual-Action Toilet Brushes: Dual-action toilet brushes combine the features of traditional brushes with additional functionalities. Some of these brushes include scrubbers or extendable handles for more comprehensive cleaning tasks. They often feature advanced materials such as antimicrobial bristles and ergonomic handles. Dual-action brushes offer enhanced cleaning capabilities, making maintenance easier. Nevertheless, their additional features can lead to higher costs and may require more storage space.
Silicone Toilet Brushes: Silicone toilet brushes are known for their flexible, non-scratch bristles that effectively clean tight areas without damaging the toilet bowl’s surface. Made entirely from silicone, these brushes are resistant to bacteria and mold, making them easy to clean and highly durable. While silicone brushes provide excellent durability and ease of maintenance, they may not offer the same scrubbing power as traditional bristle brushes for heavily soiled areas.
Automatic Toilet Brushes: Automatic toilet brushes are equipped with built-in mechanisms for cleaning. These high-tech brushes often feature motorized or self-cleaning functions, which reduce manual effort. Made from advanced plastics and metals, automatic brushes may include features such as self-cleaning or sanitizing options. Despite their advanced functionality, they are generally more expensive and require regular maintenance of their electronic components.
Cleaning a Toilet Brush
Preliminary Rinse: Begin the cleaning process by rinsing the toilet brush under hot water. This initial rinse helps to dislodge and flush away the bulk of the visible debris and grime accumulated on the bristles. Hot water is particularly effective because it softens and loosens the dirt and residues stuck to the brush. This step not only helps in making the subsequent cleaning more efficient but also reduces the risk of spreading bacteria or germs from the brush to other areas. For the best results, use a sink or tub where you can thoroughly rinse the brush without contaminating other surfaces.
Prepare Cleaning Solution: To thoroughly clean and disinfect the toilet brush, prepare an appropriate cleaning solution. You can use a commercial disinfectant or dilute bleach in water, typically using a ratio of one cup of bleach to a gallon of water. If you prefer natural alternatives, white vinegar is a great option due to its acetic acid content, which helps dissolve grime and kill bacteria. Baking soda, mixed with hot water, also provides a mild abrasive action to scrub away dirt and neutralize odors. Prepare enough solution to fully submerge the brush, as this ensures a comprehensive cleaning of all bristle areas.
Submerge the Brush: Place the toilet brush into the prepared cleaning solution, making sure it is completely immersed. Allow the brush to soak for 30 minutes to an hour. This soaking period is crucial because it enables the cleaning agents to penetrate and loosen the grime and bacteria lodged within the bristles. Soaking also allows for better disinfection as the solution works its way into the bristles and the brush head, ensuring that any microorganisms are effectively neutralized. This step helps to break down tough stains and makes it easier to scrub off any remaining dirt.
Scrub if Needed: After soaking, inspect the brush for any remaining stubborn stains or buildup. Use a small brush or an old toothbrush to gently scrub these areas. This helps remove any residual grime that might not have been dislodged during the soaking phase. Scrubbing ensures that all parts of the brush, including hard-to-reach areas, are thoroughly cleaned. Be cautious not to use overly harsh tools that could damage the bristles. This extra step is especially important if the brush had been heavily soiled or if the bristles show signs of discoloration or persistent stains.
Rinse Thoroughly: Once you have scrubbed the brush, rinse it thoroughly under hot water. This step is essential to remove any remaining traces of the cleaning solution and any loosened debris. Hot water helps to wash away the cleaning agents and ensures that no residues are left on the brush, which could potentially be harmful if ingested or if they come into contact with other surfaces. Rinsing also helps in removing any soap scum or leftover grime, ensuring that the brush is clean and ready for use without any lingering chemicals.
Dry the Brush: After rinsing, shake off excess water from the brush to remove as much moisture as possible. Then, place the brush in a well-ventilated area to air-dry completely. Proper drying is crucial to prevent the growth of mold and bacteria, which thrive in damp conditions. An adequately dried brush will be more hygienic and last longer. If possible, position the brush in a way that allows it to hang or stand upright, which facilitates better air circulation and speeds up the drying process.
Regular Maintenance for Toilet Brushes
Post-Use Rinse: After each use of the toilet brush, rinse it thoroughly under hot water. This simple habit helps to remove any debris and residual waste from the bristles, reducing the amount of grime that can accumulate. Rinsing immediately after use also minimizes the buildup of bacteria and odors. By removing the bulk of the material right away, you make the brush easier to clean during more thorough maintenance sessions. This regular rinsing also helps to maintain a higher level of hygiene and ensures that the brush remains in a more sanitary condition between deep cleans.
Weekly Disinfecting: It’s advisable to disinfect the toilet brush at least once a week. Submerge the brush head in a disinfectant solution, such as a diluted bleach solution or a commercial disinfectant, to kill bacteria and remove any lingering germs. For a natural alternative, you can use a mixture of white vinegar and hot water. Regular disinfecting prevents the growth of harmful microorganisms and helps in maintaining overall bathroom hygiene. This weekly routine is essential for ensuring that the brush remains effective and sanitary, and it helps in controlling odors and keeping the brush in optimal working condition.
Proper Drying: After each use and cleaning, ensure that the brush is allowed to dry completely before storing it. A wet brush can become a breeding ground for mold and bacteria, which can lead to unpleasant odors and potential health issues. Place the brush in a well-ventilated area or use a towel to remove excess moisture. Ensure that the brush holder does not retain any standing water, which can contribute to mold growth and deteriorate the brush. Proper drying helps to extend the lifespan of the brush and maintains its cleanliness and effectiveness.
Clean the Holder: Regularly clean the toilet brush holder with hot, soapy water or a disinfectant solution. The holder itself can accumulate grime, bacteria, and unpleasant odors, so it’s important to keep it clean. Wash it thoroughly, paying attention to any areas where water might pool, as standing water can contribute to mold and odor issues. Ensure that the holder is completely dry before placing the brush back in it. Regular cleaning of the holder helps to maintain a hygienic environment and prevents cross-contamination between the brush and the holder.
Tackling Tough Stains
With Poop: Toilet brushes are frequently exposed to feces, which can lead to stubborn stains and unpleasant odors. Begin by immediately rinsing the brush under hot water to remove any residual waste. If stains persist, prepare a strong disinfectant solution. Submerge the brush in this solution for approximately one hour. This extended soaking helps dissolve and lift any remaining stains. After soaking, use a small brush or an old toothbrush to scrub any stubborn areas. This step ensures that all traces of waste are thoroughly cleaned. Finally, rinse the brush thoroughly under hot water to ensure that no cleaning solution residues remain, and allow it to air-dry completely.
Without Bleach: For those who prefer not to use bleach, there are effective natural alternatives. White vinegar and baking soda are both excellent choices. To use white vinegar, mix it with hot water in a container large enough to submerge the brush. Soak the brush in this solution for about 30 minutes. Vinegar's acidic properties help break down stains and disinfect the brush. Alternatively, add baking soda to hot water. Baking soda’s mild abrasiveness can help scrub away grime and neutralize odors. After soaking, scrub the brush if necessary and rinse thoroughly with hot water. Both methods offer powerful cleaning solutions without the harshness of bleach.

Bleach-Free Alternatives
White Vinegar: White vinegar is a versatile and effective cleaning agent. To use it for cleaning your toilet brush, mix it with hot water in a container. Submerge the brush in this solution and let it soak for about 30 minutes. Vinegar’s natural acidity helps dissolve mineral deposits and kill bacteria, making it an excellent choice for maintaining a clean and sanitary brush. After soaking, scrub any remaining stains if needed and rinse the brush thoroughly with hot water. Vinegar also helps in deodorizing, leaving your brush smelling fresh.
Baking Soda: Baking soda is another natural alternative that works well for cleaning toilet brushes. Add baking soda to hot water to create a cleaning solution. Soak the brush in the mixture for 30 minutes to an hour. Baking soda’s mild abrasiveness helps scrub away stains and grime, while its natural deodorizing properties help neutralize any unpleasant odors. After soaking, use a brush or sponge to clean any stubborn areas, then rinse the brush thoroughly with hot water. Baking soda is gentle on the brush and effective at maintaining cleanliness.
Essential Oils: Essential oils such as tea tree or lavender can be added to your cleaning solution for additional antibacterial benefits and a pleasant fragrance. Simply add a few drops of your chosen essential oil to the vinegar or baking soda solution. Essential oils provide natural antibacterial properties that can help kill germs and bacteria, while also leaving a fresh, clean scent. Incorporating essential oils into your cleaning routine adds an extra layer of sanitation and enhances the overall cleanliness of your toilet brush.
Toilet Brush Holder Maintenance
Clean and Disinfect: The toilet brush holder itself requires regular cleaning and disinfecting to prevent the buildup of germs and bacteria. Wash the holder with hot, soapy water, using a sponge or brush to scrub any residues. For added disinfection, you can use a disinfectant solution or wipes. Ensure that all parts of the holder, including any nooks and crannies, are thoroughly cleaned. This routine maintenance helps keep the holder sanitary and prevents any cross-contamination.
Prevent Standing Water: Standing water in the toilet brush holder can be a breeding ground for mold and bacteria. To prevent this, ensure that the holder is designed to allow for drainage or that it has a drip tray to catch excess water. Regularly check the holder to make sure no water is pooling, and dry any standing water promptly. Keeping the holder dry and clean reduces the risk of mold growth and maintains a hygienic bathroom environment.

Replacement Guidelines
Replacing your toilet brush and holder at the appropriate time is essential for maintaining hygiene and ensuring effective cleaning. Here’s a detailed guide on when and why to replace these bathroom essentials:
Nylon-Bristled Brushes:
Replacement Frequency:
Why Every 6-8 Months? Nylon-bristled toilet brushes should be replaced every 6 to 8 months to ensure optimal cleaning performance. Over time, the bristles wear down due to the constant scrubbing against the toilet bowl and exposure to cleaning chemicals. Regular replacement helps prevent the brush from becoming ineffective and ensures that it remains a tool that contributes to proper hygiene.
Signs of Wear:
Fraying Bristles: Nylon bristles can become frayed or bent after frequent use. This fraying affects the brush's ability to scrub effectively, making it harder to remove stains and residues from the toilet bowl. If you notice that the bristles are no longer straight and have lost their firmness, it’s a sign that the brush is past its prime.
Bent or Misshapen Bristles: Bristles that have bent out of shape or clumped together reduce the brush’s cleaning efficiency. They can also trap bacteria and grime, which may not be effectively cleaned even with regular scrubbing.
Hygiene Considerations:
Bacteria and Grime: Worn-out bristles can harbor bacteria and germs more easily. As the bristles degrade, they may not clean as thoroughly, leading to a buildup of grime and bacteria that could potentially spread back into the toilet. Replacing the brush helps mitigate this risk and maintains a higher level of cleanliness.
Silicone Brushes:
Replacement Frequency:
Why at Least One Year? Silicone brushes are generally more durable than nylon brushes, with a lifespan of at least one year under normal usage. Silicone's resistance to damage and bacterial growth makes it a longer-lasting option, but it still requires replacement when signs of wear become evident.
Signs of Wear:
Loose Brush Head: Over time, the head of a silicone brush might become loose or detached from the handle. This can happen due to frequent use and exposure to cleaning agents. A loose brush head can compromise the effectiveness of the brush and may lead to inadequate cleaning.
Visible Damage: Any visible cracks, tears, or severe wear on the silicone bristles indicate that the brush is no longer in optimal condition. Such damage can affect the brush's performance and cleanliness, making replacement necessary.
Durability:
Less Bacteria Growth: Silicone brushes are less likely to harbor bacteria and mold compared to nylon bristles due to their non-porous surface. However, they are not immune to damage, and signs of wear or persistent odors still necessitate replacement. The brush’s durability makes it a good investment, but regular inspection is key to ensuring it remains effective.
Signs for Replacement:
Persistent Odor:
What It Indicates: A persistent odor from the toilet brush, despite regular cleaning, can be a sign that the brush has absorbed bacteria or mold. Such odors indicate that the brush may not be cleaning effectively and that the source of the smell might be trapped within the bristles or handle.
Impact on Hygiene: Odor can be an indicator of deeper hygiene issues, where bacteria or mold growth within the brush compromises bathroom cleanliness. Replacing the brush helps resolve this problem and prevents unpleasant smells.
Visible Mold:
How It Develops: Mold can develop on toilet brushes and holders due to the damp environment and lack of proper drying. Mold can be difficult to remove completely, and if visible, it often signifies that the brush is no longer sanitary.
Health Risks: Mold can pose health risks, particularly for individuals with respiratory issues or weakened immune systems. Replacing the brush and holder ensures a healthier and more hygienic bathroom environment.
Degradation:
Cracks and Discoloration: Cracks, discoloration, and severe wear on the brush or holder can affect performance and hygiene. These issues indicate that the brush has reached the end of its useful life and may no longer be effective at cleaning or maintaining bathroom hygiene.
Impact on Functionality: Degradation affects both the functionality and aesthetic of the brush. A well-maintained brush ensures effective cleaning and a tidy appearance in your bathroom.
Conclusion
Keeping your toilet brush and holder in pristine condition is more than just about aesthetics—it’s a crucial part of maintaining a healthy and hygienic bathroom environment. By incorporating these easy yet effective cleaning and maintenance tips, you’ll not only extend the life of your brush but also ensure that your bathroom remains fresh and sanitary. Regular cleaning with the right solutions, proper drying, and timely replacements are all key to avoiding unpleasant odors and bacterial build-up.
FAQ: Cleaning and Maintaining a Toilet Brush and Holder
It’s recommended to clean your toilet brush after every use. Rinse it thoroughly with hot water to remove any debris and let it dry completely to prevent bacteria growth. Regular cleaning helps ensure that the brush remains hygienic and effective.
Toilet brushes should be replaced every six months, regardless of how well you clean them. Plastic brushes often have a shorter lifespan compared to those made from wood or natural fibers. Brushes with natural bristles, if allowed to drip dry properly, can last longer.
To clean a toilet brush, fill the toilet bowl with hot water and add bleach or a disinfectant. Place the brush in the bowl and let it soak for a few hours. After soaking, rinse the brush and holder under hot water and let them air dry. This method helps to disinfect and remove any lingering germs.
To disinfect a toilet brush, submerge both the brush and the holder in a mixture of water and vinegar. Let them soak for at least an hour to ensure thorough disinfection. Vinegar is an effective natural disinfectant that helps eliminate germs and odors.
Yes, you can use a cleaner specifically designed for toilet cleaning. Spray the brush with the cleaner, let it sit for a few minutes to allow the product to work, and then rinse the brush thoroughly with clean water. This helps ensure that the brush is free of germs and bacteria.
To keep germs at bay, fully submerge the toilet brush in a disinfectant solution such as bleach or vinegar mixed with water. Ensure the brush is completely immersed to effectively kill any germs or bacteria present. Proper drying is also crucial to prevent bacterial growth.
A deep clean involves soaking the brush in a bleach or vinegar solution for an extended period, such as overnight. This thorough soak ensures that the brush is completely disinfected and any stubborn stains or odors are removed.
Technically, you can wash a toilet brush in the dishwasher on the sterilize setting. The hot water, soap, and residual cleaner should sanitize the brush. However, it’s best to ensure the brush is placed alone in the dishwasher to avoid contamination with dishes.


