Mastering Maintenance: How to Deal with a Leaking Shower Hose
Table Of Contents:
-
Introduction
→ -
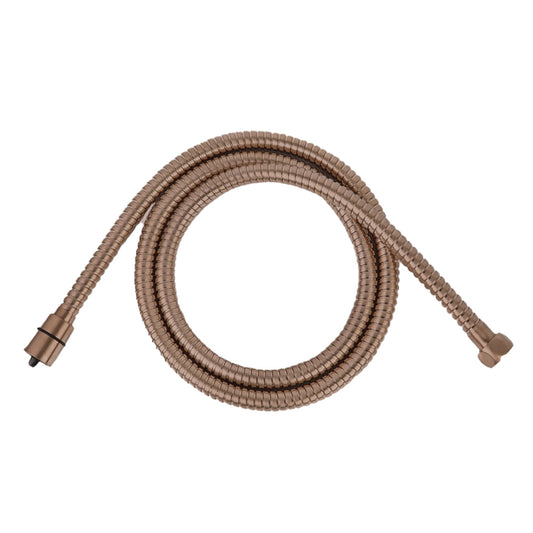
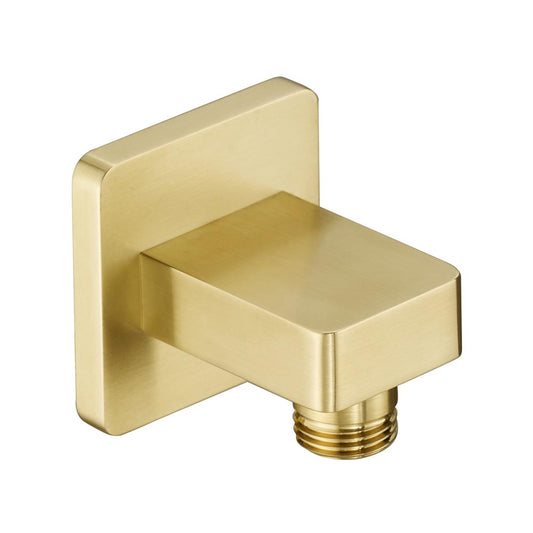
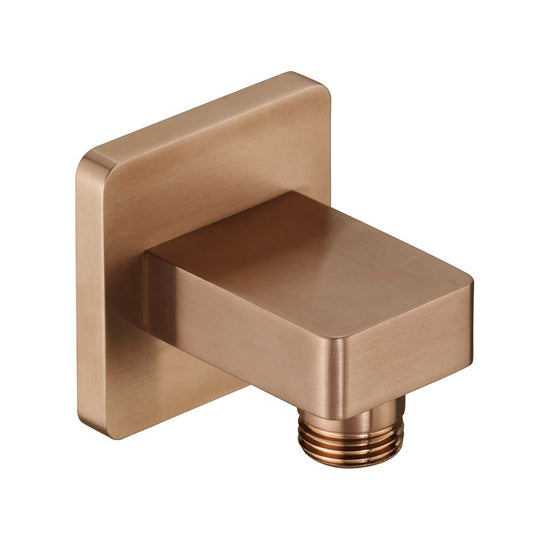
Shower Hoses And Elbows Collection
→ -
Identifying the Source of the Leak
→ -
Tools and Materials Needed
→ -
Steps to Fix Leaking Shower Hose
→ -
Conclusion
→
Introduction:
A leaking shower hose can dampen the splendor of any gold bathroom, transforming a luxurious escape into a source of frustration. Beyond the annoyance, it can lead to water wastage and potential damage to your opulent bathroom fixtures and finishes. Addressing a leaking shower hose promptly not only preserves the integrity of your bathroom's design but also exemplifies responsible homeownership.
This blog provides a comprehensive, step-by-step guide on identifying, troubleshooting, and resolving leaks in your shower hose, ensuring your gold bathroom remains a pinnacle of luxury and functionality.
Identifying the Source of the Leak:
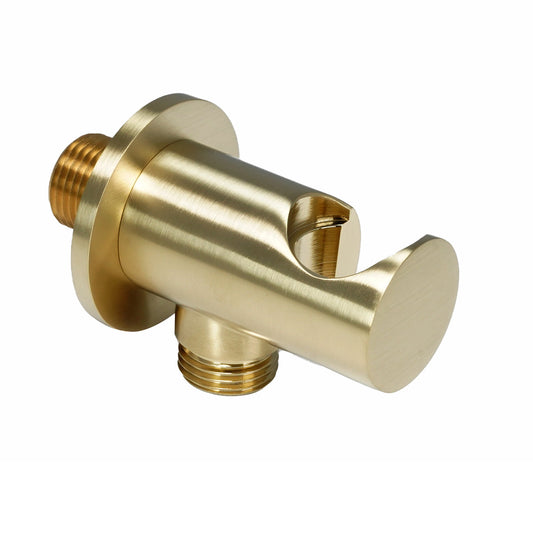
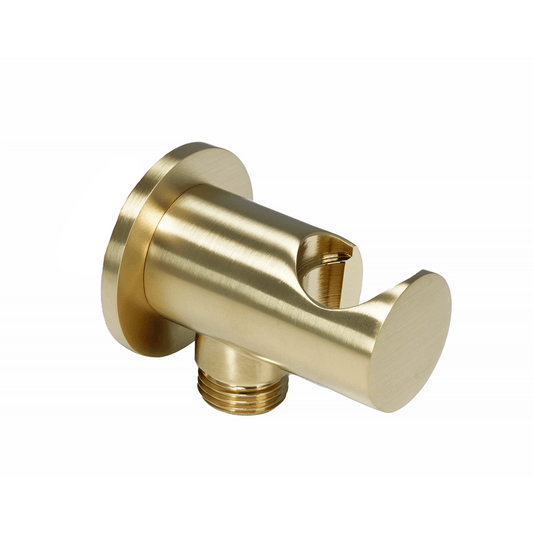
Before attempting any repairs, it's crucial to pinpoint where the leak is originating. Leaks can occur at the connection points where the hose attaches to the wall outlet or the showerhead, or they might be due to damage along the hose itself.
-
Connection Leaks: Often, leaks at the connection points are due to loose fittings, worn-out washers, or improper installation.
-
Hose Damage: Cracks, holes, or splits in the hose body can also lead to leaks, typically resulting from wear and tear over time.

Tools and Materials Needed:
-
Adjustable wrench or pliers
-
Teflon tape (plumber's tape)
-
Replacement washers or O-rings
-
New shower hose (if necessary)
-
Cloth to protect fixtures and finishes
Steps to Fix Leaking Shower Hose
Step 1: Tighten the Connections:
Sometimes, fixing a leak is as simple as tightening the connections. Using an adjustable wrench or pliers, carefully tighten the nuts at both ends of the hose. Use a cloth to protect the gold finish from scratches. If the leak persists, proceed to the next steps.
Step 2: Replace Washers or O-Rings:
-
Disassemble the Connections: Unscrew the hose from both the showerhead and the water outlet. Inspect the washers or O-rings inside the connection points.
-
Identify Wear and Tear: Look for signs of damage or wear on the washers or O-rings. These components can become flattened or cracked over time, compromising their ability to form a watertight seal.
-
Replace if Necessary: Replace the old washers or O-rings with new ones. Ensure they are the correct size and type for your hose and fixtures.
Step 3: Apply Teflon Tape:
Applying Teflon tape to the threads of the water outlet and showerhead can help create a more secure, leak-proof seal. Wrap the tape clockwise around the threads before reattaching the hose.
Step 4: Check for Hose Damage:
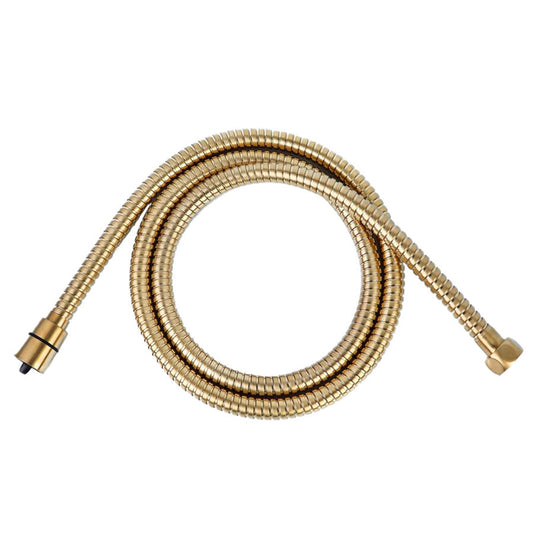
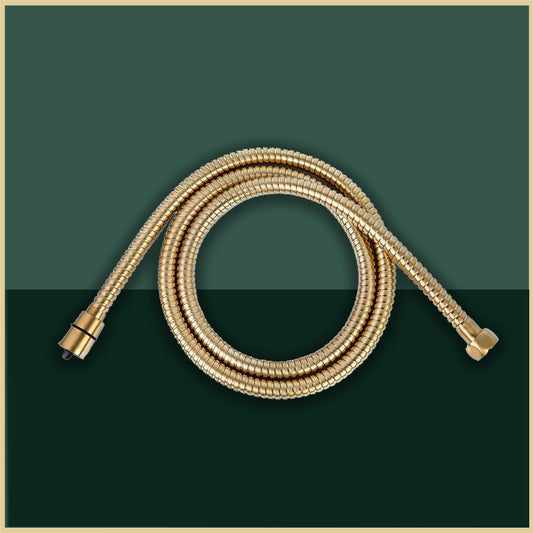
Examine the hose length for any visible signs of damage. If you find cracks or holes, the most effective solution is to replace the hose entirely. Choose a high-quality replacement hose that matches the aesthetic of your gold bathroom.
Step 5: Test the Repairs:
After making any adjustments or replacements, reattach the hose and test the shower. Turn on the water and observe for leaks. Ensure all connections are secure and the hose is functioning properly.
also you can explore our shower accessories collection here
Conclusion:
Dealing with a leaking shower hose promptly can save you from the inconvenience of water damage and maintain the luxurious appeal of your gold bathroom. Whether it's tightening connections, replacing worn components, or opting for a new hose, each step ensures your shower remains a feature of elegance and efficiency.
Remember, regular maintenance and immediate attention to issues like leaks underscore the essence of luxury living, keeping your gold bathroom not only opulent but also in pristine working order.


