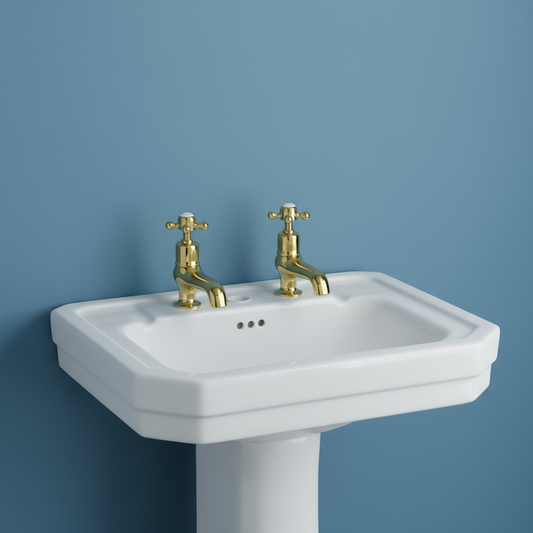
A Comprehensive Guide to Replacing Basin Taps in UK Bathrooms
Table Of Contents:
-
From Dull to Dazzling
→ -
Basin Taps Collection
→ -
Tools and Materials Needed
→ -
Step-by-Step Replacement Process
→ -
Troubleshooting Common Issues
→ -
Maintenance Tips
→ -
Safety and Professional Help
→ -
Conclusion
→ -
FAQ
→
From Dull to Dazzling: How to Replace Basin Taps with Golden Elegance in Your UK Bathroom
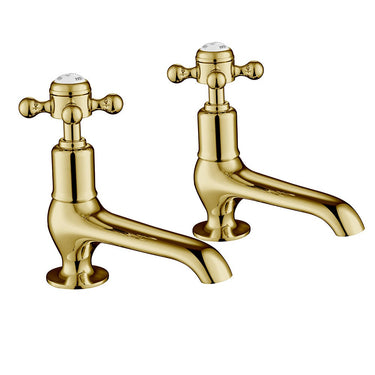
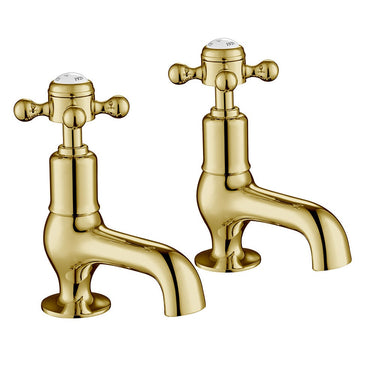
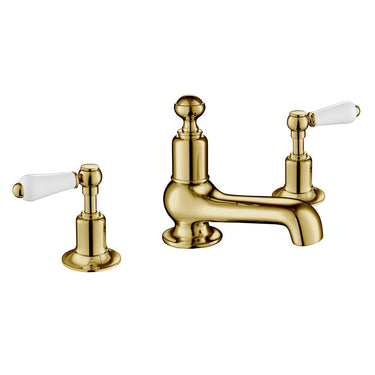
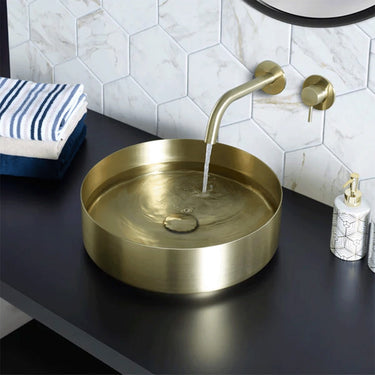
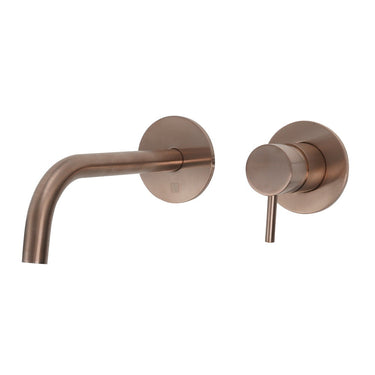
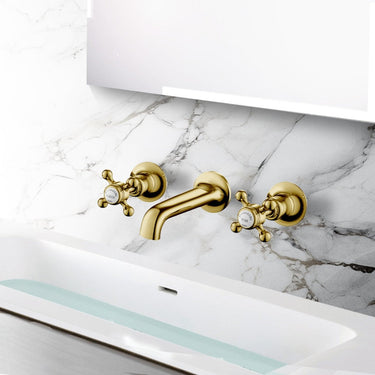
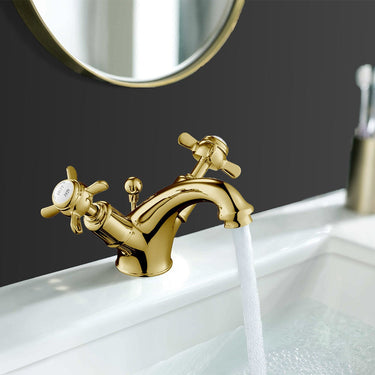
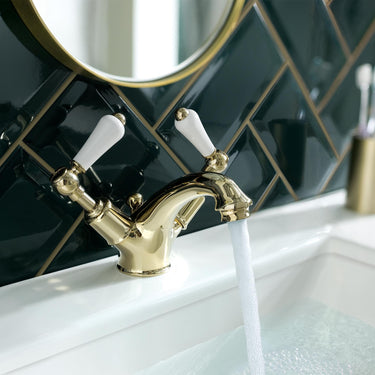
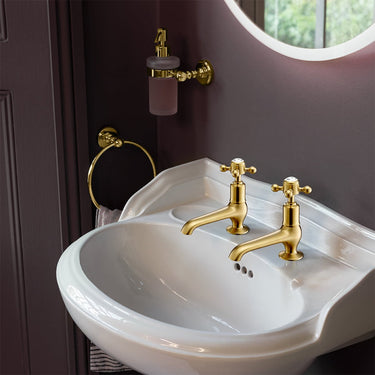
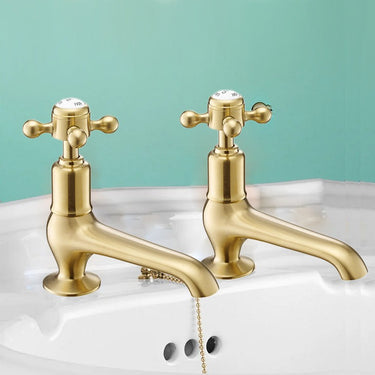
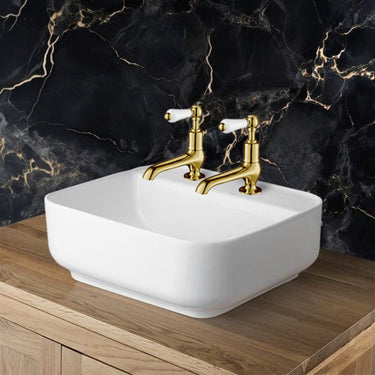
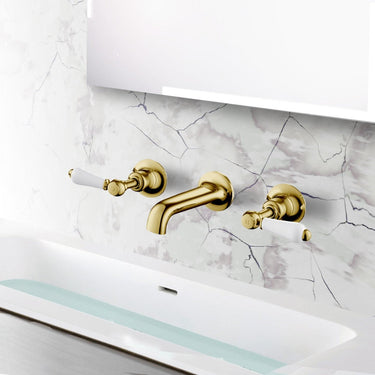
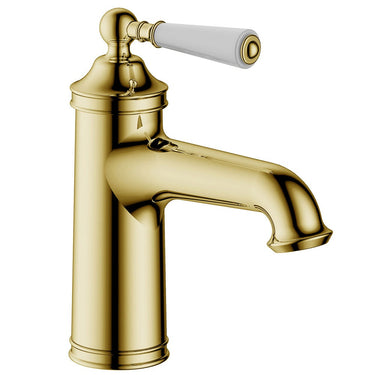
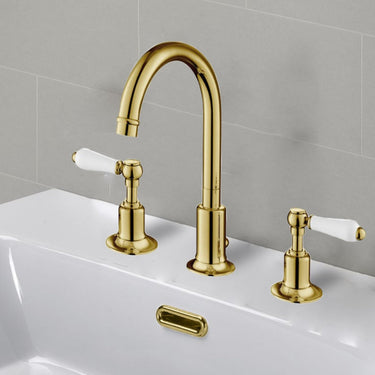
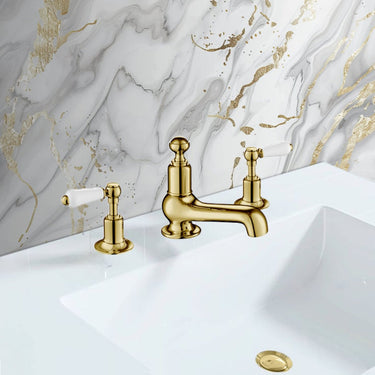
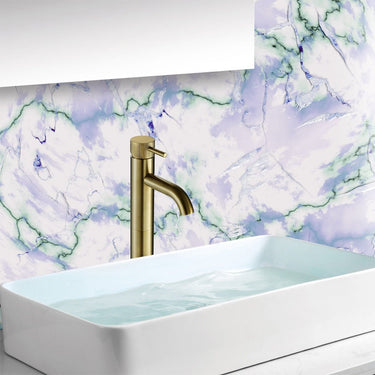
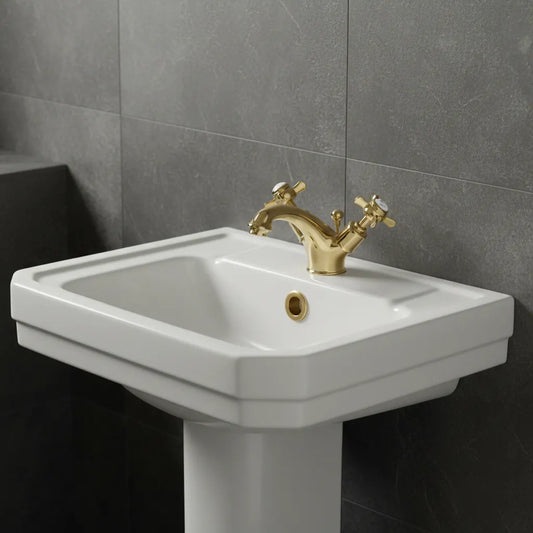
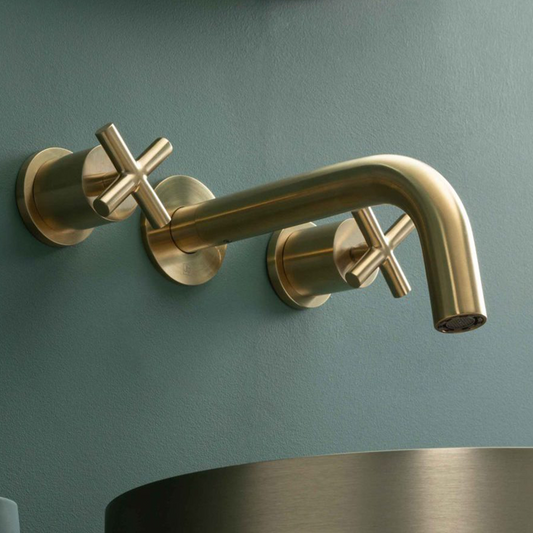
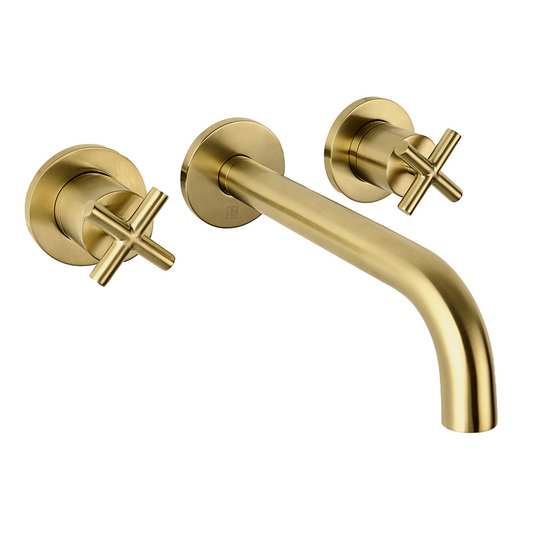
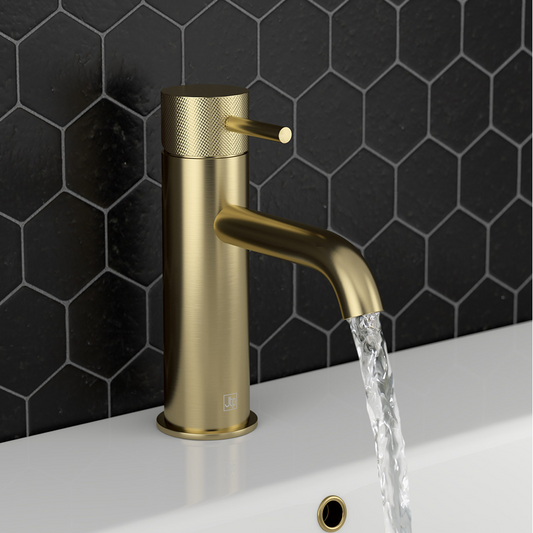
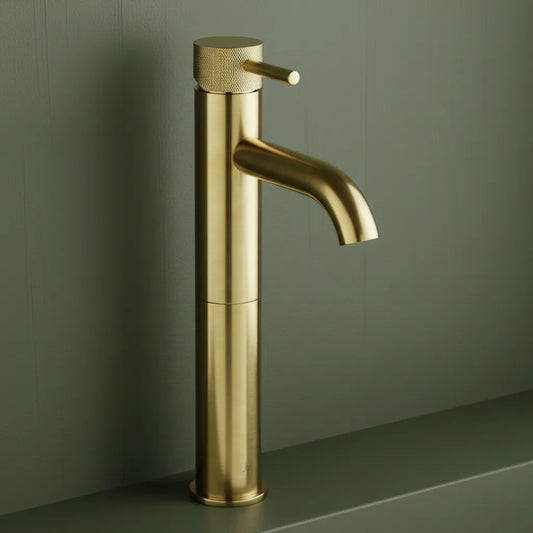
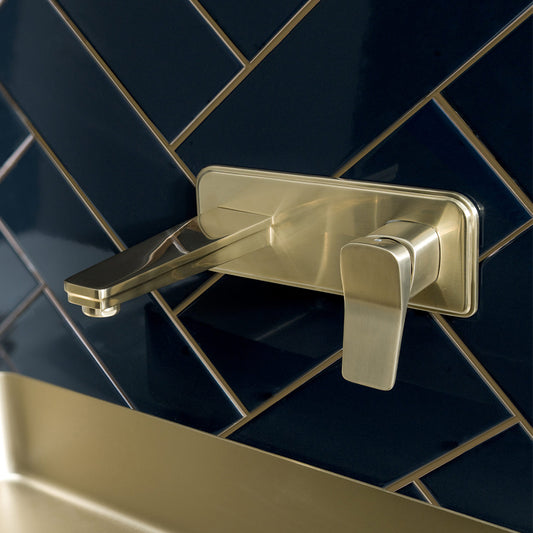
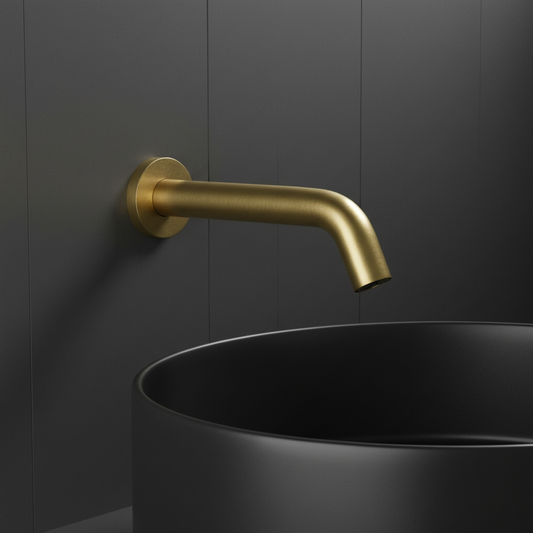
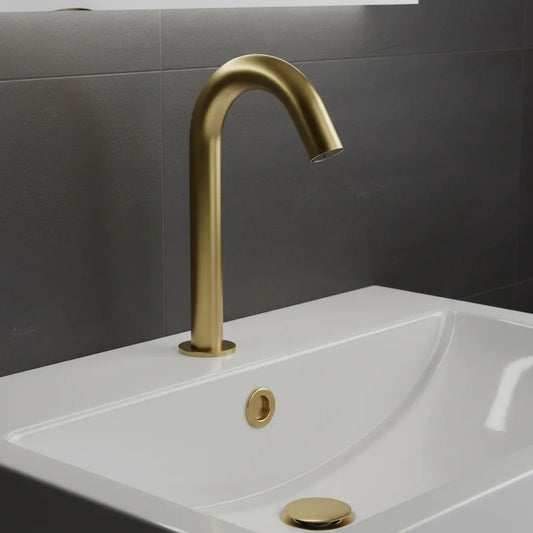
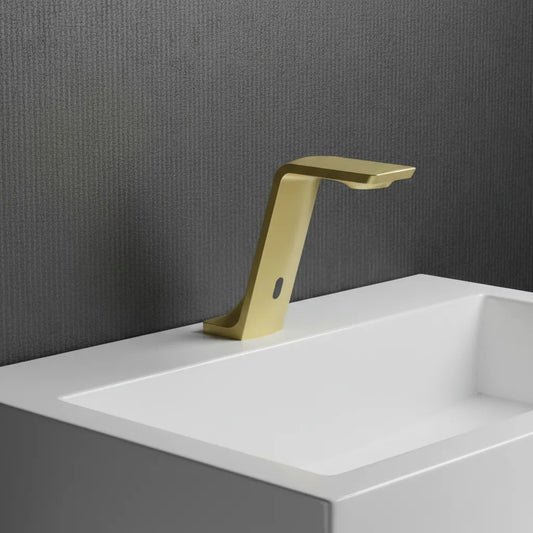
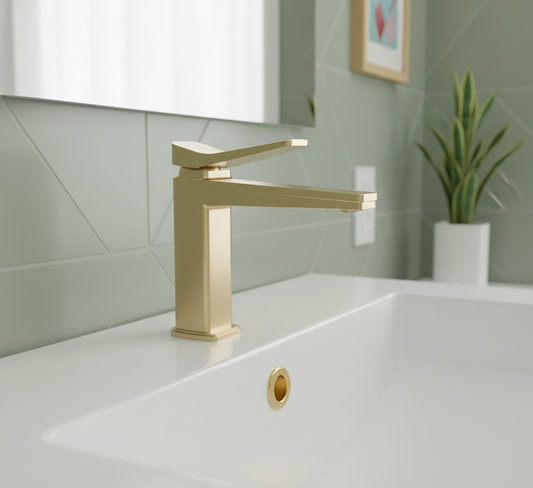
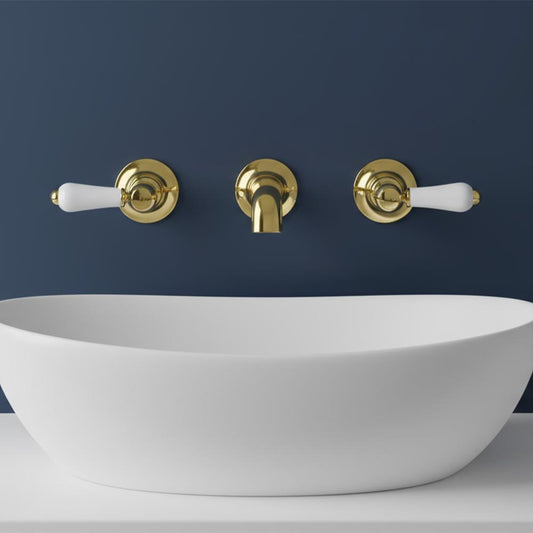
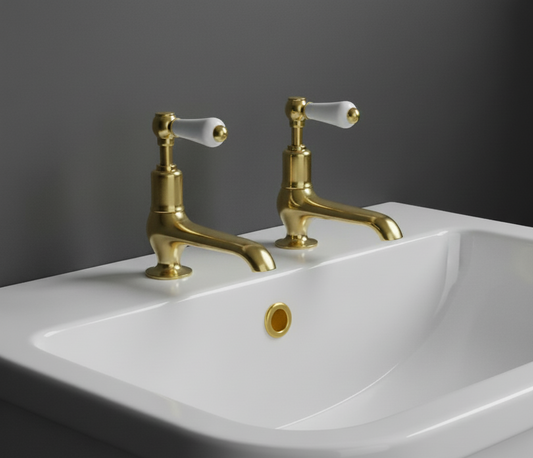
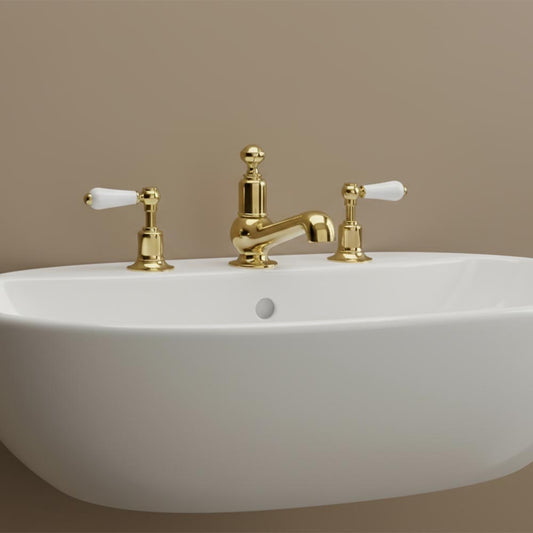
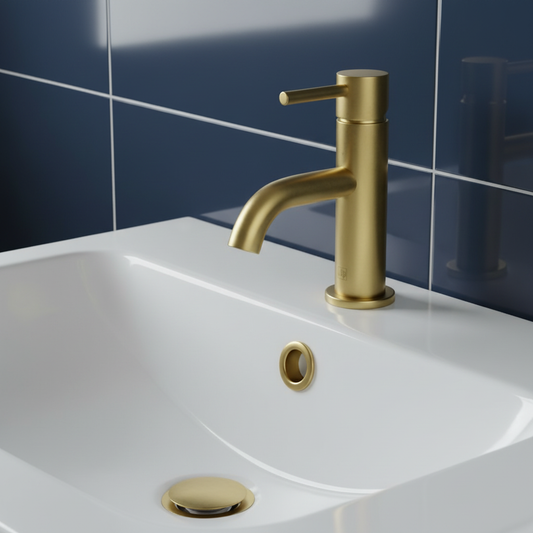
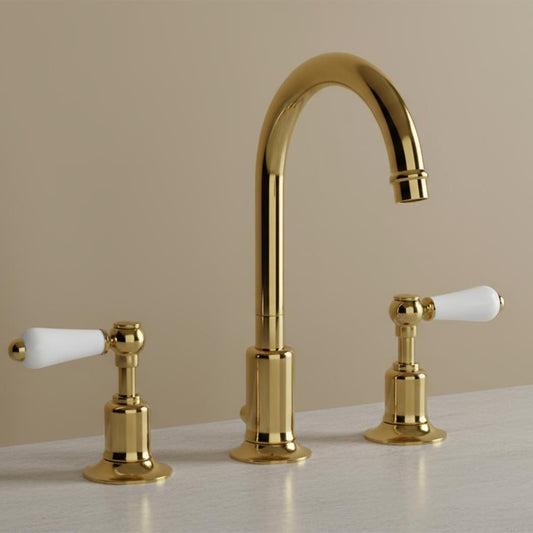
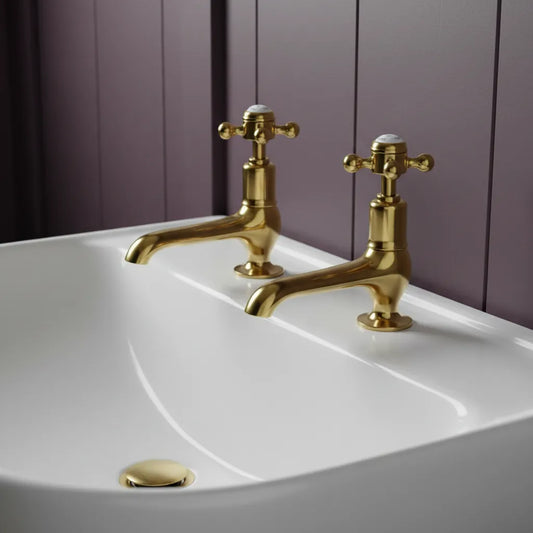
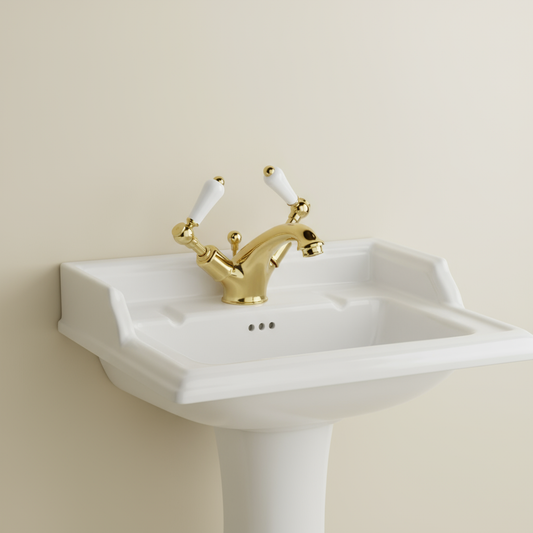
Welcome to our comprehensive guide on replacing basin taps, where elegance meets practicality! In this blog, we’ll walk you through the seamless process of upgrading your UK bathroom with stunning new basin taps, with a focus on the luxurious golden finish that adds a touch of sophistication. You’ll learn step-by-step instructions on how to tackle this DIY project with confidence, from essential tools and materials to troubleshooting common issues. Stay tuned to discover how this simple upgrade can transform your bathroom’s style and functionality, and get excited to elevate your space with our expert tips and insights.
Tools and Materials Needed
Tools:
-
Adjustable Wrench
: For loosening and tightening nuts and connectors. -
Basin Wrench
: Designed for accessing nuts in tight spaces under the sink. -
Screwdriver
: For removing and installing screws. -
Towel
: To manage water spills and protect surfaces. -
Pipe Wrench
: If needed for securing or loosening large fittings. -
Plumber’s Tape
: To ensure a watertight seal on threaded connections.
Materials:
-
New Basin Taps
: The replacement taps that will be installed. -
Washers
: To create a watertight seal between the taps and the sink. -
Nuts
: To secure the taps in place. -
Flexible Connectors
: To connect the taps to the water supply lines. -
Plumber’s Tape
: For wrapping around threaded connections to prevent leaks.
These tools and materials will help you efficiently and effectively replace your basin taps.

Step-by-Step Replacement Process
Replacing basin taps in your UK bathroom involves a series of straightforward steps that ensure a smooth installation. Here’s a detailed guide to walk you through each stage of the process:
1. Turn Off Water Supply
Before you begin, it’s crucial to turn off the water supply to avoid any unwanted spills. Locate the water shutoff valves, usually found under the sink. For most UK bathrooms, this involves turning off the compression fittings on the hot and cold water lines. If you can’t find these valves or they are not present, you may need to turn off the main water supply at the mains, which is typically located in the kitchen or utility room. Always test the taps to ensure that no water is flowing before proceeding.
2. Remove Old Taps
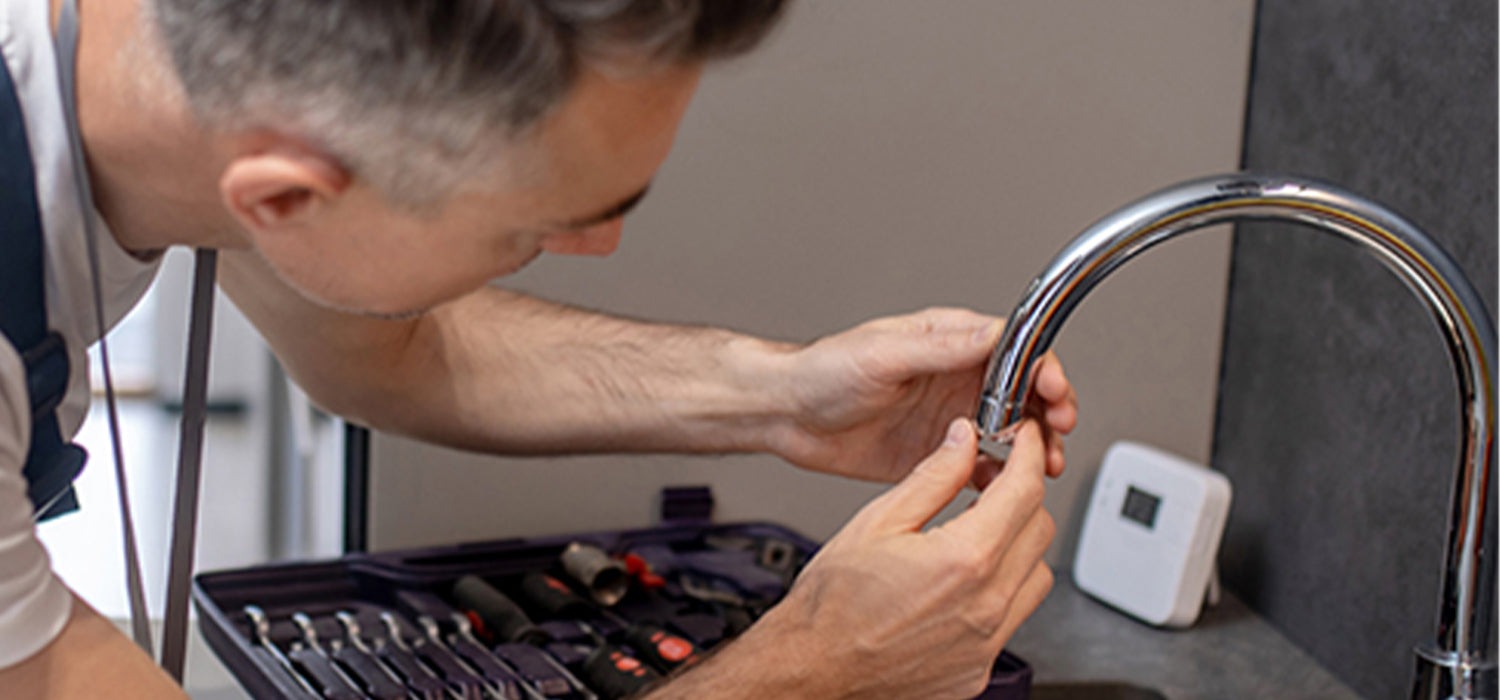
With the water supply turned off, it’s time to disconnect the old basin taps. Start by placing an old towel in the sink to catch any residual water. Using an adjustable wrench or a basin wrench, remove the nuts and flexible connectors that secure the old taps. You may need to unscrew the taps from the sink, which can be done by turning them counterclockwise. After removing the taps, clean around the tap holes with a wet cloth to remove any debris or old sealant.

3. Install New Basin Taps
Position the new basin taps in the existing holes. Before securing them, make sure that the washers and nuts are in place to create a watertight seal. Align the taps correctly, ensuring that the hot and cold taps are on the correct sides (typically, hot is on the left and cold is on the right). Hand-tighten the nuts to hold the taps in place, then use the adjustable wrench or basin wrench to ensure they are securely fitted. Be cautious not to overtighten, as this can damage the fittings or the sink.
4. Reconnect Water Supply
Reattach the flexible connectors to the new taps. Ensure that the connections are snug but not overtightened, which could cause damage. Once everything is connected, turn the water supply back on by reversing the shutdown procedure. Open the taps slowly to check for leaks and make any necessary adjustments. If you notice any drips or leaks, tighten the connections or check the sealant as needed.
5. Final Check
After turning the water back on, inspect the area around the taps for leaks. Run both hot and cold water to ensure proper flow and check the temperature settings to confirm everything is functioning correctly. If there are any issues with leaks or uneven water flow, it might be necessary to revisit the installation steps or consult a professional plumber.

Troubleshooting Common Issues
Leaks or Drips:
Leaks or drips from newly installed basin taps can be frustrating and are often indicative of issues with installation or component integrity. If you notice water dripping from the spout or around the base, the problem might be related to loose connections or improper sealing. Begin by inspecting all nuts and connectors to ensure they are tightened securely. If the issue persists, check the condition of washers and seals. These components might have been damaged during installation or could have been improperly placed. To address leaks, disassemble the taps carefully, replace any damaged parts, and reassemble them ensuring all connections are snug. Additionally, check if the tap is properly aligned and seated on the basin.
Old or Incompatible Plumbing:
When replacing basin taps, old or incompatible plumbing can present significant challenges. Plumbing systems in older homes might have different thread sizes or types of fittings, which may not be compatible with modern tap models. In such cases, you might need adapters or additional parts to bridge the gap between the new taps and the existing plumbing. If you encounter issues, consult the manufacturer’s specifications to ensure compatibility. In more complex scenarios, it’s advisable to consult a professional plumber who can make necessary modifications or recommend suitable solutions to integrate the new taps with your current plumbing setup.
Poor Water Pressure:
Reduced water pressure following a tap replacement can be caused by several factors. Blockages in the tap’s aerator or debris in the water lines can restrict flow. To resolve this, remove the aerator from the tap and clean it thoroughly to remove any particles that might be obstructing the water flow. Ensure that the water supply valves are fully open and check for kinks or blockages in the flexible supply lines. If these steps don’t resolve the issue, the problem might lie with the plumbing system itself, requiring a more detailed inspection to identify and address the root cause of the low pressure.

Maintenance Tips
Regular Cleaning:
Maintaining the appearance and functionality of your basin taps requires regular cleaning. Use a soft, damp cloth to wipe down the taps frequently, which helps prevent grime and water spots from accumulating. For stubborn stains or mineral deposits, opt for a mild, non-abrasive cleaner designed for fixtures. Avoid using harsh chemicals or abrasive scrubbers as they can damage the finish. For taps with a golden or metallic finish, consider using a cleaner that specifically caters to these materials to preserve their luster and prevent tarnishing. Regular maintenance helps extend the life of the taps and ensures they remain a striking feature in your bathroom.
Prevent Wear and Tear:
To minimize wear and tear on your basin taps, handle them with care. Avoid using excessive force when operating the taps, as this can damage the internal mechanisms or cause the fittings to become loose over time. Ensure that the taps are turned smoothly and never left in an intermediate position that might strain the components. Regularly check the operation of the taps to ensure they function properly and address any signs of wear promptly. By taking these precautions, you can extend the lifespan of your taps and maintain their performance and appearance.
Descaling:
In areas with hard water, mineral deposits can accumulate on taps, affecting their appearance and function. To address this, use a descaling solution or a mixture of white vinegar and water to dissolve these deposits. Apply the solution to the affected areas, allowing it to sit for a few minutes before scrubbing gently with a soft brush or cloth. Rinse the taps thoroughly with clean water to remove any residue from the descaling process. Regular descaling helps prevent build-up and keeps your taps looking pristine and functioning properly, especially in areas with high mineral content in the water.
Safety and Professional Help
When to Seek Professional Help:
While many tap replacement tasks can be managed DIY, there are instances where professional assistance is necessary. If you encounter complex issues such as persistent leaks, significant plumbing incompatibilities, or complications with the old plumbing system, consulting a professional plumber can save time and ensure the job is done correctly. A professional can provide expert advice, handle any unexpected problems, and guarantee that the installation meets industry standards. If you are unsure about any part of the replacement process or if complications arise, don’t hesitate to seek professional help to ensure a successful and trouble-free installation.
Safety Precautions:
Performing a tap replacement involves certain risks, and taking safety precautions is crucial. Always turn off the water supply before starting the installation to prevent flooding. Use protective gloves to handle tools and parts, especially if they are sharp or heavy. Ensure that you have a clear workspace and that all tools are in good condition and used according to their instructions. If using chemicals for cleaning or sealing, follow safety guidelines to avoid skin contact or inhalation. By adhering to these safety measures, you can minimize the risk of accidents and ensure a safe and efficient tap replacement process.
Conclusion
With the step-by-step guide provided, you’re well-equipped to tackle this DIY project confidently. Remember, it’s all about ensuring a seamless installation and addressing any potential issues with ease. If you encounter challenges, don’t hesitate to reach out to a professional for assistance. They can ensure everything is installed perfectly, giving you peace of mind and a flawlessly finished look.
So why wait? Embrace the elegance of golden basin taps and enjoy the stunning upgrade they bring to your bathroom. Dive into your renovation project today, and transform your space into a showcase of modern sophistication and timeless charm.
Frequently Asked Questions
Common signs include leaks, drips, difficulty turning the taps, or outdated design. If your taps are frequently causing problems or you’re renovating your bathroom, it might be time for a replacement.
Basin taps generally last several years, but their lifespan can vary based on usage and maintenance. Consider replacing them if they start showing signs of wear or if you’re updating your bathroom decor.
It depends on the compatibility of the new taps with your existing plumbing. Ensure that the new taps fit the existing pipework or be prepared to make adjustments. Some taps require specific fittings or modifications.


