Golden Gleam: Your Ultimate Guide to Installing a Luxury Gold Shower in the UK
Table Of Contents:
-
The Ultimate Luxury
→ -
Showers Collection
→ -
Planning Your Installation
→ -
Preparing for Installation
→ -
Installation Process
→ -
Troubleshooting Common Issues
→ -
Conclusion
→
The Ultimate Luxury: Installing a Gold Shower in Your UK Home – Here’s How
Transform your bathroom into a haven of luxury with our comprehensive guide to installing a gold shower. This blog stands out by offering not only step-by-step instructions for achieving a high-end look but also insights into why gold fixtures are the latest trend in UK bathroom design. You’ll learn how to choose the perfect gold fixtures, plan your installation with precision, and tackle common installation issues like a pro. Get ready to elevate your bathroom’s style and functionality with our expert tips and practical advice that will ensure your golden upgrade is both stunning and seamless.
Planning Your Installation
1. Assessing Your Bathroom Space:
Accurate measurements are crucial when planning to install a new luxury gold shower. Start by measuring the dimensions of the shower area, including height, width, and depth. This helps in selecting fixtures that fit well within the space without overwhelming the bathroom or leaving gaps. Consider the placement of existing plumbing and how it aligns with your new fixtures. If the plumbing is in an inconvenient location, you may need to plan for additional modifications or adjustments, which can impact both the cost and complexity of the installation.
Additionally, think about the overall layout and accessibility of your bathroom. Ensure that there is enough clearance around the shower for easy movement and use. This includes checking that doors, cabinets, or other fixtures do not obstruct access. Adequate space around the shower will not only enhance functionality but also contribute to a more aesthetically pleasing design. Proper planning at this stage will help you avoid potential issues and ensure that the installation process goes smoothly.
2. Choosing the Right Gold Shower Fixtures:
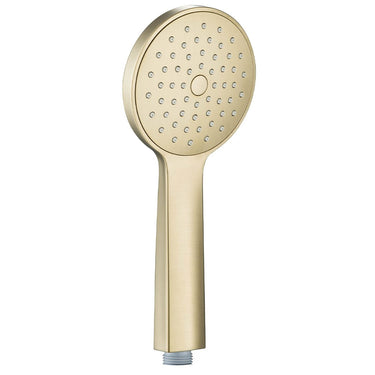
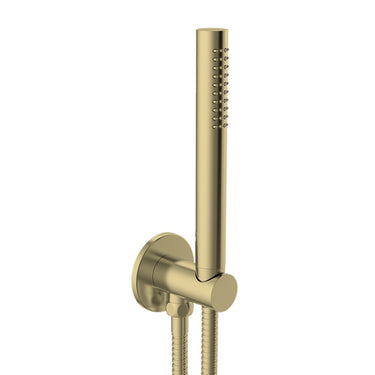
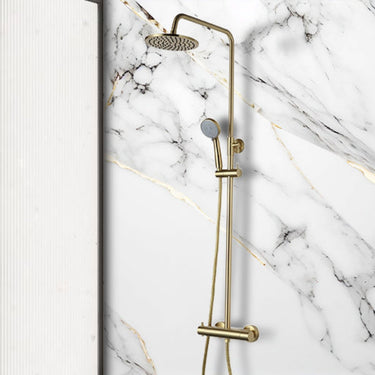
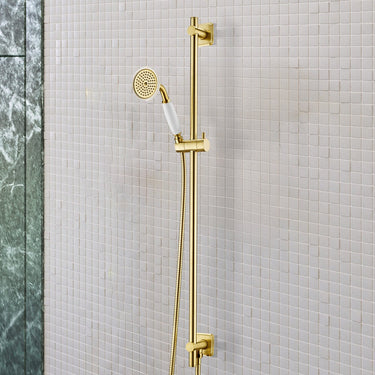
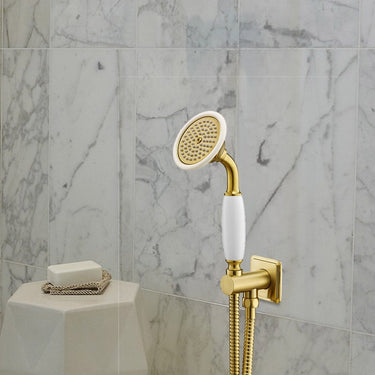
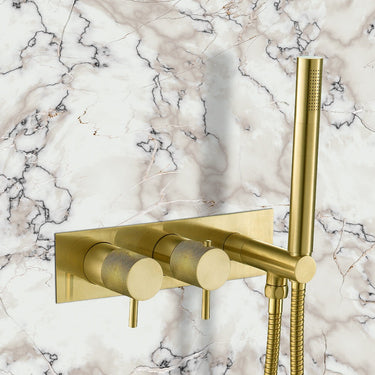
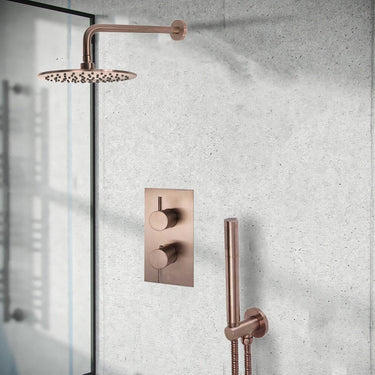
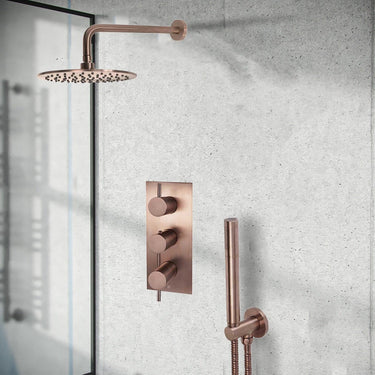
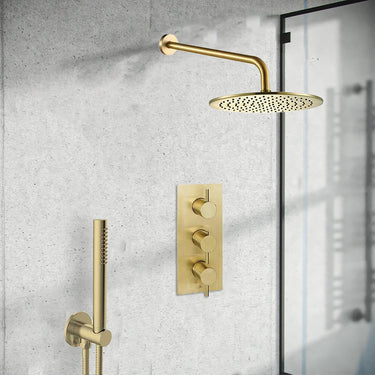
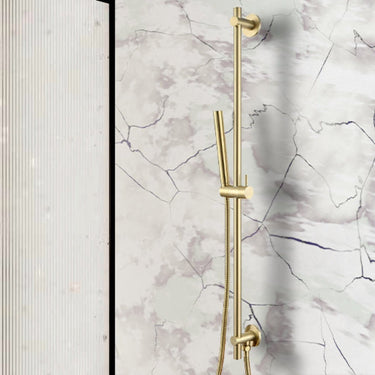
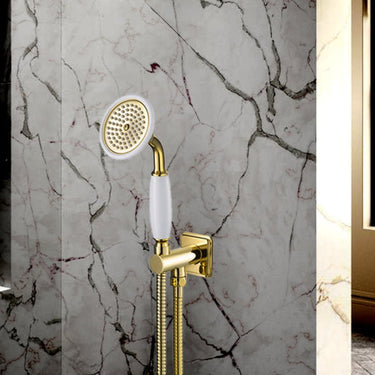
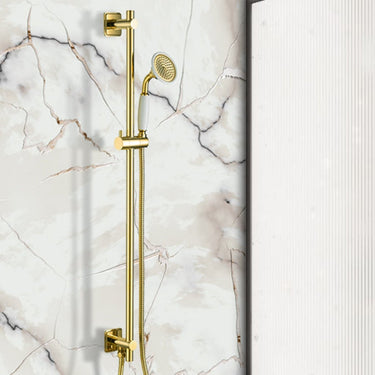
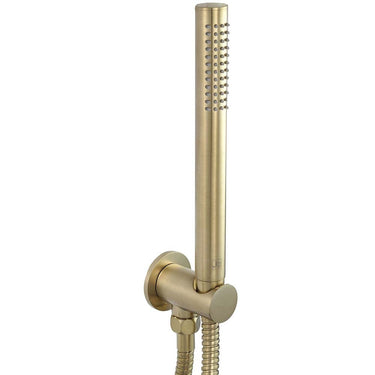
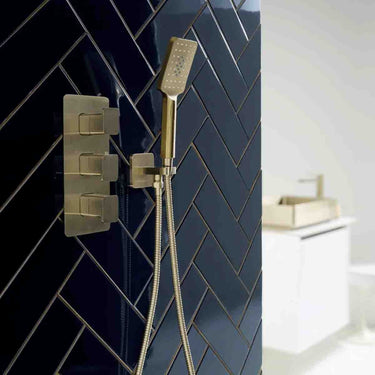
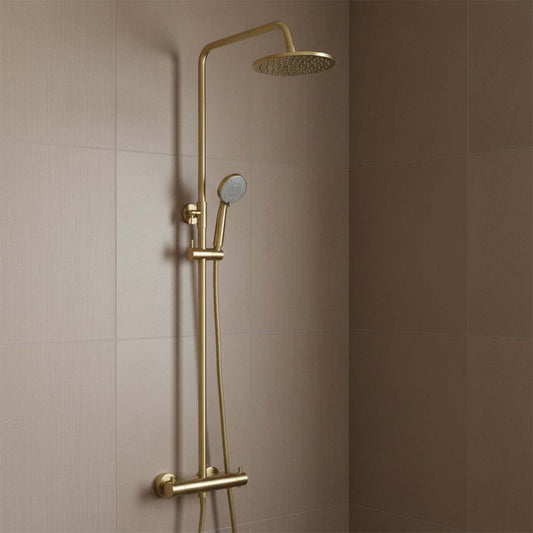
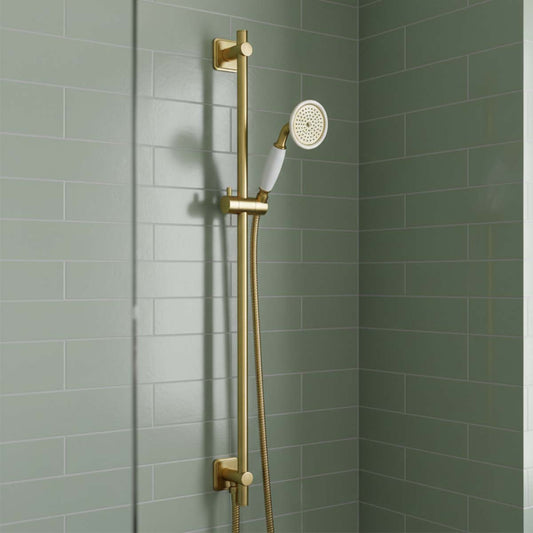
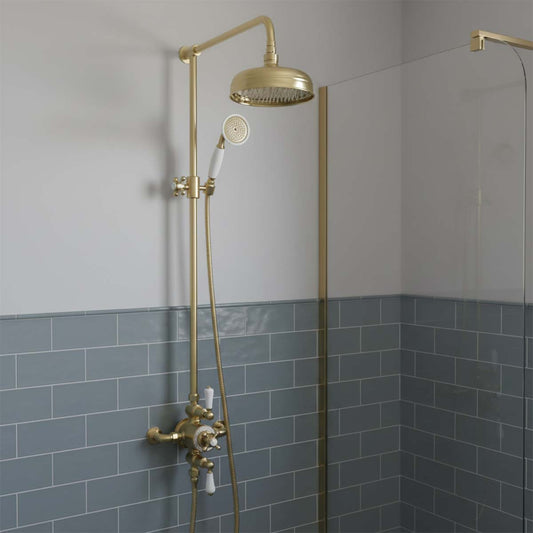
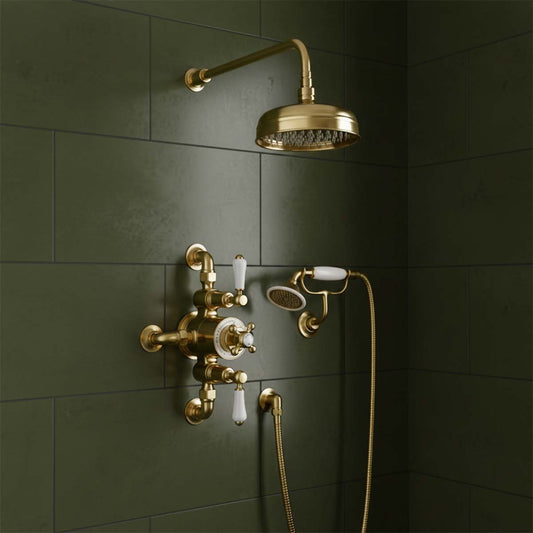
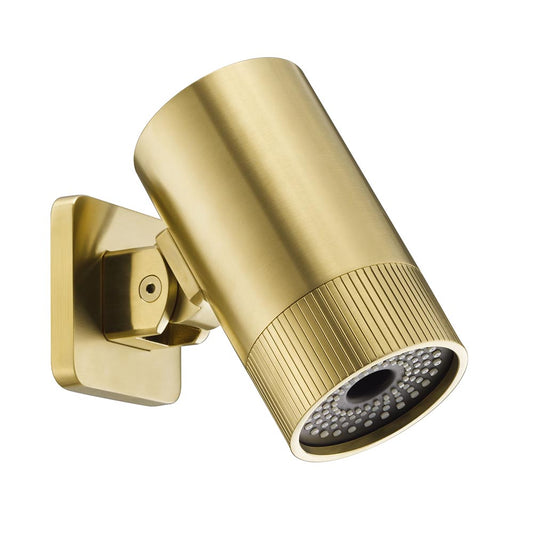
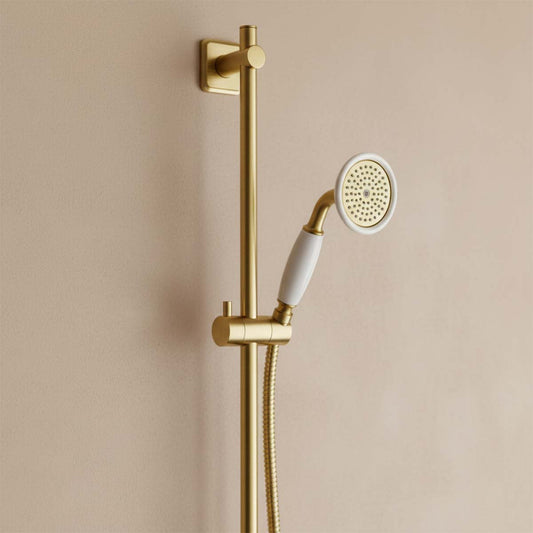
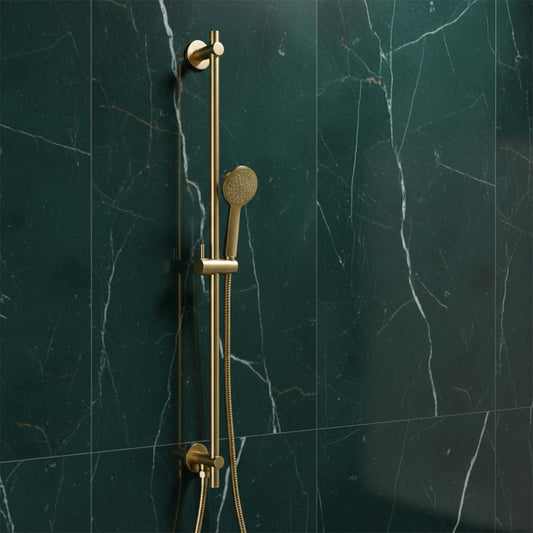
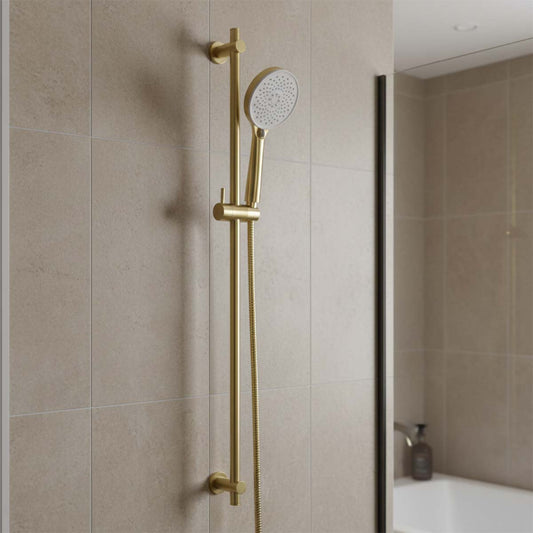
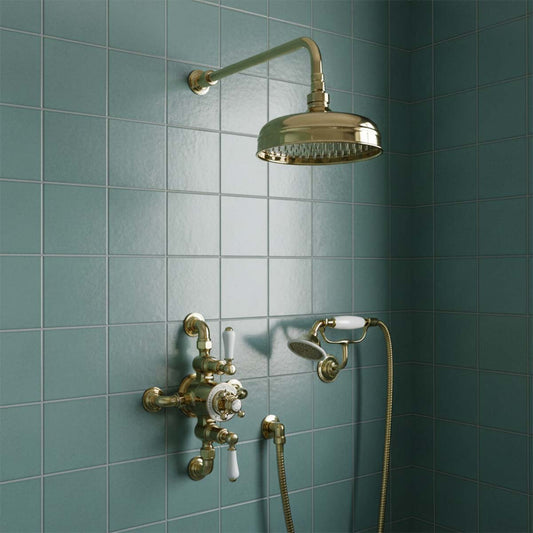
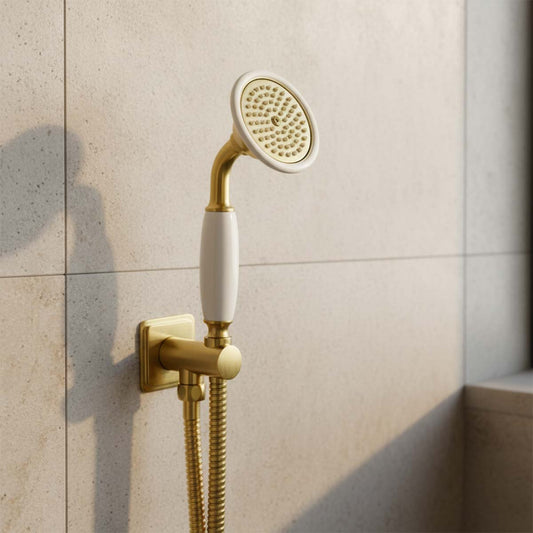
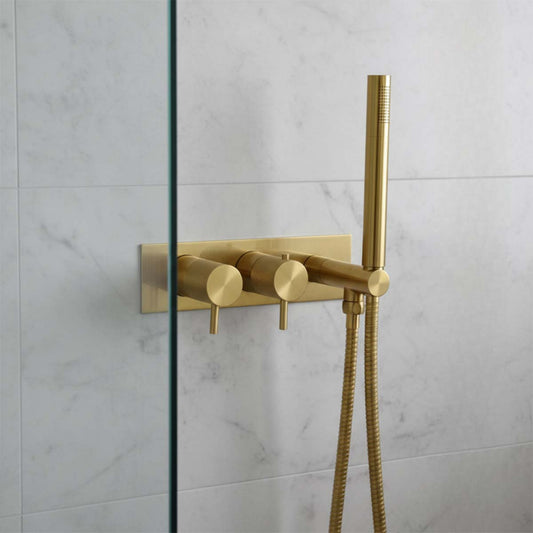
When selecting gold shower fixtures, you have various finishes to choose from, each offering a distinct look and feel. Polished gold fixtures provide a shiny, reflective surface that exudes luxury and makes a bold statement in your bathroom. On the other hand, brushed gold fixtures have a softer, satin-like texture that adds elegance and can complement a variety of design styles. Matte gold offers a contemporary and understated appearance, perfect for modern bathrooms looking for a subtle touch of sophistication.
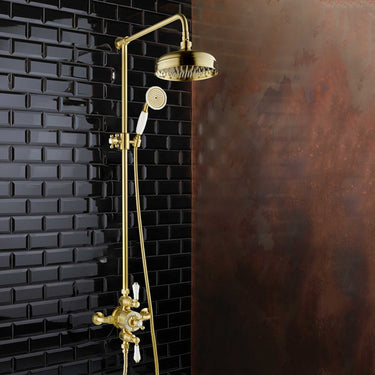
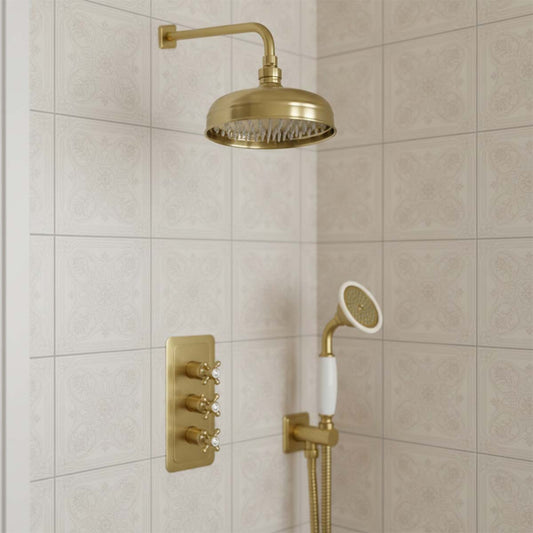
It's also important to consider the design of the fixtures and how they fit with the existing décor. Choose fixtures that harmonize with other elements in your bathroom, such as the tile design, cabinetry, and overall color scheme. Ensure that the design of the gold fixtures aligns with your vision for the space, whether it’s a sleek, modern look or a more traditional style. Making thoughtful choices at this stage will help achieve a cohesive and stylish bathroom design.
3. Budgeting for a Luxury Installation:
Budgeting for a luxury gold shower installation involves more than just the cost of the fixtures. Begin by estimating the cost of high-quality gold fixtures, including the shower head, valve, and controls. Gold finishes can vary in price depending on the quality and manufacturer, so it’s essential to select fixtures that fit within your budget while meeting your design expectations. Additionally, consider the cost of any additional materials needed, such as plumbing fittings, sealants, and installation accessories.
If you’re hiring a professional plumber, obtain quotes and compare them to ensure you’re getting a fair price. Labor costs can vary based on the complexity of the installation and the plumber’s rates. Also, budget for any potential additional expenses, such as modifications to existing plumbing or unforeseen issues that may arise during the installation. A well-planned budget will help you manage costs effectively and avoid surprises during the project.
4. Legal and Regulatory Considerations:
Compliance with plumbing standards is essential for a successful installation. Familiarize yourself with the local regulations and codes related to plumbing fixtures and installations. These standards ensure that the installation is safe, efficient, and meets legal requirements. Proper installation according to these standards helps prevent issues such as leaks, water pressure problems, or potential damage to your home.
Consulting with a professional plumber or checking with local authorities can provide guidance on specific regulations that apply to your installation. Ensuring that your project adheres to these standards not only avoids legal complications but also guarantees the longevity and functionality of your luxury gold shower. Proper compliance contributes to a successful installation and provides peace of mind that your bathroom upgrade is both beautiful and reliable.

Preparing for Installation
1. Gathering Tools and Materials:
Before starting the installation of your luxury gold shower, gather all the necessary tools and materials. Essential tools include an adjustable wrench, pipe sealant, screwdrivers, and a drill if needed. These tools will help you handle various aspects of the installation, such as securing fixtures, connecting plumbing lines, and ensuring a proper fit. Additionally, you’ll need the new gold shower fixtures, including the shower head, valve, and controls. Having everything on hand ensures that you can proceed with the installation without interruptions.
Also, consider any optional tools that may be useful, such as a plumber’s snake for clearing any unexpected clogs or blockages. Preparing all tools and materials in advance helps streamline the installation process and minimizes delays. Proper preparation at this stage will make the installation smoother and more efficient, reducing the likelihood of complications and ensuring a successful upgrade to your bathroom.
2. Hiring a Professional vs. DIY:
Deciding whether to hire a professional plumber or tackle the installation yourself depends on your comfort level with plumbing tasks and your budget. A DIY approach can be rewarding and cost-effective if you have experience and confidence in handling plumbing installations. It allows you to have direct control over the project and can save on labor costs. However, it requires a good understanding of plumbing techniques and adherence to local regulations.
Hiring a professional plumber ensures that the installation is done correctly and complies with all legal and technical standards. Professionals bring expertise and experience, which can prevent mistakes and potential issues. Although it may involve higher upfront costs, professional installation can provide peace of mind and guarantee a high-quality result. Assess your skills, the complexity of the installation, and your budget to make the best decision for your project.

Installation Process: A Step-by-Step Guide to Installing Your Luxury Gold Shower
Installing a luxury gold shower involves several meticulous steps to ensure that the final result is both functional and elegant. Here's a comprehensive guide to help you through the process:
1. Removing Old Fixtures
Begin by turning off the water supply to avoid any spills or flooding. If your shower has a panel or cover, remove it to access the old fixtures. Carefully dismantle the existing components, including the old showerhead, valve, and controls. Use appropriate tools such as adjustable wrenches and screwdrivers to avoid damaging the plumbing. Place a towel or bucket under the area to catch any residual water and debris. Thoroughly clean the area around the old fixtures to ensure a smooth installation of the new components.

2. Installing the Shower Valve
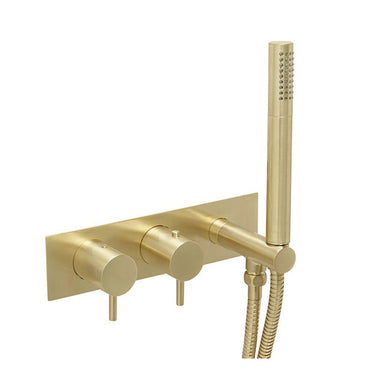
The shower valve is a critical component that controls the flow and temperature of the water. Start by positioning the new gold shower valve in the pre-existing valve location. Make sure the valve is aligned correctly with the plumbing lines. Secure the valve with the provided mounting hardware, ensuring it is firmly attached but not overtightened. Proper alignment is crucial to prevent leaks and ensure smooth operation of the shower controls. Double-check that the valve is installed level and flush with the wall.
3. Fitting the Shower Head and Controls
With the valve securely in place, proceed to install the new showerhead and controls. Attach the showerhead to the valve, ensuring a tight and secure fit. Use a wrench or hand-tighten as necessary, but avoid overtightening which could damage the fixtures. For controls, follow the manufacturer’s instructions for placement and connection. Align the controls with the valve, ensuring they are positioned ergonomically and are easily accessible. Test the controls to ensure smooth operation and adjust as needed.
4. Connecting Plumbing Lines
Connect the plumbing lines to the new gold fixtures, starting with the water supply lines to the valve. Use new flexible connectors if necessary, ensuring they are compatible with both the valve and the existing plumbing. Apply pipe sealant to the threads of the connectors to prevent leaks. Securely tighten all connections using an adjustable wrench. Once connected, turn the water supply back on slowly to check for any leaks. If leaks are detected, tighten the connections further or reapply sealant as needed.
5. Testing the Installation
After all components are installed and connected, it’s time to test the system. Turn the water supply fully on and check the functionality of the showerhead and controls. Verify that water flows evenly and that the temperature control works smoothly. Check for leaks around the valve, showerhead, and plumbing connections. If you notice any issues, address them immediately by tightening connections, adjusting components, or consulting the manufacturer’s troubleshooting guide. Ensure that all components are functioning correctly and that the installation meets your expectations.
By following these detailed steps, you can successfully install your luxury gold shower, ensuring both elegance and functionality in your bathroom. If any issues arise or if you are unsure about any aspect of the installation, it’s always advisable to consult a professional plumber to achieve the best results.
Troubleshooting Common Issues
Installing a luxury gold shower can transform your bathroom into a haven of elegance and comfort. However, like any installation project, it may come with a few challenges. Here’s how to troubleshoot common issues that might arise during or after the installation process:
1. Addressing Installation Problems:
Incorrect Installation: An incorrect installation can manifest in several ways, from misalignment of fixtures to improper functioning. For instance, if the shower valve is not correctly positioned, it can affect the water flow and temperature controls. To resolve this, it’s crucial to refer back to the installation manual provided by the manufacturer. Ensure that each component, including the valve, shower head, and control handles, is installed according to the outlined instructions. This might involve checking the alignment of the fixtures and making necessary adjustments to ensure they are positioned correctly. If the issue persists, don’t hesitate to consult a professional plumber who can offer expert advice and rectify any installation errors.
Loose Connections: Loose connections in the shower system can lead to leaks, which not only waste water but can also cause damage to the surrounding area. Inspect all the connections meticulously, including those between the shower valve, the head, and the control handles. Use an adjustable wrench to tighten any loose fittings carefully. However, it’s important to avoid over-tightening, as this can strip the threads or damage the fixtures. Ensure that all seals and washers are properly positioned and intact, as they play a crucial role in preventing leaks. Properly secured connections are essential for maintaining the performance and longevity of your new gold shower.

2. Dealing with Leaks and Drips:
Persistent Leaks: Leaks are a common issue that can occur at various points in the shower installation. They can appear around the valve, shower head, or the water lines. If you notice persistent leaks, the first step is to turn off the water supply and inspect the affected area. Disassemble the parts carefully and check for any worn-out seals or gaskets. Reapply plumber’s tape to the threads of connections and ensure that all components are correctly aligned and tightened. After reassembling the parts, turn the water supply back on and test for leaks. Addressing leaks promptly is important to prevent water damage and maintain the efficiency of your shower system.
Drips from the Shower Head: A dripping shower head, even after the water is turned off, can be indicative of issues with the shower cartridge or the shower head itself. To troubleshoot this, first remove the shower head and inspect it for any debris or blockages. Cleaning the shower head can often resolve the problem if mineral deposits are causing the drip. If cleaning does not fix the issue, the problem may lie with the cartridge or valve, which may require replacement or adjustment. Ensuring that all components are functioning correctly will help maintain a smooth and efficient shower experience.
3. Adjusting Shower Performance:
Low Water Pressure: Low water pressure can significantly impact your shower experience, making it less enjoyable and effective. To address this issue, start by checking for any obstructions in the shower head or the water lines. Remove the shower head and clean it thoroughly to remove any mineral build-up or debris. If low water pressure persists, examine the water supply lines for blockages and consider adjusting the pressure settings on the shower valve. It’s also worth checking if the problem might be related to the overall plumbing system in your home, as low water pressure can sometimes be a symptom of broader issues.
Uneven Water Flow: Uneven water flow can result in inconsistent water temperatures or spray patterns, which can be frustrating during use. This issue may stem from an improperly adjusted shower valve or issues with the diverter if your shower has one. Verify that the valve is correctly adjusted and all connections are secure. Check the diverter to ensure it is functioning properly and directing water flow as intended. In some cases, uneven water flow might be related to problems with the home’s plumbing system, which could require a more in-depth investigation by a professional plumber.
Conclusion
As you bask in the golden glow of your new shower, remember to maintain it with the same care and attention you gave to the installation. Regular upkeep will ensure your fixtures continue to shine and function flawlessly for years to come. If you encounter any challenges along the way or have questions about maintaining your new setup, don't hesitate to reach out for professional advice.
Ready to step into your new luxurious shower? Dive in, enjoy the opulence, and relish the satisfaction of a job well done. And if you’re planning other home upgrades, keep exploring the latest trends and tips to keep your home looking and feeling its best.


