How to change a kitchen tap (A Quick Guide )
Table Of Contents:
-
New Kitchen Tap in 30 Minutes: The Fastest Way to Replace Your Old Tap
→ -
Monobloc Kitchen Taps Collection
→ -
Understanding the Basics of Kitchen Taps
→ -
Tools and Materials Needed
→ -
Removing an Existing Tap
→ -
Fitting a New Tap
→ -
Additional Tips
→ -
Troubleshooting Common Issues
→ -
Conclusion
→
New Kitchen Tap in 30 Minutes: The Fastest Way to Replace Your Old Tap
Upgrading your kitchen tap doesn’t have to be a complicated or costly affair. Our quick guide breaks down the process into simple, actionable steps, making it easy for anyone to tackle this DIY project with confidence.
In this blog, you’ll learn everything you need to know about removing your old tap, selecting and installing a new one, and troubleshooting common issues. Plus, we’ll share some handy tips to speed up the process and ensure a flawless finish. Get ready to transform your kitchen with just a few straightforward steps!
Understanding the Basics of Kitchen Taps
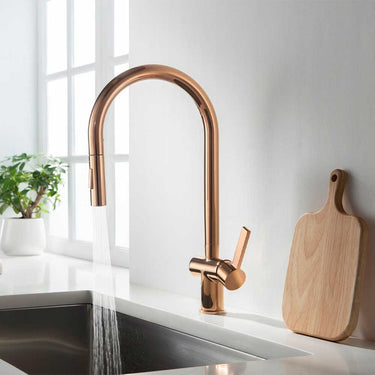
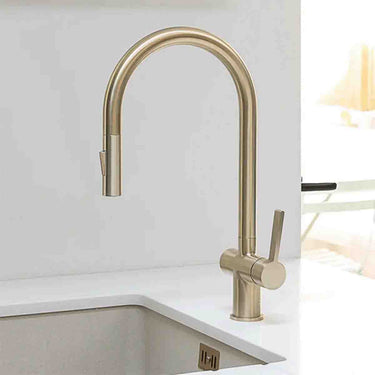
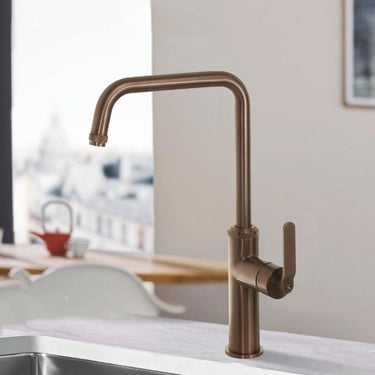
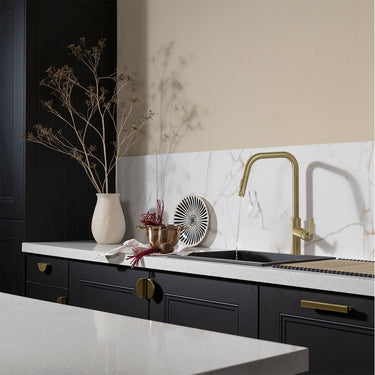
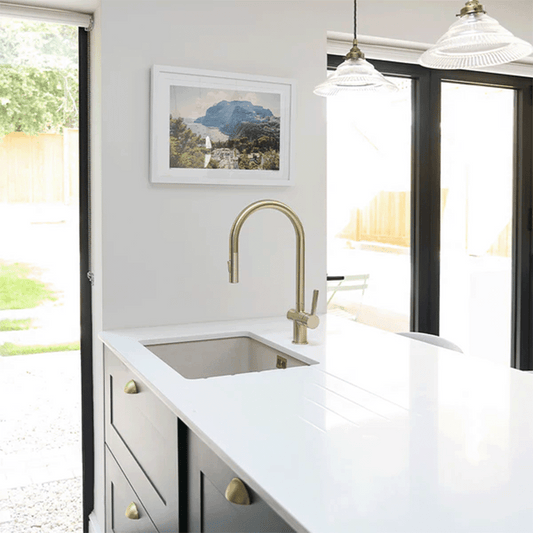
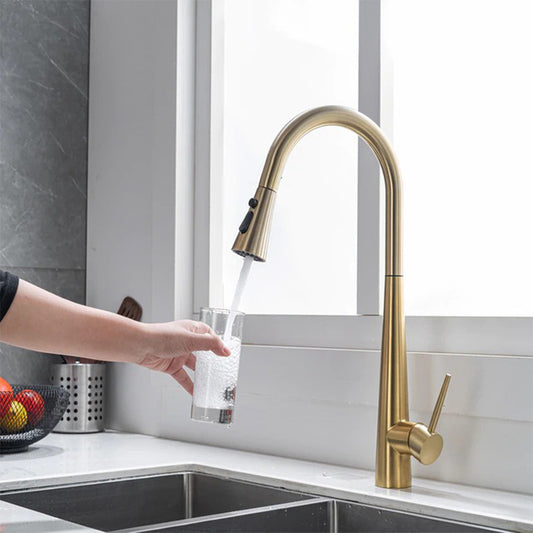
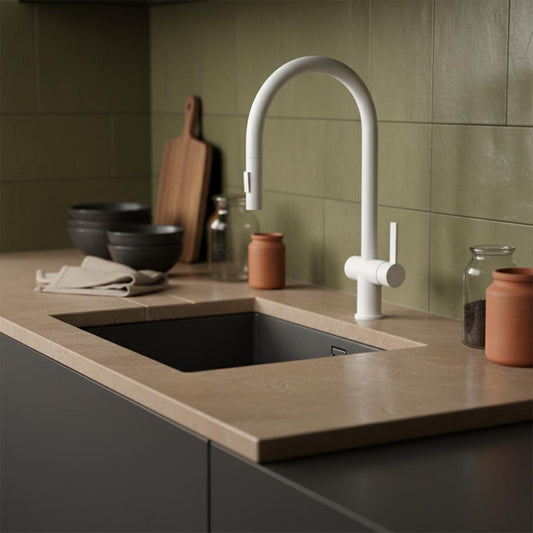
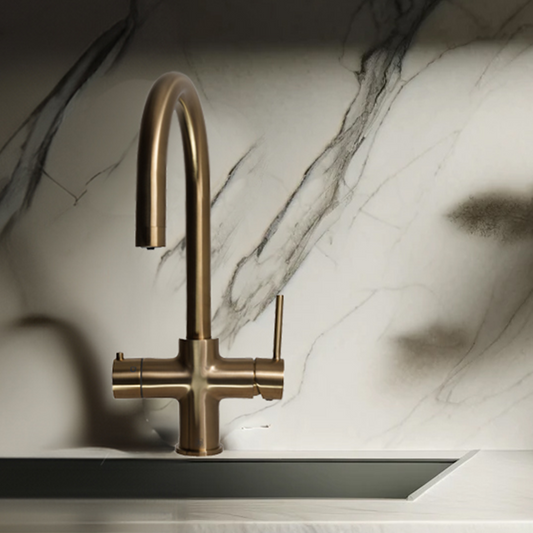
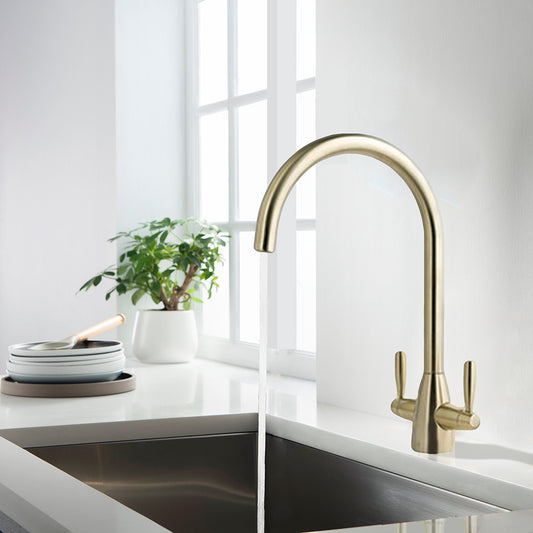
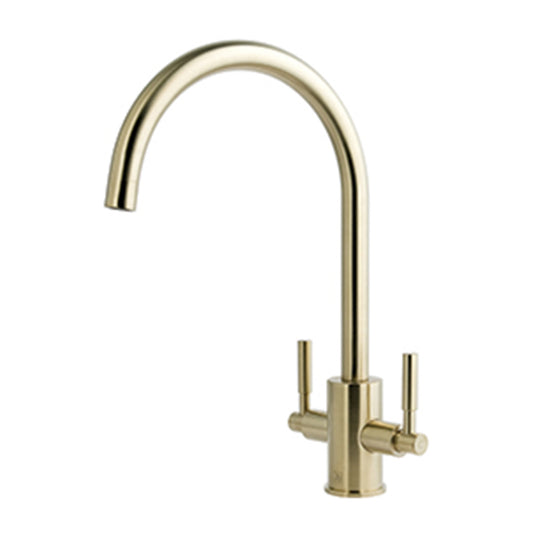
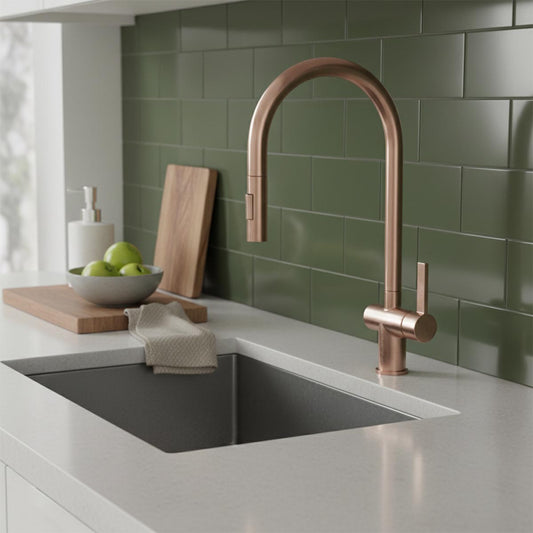
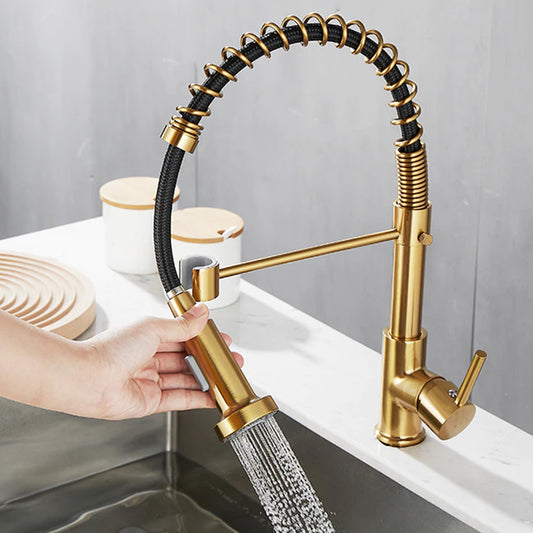
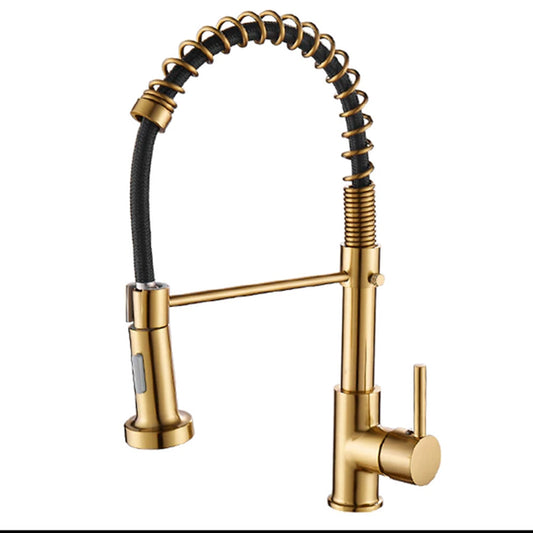
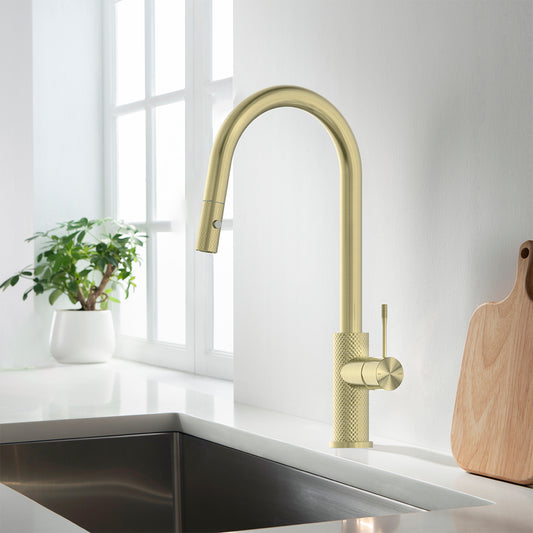
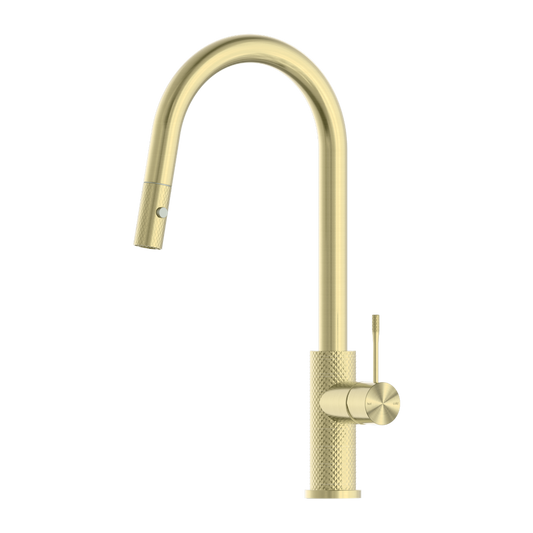
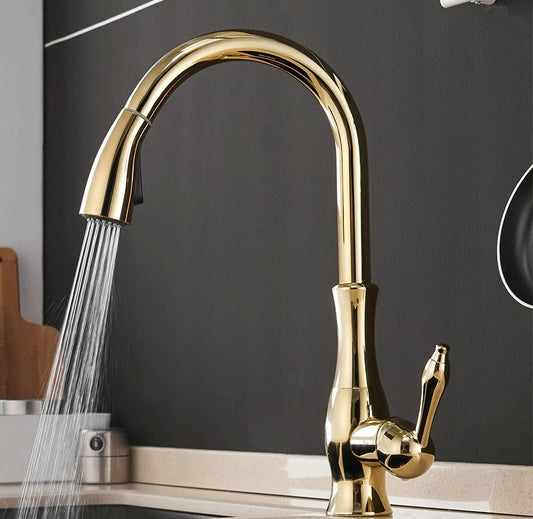
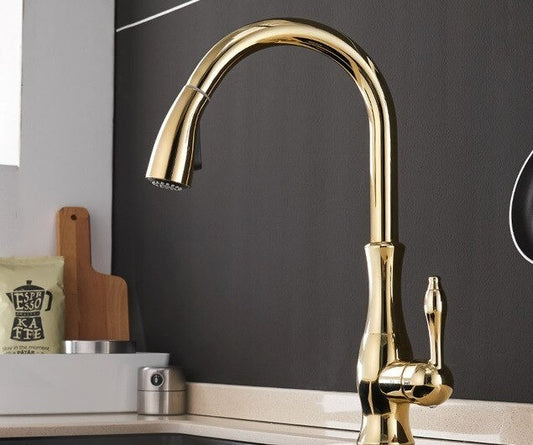
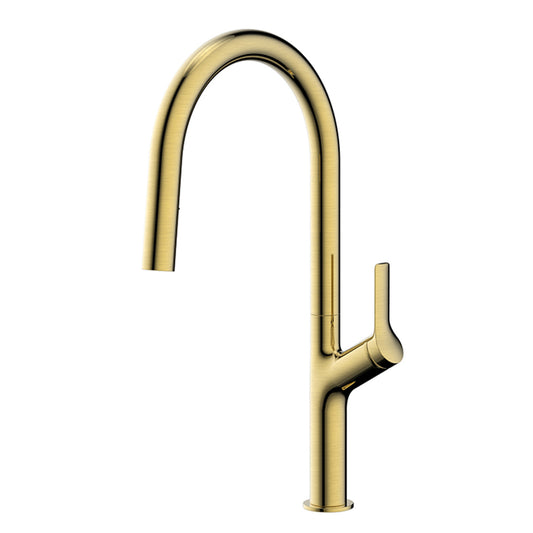
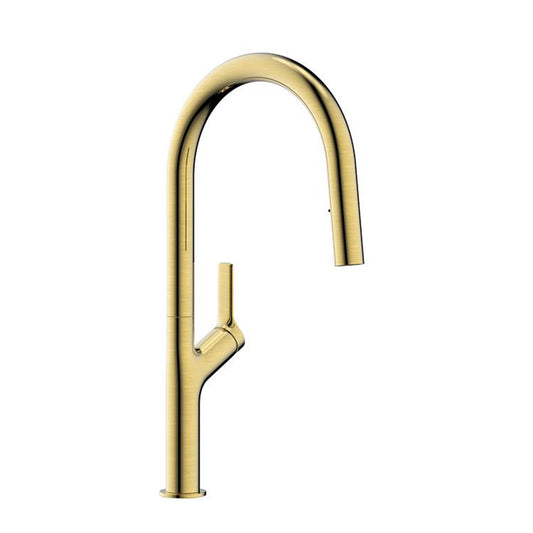
When choosing or replacing a kitchen tap, understanding the basics is crucial for a successful upgrade. Kitchen taps come in various types, including single lever, double lever, mixer, pillar, and pull-out models, each offering different functionalities and styles. Key components such as the spout, handle, valve, and aerator play essential roles in water flow and temperature control. Installation considerations include mounting style, compatibility with your sink and plumbing, and ensuring appropriate water pressure. Taps are made from materials like brass, stainless steel, or plastic, with finishes that range from chrome to gold, impacting both durability and appearance. Regular maintenance, including cleaning and checking for leaks, is essential for ensuring long-term performance and functionality. Understanding these elements helps you make an informed choice that enhances your kitchen’s efficiency and aesthetic appeal.

Tools and Materials Needed
To get started, you’ll need the following tools and materials:
New Tap(s): Ensure you have the correct model and fittings.
Instruction Manual: Review it to understand the installation specifics.
Open-ended Spanners: For loosening and tightening nuts.
Basin Wrench and Back Nut Box Spanner: Essential for accessing hard-to-reach nuts.
Slip Joint Pliers: For disconnecting flexible hoses.
Cleaning Cloth: To protect surfaces and clean up spills.
PTFE Tape: For creating a watertight seal on threaded connections.
Washing Bowl and Towel: To catch residual water and protect your workspace.
Adjustable Wrench and Slotted Screwdriver: For additional adjustments and connections.
Pipe Cutter and Hacksaw: If you need to cut or modify pipes.
Limescale Remover and Masking Tape: To handle any limescale build-up and protect surfaces.
Pen and Joining Compound: For marking and sealing purposes.

Removing an Existing Tap
1. Turn Off the Water Supply
The first step in removing an old tap is to ensure that no water is flowing during the process:
Locate and Close Isolating Valves: Most kitchen sinks have isolating valves located under the sink. These valves control the water flow to the tap. To close them, turn each valve clockwise until it is fully closed. If you’re unsure which valves control the hot and cold water, turning off both ensures that no water will flow from either line.
Main Stopcock: If your sink does not have isolating valves or if you cannot access them, you will need to turn off the main stopcock. The main stopcock is usually located in your home’s utility room or under the kitchen sink. Turn the stopcock clockwise to shut off the water supply to the entire house.
Run the Tap: After closing the valves or stopcock, turn on the tap(s) to drain any remaining water in the pipes. This step is essential to avoid spills when disconnecting the tap. Let the water run until it stops, confirming that the flow has ceased. Check any valve at the hot water supply tank if applicable, to ensure that the water is completely off.
2. Prepare the Area
Preparing the area under the sink helps in managing any water that might spill and ensures easy access to the tap components:
Clear Space Under the Sink: Remove any items stored under the sink to create a clear workspace. This might include cleaning supplies, trash cans, or storage containers. Having a clear area makes it easier to access the tap and work comfortably.
Lay a Towel and Place a Washing Bowl: Place a towel on the floor beneath the sink to catch any water that may leak during the removal process. Position a washing bowl under the area where you’ll be working to catch any residual water that might spill out when you disconnect the tap.
Ensure You Have All Required Tools: Gather all necessary tools before starting the removal process. These typically include a basin wrench or back nut box spanner, slip joint pliers, and a cleaning cloth. Having everything at hand will streamline the process and prevent delays.
3. Disconnect the Tap
Disconnecting the tap involves removing the connections that hold it in place:
Standard Water Pipe Connections: For taps with standard water pipe connections, use an open-ended spanner to loosen the nuts that secure the tap to the pipes. Hold the tap steady with one hand while using the spanner with the other hand to avoid putting undue stress on the pipes. Ensure you have a cloth handy to protect the finish and catch any residual water.
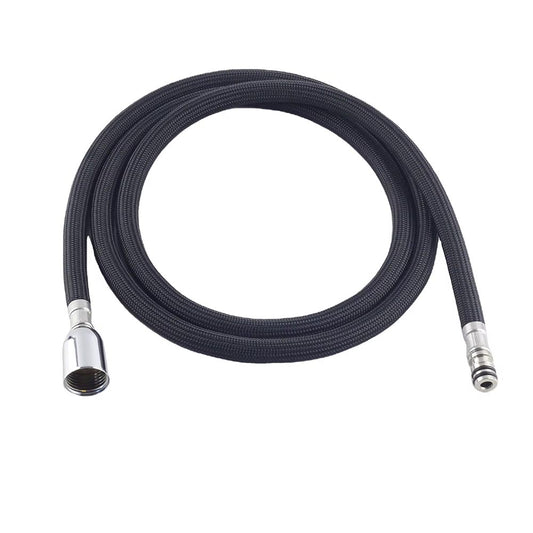
Flexible Hose Connections: If your tap is connected via flexible hoses, use slip joint pliers to loosen the nuts on the hose connections. Place a cloth over the connection to protect it from scratches and to catch any water that might escape. Once the nuts are loosened, remove the hoses by unscrewing them from the tap.
4. Extract the Existing Tap
Once the water connections are detached, you can proceed with removing the tap itself:
Loosen and Remove the Nut Securing the Tap: Depending on the type of tap you have, use a basin wrench or a back nut box spanner to loosen the nut that secures the tap to the sink. For pillar or bridge taps, the nut is typically located beneath the sink. For single block or mixer taps, it might be easier to access from above.
Remove the Tap and Hoses: Once the securing nut is removed, lift the tap out of the sink. Be prepared for some residual water to spill out. Clean the area around the mounting holes with a wet cloth to remove any old sealant or residue. This will prepare the surface for the new tap installation.
Clean Any Residue: If there is any remaining residue or old sealant around the pipe connections, gently clean it with a cloth. For stubborn residue, you might need a limescale remover or a mild cleaner appropriate for the material of the sink. Ensure the area is dry and clean before proceeding with the new tap installation.

Fitting a New Tap
1. Clean the Mounting Surface
The mounting surface is where the new tap will be installed. Proper preparation of this area is crucial for ensuring a secure and leak-free installation. Start by removing any old sealant or debris from the previous tap:
Removing Old Sealant: Use a plastic scraper or a utility knife to gently scrape away any old sealant around the mounting holes. Be careful not to scratch or damage the sink surface. Old sealant can prevent the new tap from sitting flush against the sink, leading to leaks.
Cleaning Residue: Once the old sealant is removed, clean the surface with a damp cloth to remove any remaining particles. For stubborn residues, use a mild cleaner appropriate for the material of your sink (e.g., stainless steel cleaner for stainless sinks, or a general-purpose cleaner for ceramic sinks). If there’s limescale buildup, use a limescale remover according to the product’s instructions. Make sure the surface is completely dry before proceeding to ensure a proper seal.
2. Mount the New Tap
With the mounting surface prepared, proceed to install the new tap. This step involves placing the tap correctly and ensuring it’s securely fastened:
Apply PTFE Tape: PTFE tape, or plumber's tape, is used on threaded connections to prevent leaks. Wrap 4-5 turns of PTFE tape around the threads of the mains water connection. The tape should cover the threads evenly but not excessively, as too much tape can interfere with the proper sealing of the connection. PTFE tape helps create a watertight seal by filling any small gaps in the threads.
Install the New Tap: Position the new tap over the mounting holes in the sink. If the tap has pre-fitted hoses, ensure they are positioned correctly and are accessible. Align the tap so that it fits snugly into the holes. Make sure the tap is centered and positioned as desired before securing it.
Secure the Tap: The new tap will come with a retaining nut that needs to be tightened to hold the tap in place. Initially, hand-tighten the retaining nut to hold the tap steady. Use a basin wrench or back nut box spanner to tighten the nut securely. These tools are specifically designed to reach and tighten nuts in tight spaces under the sink. Ensure the tap is firmly secured without wobbling. If needed, ask someone to hold the tap while you tighten the nut to ensure it stays properly aligned.
Verify Alignment and Placement of Seals and Washers: Before you finish, check that the tap is correctly aligned with the sink and that all seals and washers are in their proper places. Seals and washers are crucial for preventing leaks. Ensure they are seated correctly around the base of the tap. Misalignment or improperly placed seals can cause water to leak out.
3. Reconnect to the Mains Supply
After securing the tap, you need to reconnect the plumbing lines:
Reconnect the Hoses: Attach the flexible hoses from the new tap to the water supply lines. Begin threading the hoses onto the connections by hand to avoid cross-threading. Cross-threading can damage the fittings and cause leaks. Once the hoses are hand-tightened, use an open-ended spanner and adjustable pliers to tighten them securely. Be cautious not to overtighten, as excessive force can damage the connections or cause leaks.
Check Connections: After connecting the hoses, double-check all fittings to ensure they are tight and properly aligned. Check for any signs of leaks around the connections. Use a cloth to protect the finish of the sink and tap while tightening to avoid scratches or damage.
4. Turn On the Water Supply
Restoring the water supply and checking the new tap’s functionality is the final step:
Open Isolating Valves or Main Stopcock: Gradually open the isolating valves under the sink or the main stopcock to allow water to flow back into the system. Open the valves slowly to prevent sudden pressure changes that could cause leaks. This step is crucial to avoid any pressure surges that might damage the new tap or plumbing.
Check for Leaks: Inspect all the connections and the area under the sink for any signs of leaks. Check both the connections where the hoses attach to the tap and the main water supply lines. If you find any leaks, tighten the connections as needed. Address leaks promptly to avoid water damage and ensure the installation is secure.
Turn On the Taps: Gradually turn on the new tap(s) to allow the water flow to stabilize. Start with a low flow to let the system adjust and check for proper operation. Ensure that both hot and cold water flows are functioning as expected. If you notice any issues with water pressure or flow, double-check the connections and adjust as necessary.
Additional Tips
1. How Long Does It Take to Replace a Kitchen Tap?
Experienced DIYers: Less than an hour.
For those who are comfortable with DIY plumbing projects, replacing a kitchen tap can often be completed in under an hour. Experienced individuals usually have the necessary tools and skills to handle the job efficiently. They are familiar with the process, anticipate potential issues, and know how to execute each step swiftly.
Inexperienced DIYers: May take the entire day.
If you’re new to plumbing tasks, the project might take longer—possibly up to a full day. This extended time frame accounts for the learning curve associated with unfamiliar tools and techniques. You might need additional time to troubleshoot problems, understand the instructions, and ensure all connections are secure and leak-free.
Preparation and Instructions: Can speed up the process.
Proper preparation can significantly reduce the time required for the replacement. Familiarize yourself with the instructions before you begin, and gather all necessary tools and materials. Clear the work area and ensure that you know how to use each tool correctly. Having a plan and being well-prepared will help you complete the task more efficiently.
2. Avoid Over-tightening to Prevent Damage
Impact on Fixtures:
Over-tightening can cause damage to your new tap and its fittings. Excessive force can strip threads, crack the tap body, or break seals. This damage can lead to leaks or even necessitate a complete replacement of the tap or parts of the plumbing.
Proper Tightening Techniques:
When installing the tap, tighten connections firmly but not excessively. Use the appropriate tools—such as a basin wrench or adjustable wrench—and apply even pressure. The goal is to secure the tap and fittings without risking damage. If you’re unsure, follow the manufacturer’s recommendations for torque settings or seek guidance from a professional.
3. If Unsure, Consider Professional Help
Complexity of the Task:
If you encounter difficulties or if the installation involves complex plumbing work, it’s wise to consult a professional. Issues such as dealing with old or damaged pipes, correcting incorrect installations, or handling unexpected complications may be beyond the scope of a typical DIY project.
Benefits of Professional Assistance:
Hiring a professional plumber ensures that the job is done correctly and to code. Professionals have the experience and tools to handle problems efficiently, and their work often comes with a guarantee. This can provide peace of mind and avoid potential future issues that might arise from improper installation.
4. Hard Water Can Affect Tap Performance; A Water Softener Might Be Beneficial
Impact of Hard Water:
Hard water contains high levels of minerals like calcium and magnesium, which can lead to limescale buildup on your tap and plumbing fixtures. This buildup can affect the tap’s performance, reduce water flow, and cause unsightly stains.
Benefits of a Water Softener:
Installing a water softener can help mitigate the effects of hard water by reducing mineral content in the water supply. This can extend the life of your taps and other plumbing fixtures, improve water flow, and make cleaning easier. If hard water is a persistent issue in your area, investing in a water softener can be a practical solution.

Troubleshooting Common Issues
Leaks and Drips: Leaks and drips are common issues that often arise after replacing a kitchen tap. They typically occur due to improper sealing or loose connections. If the tap is leaking, it’s essential to check all the connections where the tap meets the water supply. Ensure that the PTFE tape has been applied correctly to threaded connections and that all nuts and bolts are tightened securely. If leaks persist, turn off the water supply and examine the washers and seals within the tap. These components may need to be replaced if they are worn out or damaged. Reassemble the tap with new washers and seals, and ensure that all connections are snug but not over-tightened to avoid damaging the fittings.
Low Water Pressure: Low water pressure can be frustrating and may result from several issues, such as blockages in the faucet aerator or supply lines, or incomplete opening of the isolating valves. Begin by checking the aerator at the end of the faucet; it can become clogged with debris or mineral deposits. Unscrew and clean it thoroughly. If the water pressure remains low, inspect the water supply lines for any kinks or obstructions. Additionally, ensure that the isolating valves under the sink are fully opened. Adequate water supply is crucial for proper faucet performance, so addressing these issues can often resolve low water pressure problems.
Tap Not Turning On or Off Properly: If the tap is not turning on or off correctly, it could be due to misalignment of the tap components or issues within the internal mechanisms. First, check that the tap is properly aligned and securely mounted. If the tap is misaligned, it may not function correctly. Additionally, internal mechanisms such as cartridges or valves might not be installed or functioning correctly. Consult the tap’s instruction manual for specific guidance on troubleshooting these internal parts. Proper alignment and installation of internal components are crucial for smooth operation of the tap.
Dripping Faucet After Installation: A dripping faucet after installation is often due to residual water remaining in the system or issues with the tap’s internal parts. After replacing the tap, allow the water flow to stabilize and observe if the dripping stops. If the faucet continues to drip, inspect all internal parts to ensure they are properly assembled and that no leaks are occurring from the connections. Persistent dripping might indicate a problem with the tap’s internal components, requiring further adjustment or replacement. Consult the manufacturer’s guidelines for additional troubleshooting steps or consider professional help if needed.
Difficulty in Tightening Connections: Difficulty in tightening connections can be caused by using incorrect tools or cross-threading of connections. It’s important to use the right tools, such as a basin wrench or back nut box spanner, to properly secure the connections. If connections seem hard to tighten, check for cross-threading, which occurs when the threads of the fittings are misaligned. Carefully remove the connection, inspect for thread damage, and reattach, making sure to start the threads by hand to prevent further damage. Proper alignment and the correct tools are essential for achieving a secure and leak-free connection.
Noise When Water is Turned On: Unusual noises, such as banging or whining, when turning on the water, can indicate air trapped in the pipes or loose components. Air trapped in the pipes can cause noisy water flow; to resolve this, turn on the tap fully to allow the air to escape. Additionally, check for any loose components or fittings that might be causing the noise. Tightening loose parts and ensuring that all connections are secure can help reduce or eliminate unwanted noises. Persistent noise issues may require bleeding the system or consulting a professional for further assistance.
Water Flowing Unevenly: Uneven water flow can be caused by blockages in the faucet or supply lines, or issues with the tap’s internal mechanisms. Start by cleaning the faucet aerator, which can become clogged with debris or mineral buildup, resulting in uneven flow. If cleaning the aerator doesn’t resolve the issue, inspect the supply lines for any blockages or kinks that might be affecting water flow. Additionally, check the tap’s internal mechanisms to ensure they are installed correctly and functioning properly. Addressing these potential problems can help restore even and consistent water flow from the faucet.
Difficulty Removing the Old Tap: Removing an old tap can sometimes be challenging, particularly if it is rusted, corroded, or tightly fitted. If you encounter resistance, apply penetrating oil to loosen rusted or corroded parts. For tight fittings, use steady, even pressure with the appropriate tools to avoid damaging the surrounding area. If the old tap is particularly stubborn, consider using a hacksaw or olive splitter to cut through fittings. If difficulties persist or the tap proves extremely difficult to remove, seeking assistance from a professional plumber may be necessary to avoid potential damage to your plumbing system.
Conclusion
Ready to get started? Gather your tools, follow the steps outlined, and enjoy the satisfaction of completing a DIY project that enhances your kitchen. Remember, if you hit any snags or feel unsure at any point, it’s always a good idea to consult with a professional plumber to ensure a flawless installation.


