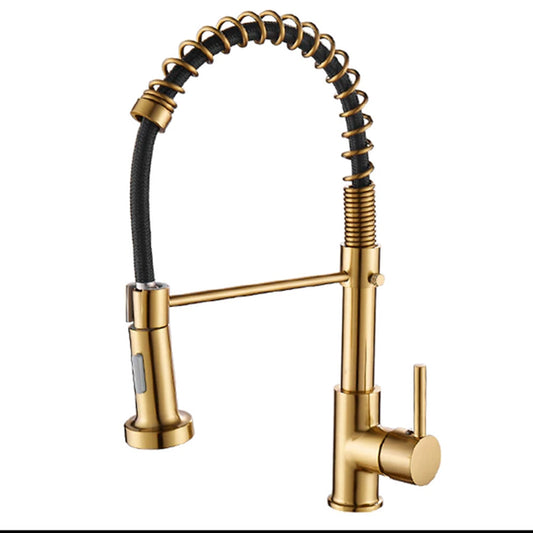
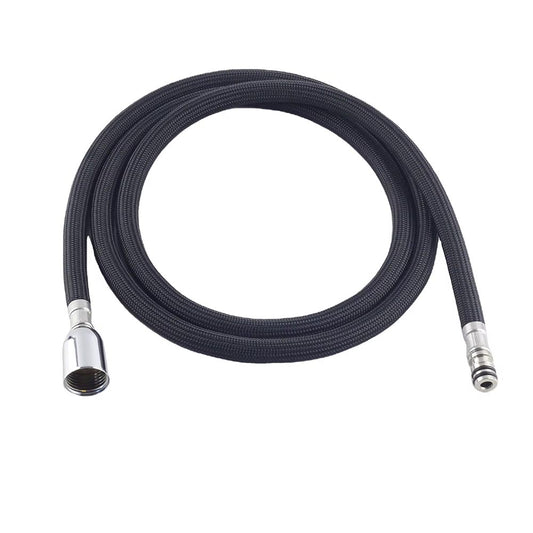
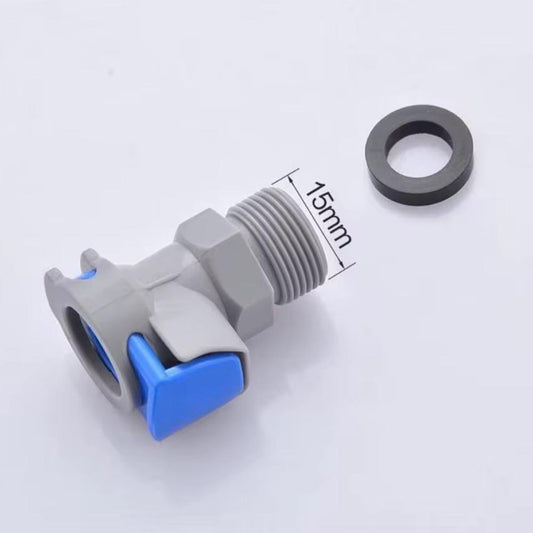
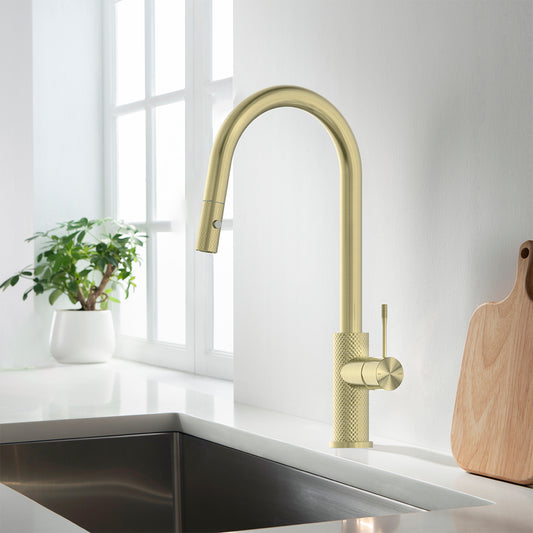
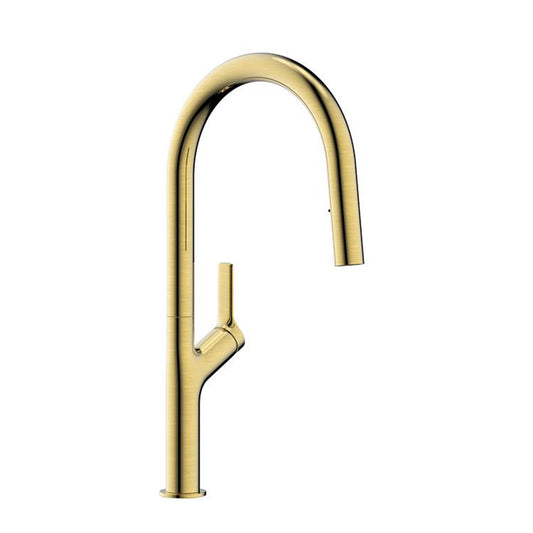
The Ultimate Guide: How to Remove and Fit a Kitchen Tap Like a Pro
Table Of Contents:
-
Introduction
→ -
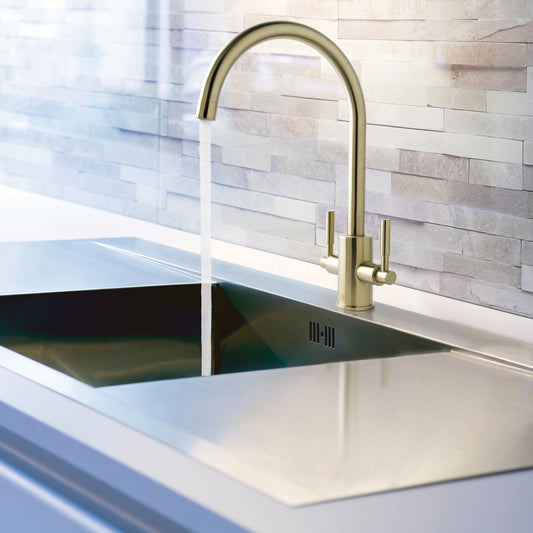
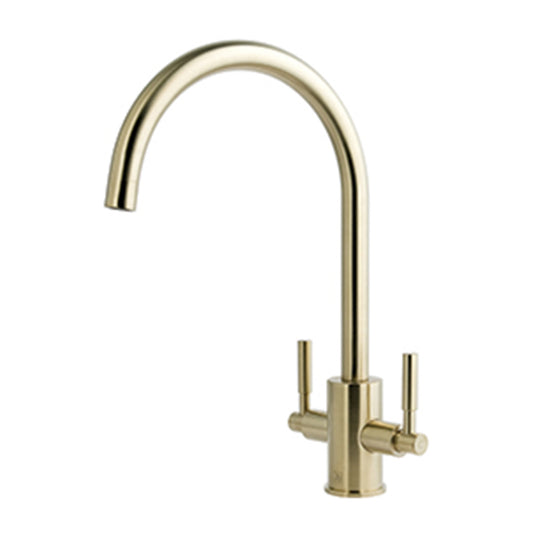
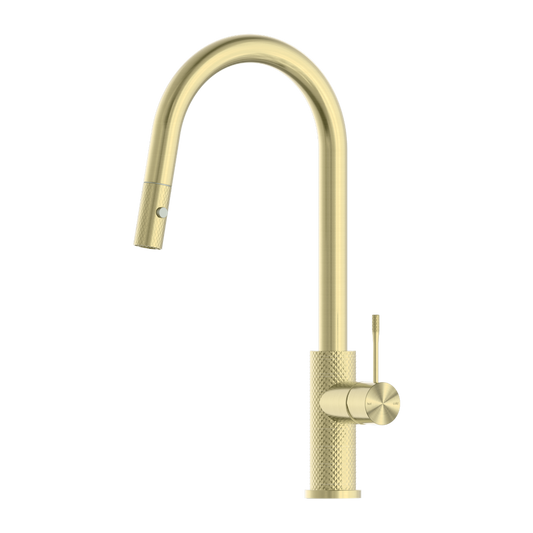
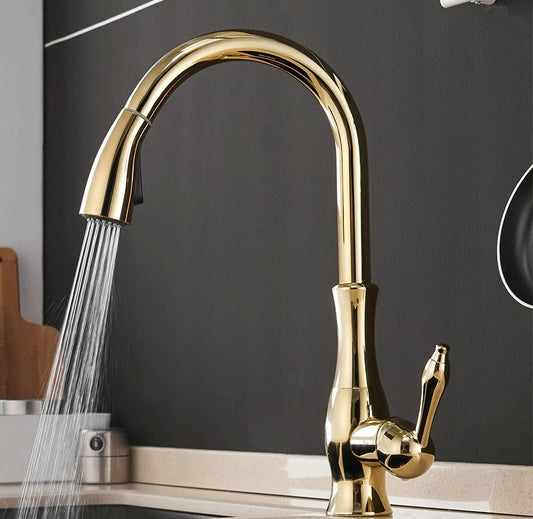
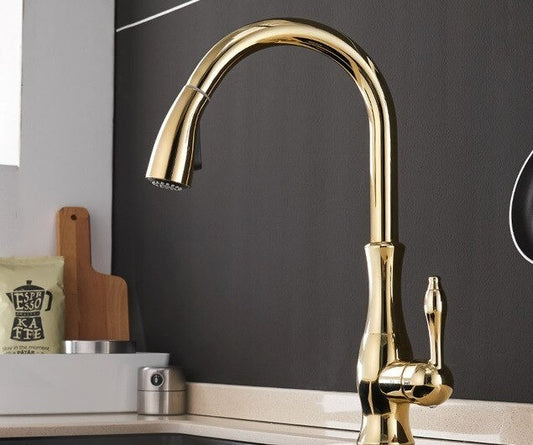
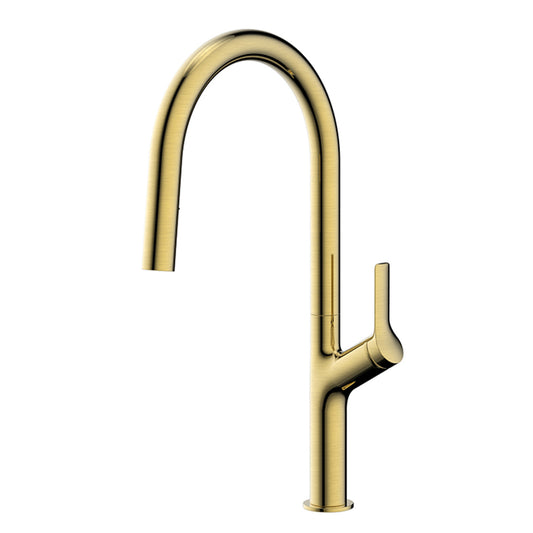
Brass Kitchen Taps Collection
→ -
Why You Might Need to Replace Your Kitchen Tap
→ -
Tools You’ll Need for the Job
→ -
Step-by-Step Guide to Removing Your Old Kitchen Tap
→ -
Step-by-Step Guide to Fitting a New Kitchen Tap
→ -
Common Mistakes to Avoid
→ -
Tips for Choosing the Right Kitchen Tap
→ -
Types of Kitchen Taps: Choosing the Best Fit for Your Sink
→ -
Water Pressure for Kitchen Tap
→ -
Choosing the Perfect Kitchen Tap: Key Factors to Consider
→ -
Understanding WRAS-Approved Kitchen Taps
→ -
Conclusion: A Simple DIY Project with Big Impact
→ -
FAQs About Removing and Fitting a Kitchen Tap
→
Introduction
Replacing or installing a new kitchen tap may seem like a daunting task for some, but it’s a completely manageable DIY project with the right tools and a bit of guidance. Whether you're tackling this project because your old tap is worn out, you’re upgrading to a more modern design, or you simply need a replacement due to a malfunction, this guide will walk you through the entire process—ensuring a professional result even if you’ve never done this type of work before.
Why You Might Need to Replace Your Kitchen Tap
There are several common reasons why homeowners choose to replace or fit a new kitchen tap:
- Leaking Tap: A slow, constant drip can waste gallons of water over time and lead to higher water bills. In some cases, a leaky tap may not be easily repairable, making a replacement the most cost-effective solution.
- Worn-Out Appearance: Over time, taps can become rusty, discolored, or even corroded. Replacing your tap can restore the aesthetic appeal of your kitchen and refresh the overall look of your sink area.
- Malfunctioning Tap: If your tap is difficult to turn on and off, doesn’t provide consistent water flow, or is making strange noises, it may be time for a new one. A new tap can restore the functionality and improve your kitchen’s water flow.
- Upgrading: Sometimes, the reason for replacement is purely aesthetic. You might want to upgrade your kitchen with a more modern or stylish design. Whether it’s a sleek, high-arc tap or a convenient pull-out style, upgrading your tap can give your kitchen a fresh look.

Tools You’ll Need for the Job
Before you get started, gather the necessary tools and materials to ensure the job goes smoothly. Here’s a list of what you’ll need:
- Adjustable spanner or basin wrench: These are essential for loosening and tightening nuts and bolts that secure the tap to the sink.
- Pipe wrench (optional): For stubborn or tightly fastened fittings.
- Plumber’s tape: This is used to create a watertight seal, preventing leaks in the connections.
- Bowl or tray: To catch any residual water when disconnecting the water supply lines.
- Towels or rags: Useful for cleaning up any spills or drips during the process.
- New kitchen tap: Choose a tap that fits your sink’s configuration (single, double, or three-hole setup) and complements your kitchen’s style.
- Rubber washers or seals: Most modern taps come with these, but if yours doesn’t, be sure to pick some up to prevent leaks.
Step-by-Step Guide to Removing Your Old Kitchen Tap
Before you can install your new tap, you’ll need to remove the old one. Follow these steps carefully to ensure you don’t run into any issues.
1. Turn Off the Water Supply
The first and most important step in any plumbing project is to turn off the water supply. Locate the shutoff valves under your sink (usually one for hot water and one for cold water). Turn them clockwise to stop the flow of water.
2. Drain the Faucet
Next, open the tap to drain any remaining water from the pipes. This step is crucial as it helps minimize water spillage when you begin disconnecting the plumbing.
3. Disconnect the Water Supply Lines
Using your adjustable spanner or pipe wrench, carefully disconnect the water supply lines from the old tap. Start with the cold water line and follow with the hot water line. Be sure to have a bowl or tray ready underneath to catch any water that may leak out. This is an important step to avoid making a mess.
4. Remove the Old Tap
Now that the water supply is disconnected, you’ll need to remove the old tap from the sink. Depending on the design of your tap, this may involve loosening the bolts or nuts securing the tap to the sink. Use a basin wrench or adjustable spanner to unscrew the securing nuts under the sink. Once these are loose, you can carefully lift the old tap off the sink.
5. Clean the Area
With the old tap removed, take a moment to clean the area around the sink. Remove any debris, old plumber’s tape, or residue from the previous tap. Cleaning the area ensures that the new tap will install smoothly without any old material getting in the way.

Step-by-Step Guide to Fitting a New Kitchen Tap
Once the old tap is out, it’s time to fit your new tap. This process is straightforward, but you need to follow the steps carefully to ensure a secure and leak-free installation.
1. Prepare the New Tap
Before installing the new tap, unbox it and check that all the parts are included. This typically includes the main tap body, spout, handles, and any necessary fittings (like nuts, washers, or seals). If required, attach any parts to the tap, such as the spout or handles, according to the manufacturer’s instructions.
2. Install the New Tap
Place the new tap into the hole in your sink. Depending on your sink’s design and the type of tap, you may need to use rubber seals or washers to ensure a secure fit and prevent leaks. Some taps come with built-in seals, but if not, applying plumber’s tape around the threads can add extra protection against leaks.
3. Secure the Tap
From underneath the sink, use your basin wrench or adjustable spanner to tighten the nuts that secure the tap to the sink. Be careful not to overtighten, as this can crack the sink or damage the tap. Tighten just enough to secure the tap in place without excessive force.
4. Reconnect the Water Supply Lines
Reconnect the cold and hot water supply lines to the new tap. Use plumber’s tape around the threads of each connection to ensure a watertight seal. Tighten the connections with your wrench, but once again, avoid over-tightening. It’s better to tighten gradually to avoid damaging the threads or pipes.
5. Turn On the Water Supply
Once all the connections are secure, turn the water supply valves back on. Open the tap and let the water flow, testing both the hot and cold settings. Check to ensure the flow is smooth and that there’s no sputtering or uneven pressure.
6. Check for Leaks
Inspect all the connections for leaks. If you notice any water dripping or pooling around the base or connections, turn the water supply off immediately. Tighten the connections as needed, then check again for leaks. It’s crucial to make sure there are no leaks to avoid water damage to your cabinetry or flooring.
Common Mistakes to Avoid
While replacing or installing a kitchen tap is a relatively simple DIY task, it’s important to avoid these common mistakes to ensure a smooth and successful installation:
- Not Turning Off the Water Supply: Forgetting to turn off the water before starting can result in a flood in your kitchen. Always double-check that the valves are off before proceeding.
- Over-Tightening Fittings: Tightening the securing nuts and fittings too much can crack the sink or damage the tap. Tighten enough to secure the tap but stop before you put too much force on the fittings.
- Forgetting Plumber’s Tape: Skipping the plumber’s tape on the water supply connections can result in leaks. Always use it to seal the threads and prevent water from escaping.
- Neglecting to Check for Leaks: Failing to thoroughly check for leaks after installation can result in hidden water damage over time. Take the extra step to test all connections before considering the job complete.

Tips for Choosing the Right Kitchen Tap
When selecting a new kitchen tap, consider these tips to ensure you choose the right one for your needs:
- Compatibility: Ensure that the new tap fits your sink configuration (single-hole, double-hole, or three-hole setup). Some sinks require specific tap types, so check before buying.
- Water-Saving Features: Look for taps that feature flow restrictors or aerators. These water-saving features can help reduce water usage, which is not only environmentally friendly but can also lower your utility bills.
- Design: Choose a tap that complements the overall style of your kitchen. Popular designs include pull-out or pull-down taps, high-arc taps for easy access, and traditional pillar taps for a vintage look.
- Durability: Opt for materials like stainless steel or brass, as these are often the most durable and long-lasting options, especially in busy kitchen environments.

Types of Kitchen Taps: Choosing the Best Fit for Your Sink
When it comes to selecting a kitchen tap, it's important to choose one that fits both your style and your practical needs. The right tap can enhance your kitchen’s functionality, making tasks like washing dishes or filling pots much easier. Here are some of the most popular types of kitchen taps to help you make an informed decision:
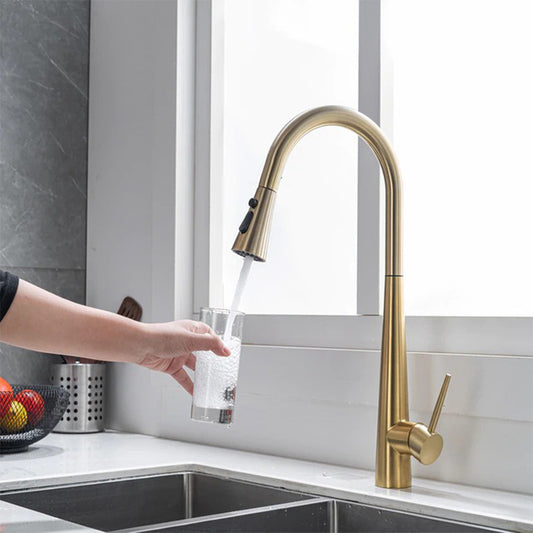
1. Pull-Out Taps
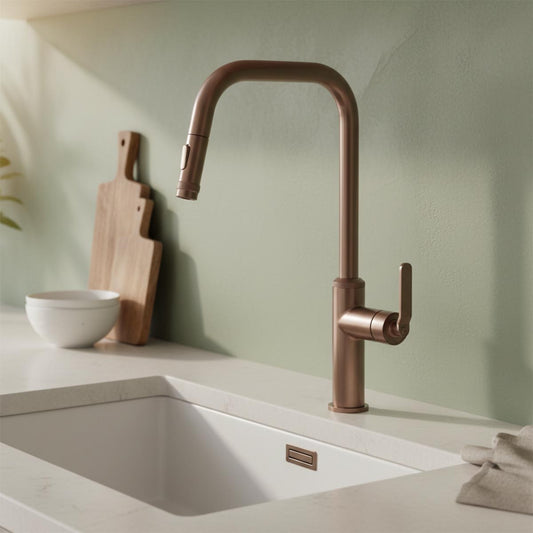
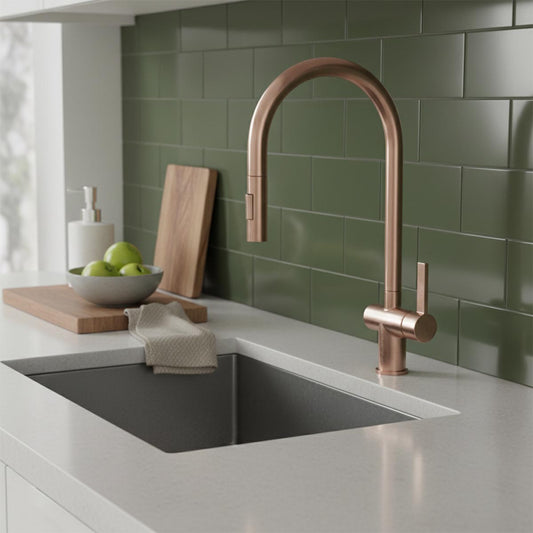
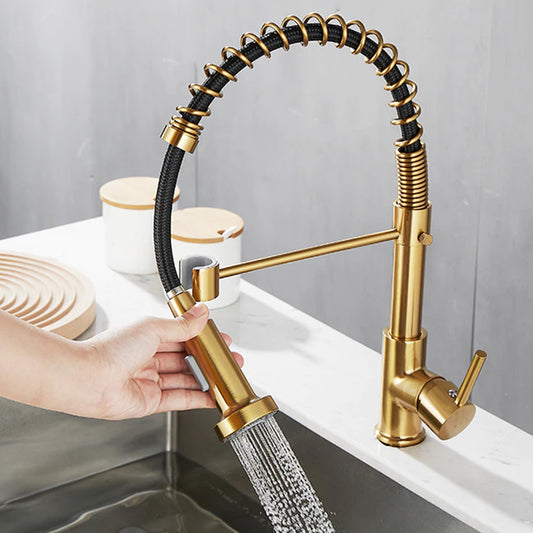
Pull-out taps are ideal for kitchens that need extra flexibility. With a detachable spray head, these taps allow you to pull out the spout to easily rinse vegetables, fill pots, or clean dishes without moving the entire sink. The spray head typically features multiple settings, offering a stream for regular tasks and a spray for heavier cleaning. These taps are particularly useful for deep sinks or large pots.
-
Best For: Versatility, easy rinsing, and larger sinks.
2. Monobloc Taps
Monobloc taps are designed with a single body, meaning the hot and cold water mix inside the tap itself before being dispensed. This type of tap is controlled by a single lever that adjusts both temperature and water flow, offering simplicity and sleek design. Monobloc taps are particularly popular in modern kitchens due to their minimalistic look and ease of use.
-
Best For: Modern, minimalist kitchens, easy operation with one hand.
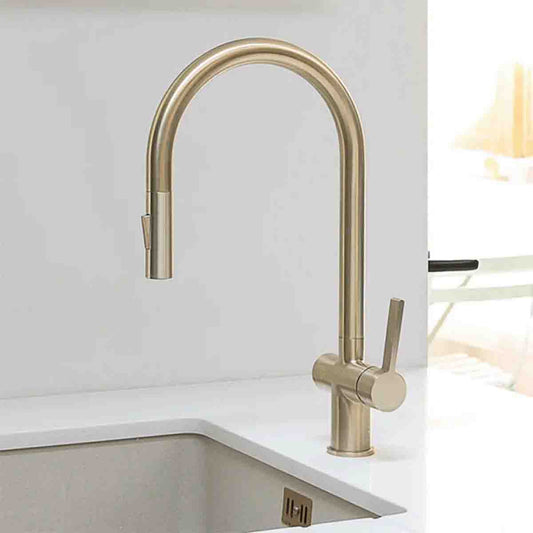
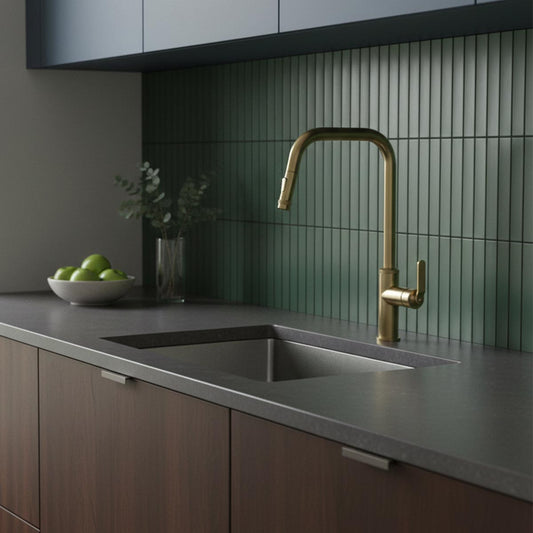
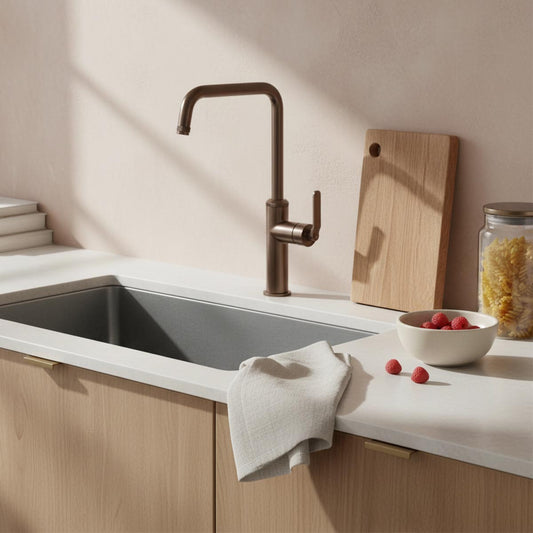
3. Brass Kitchen Taps
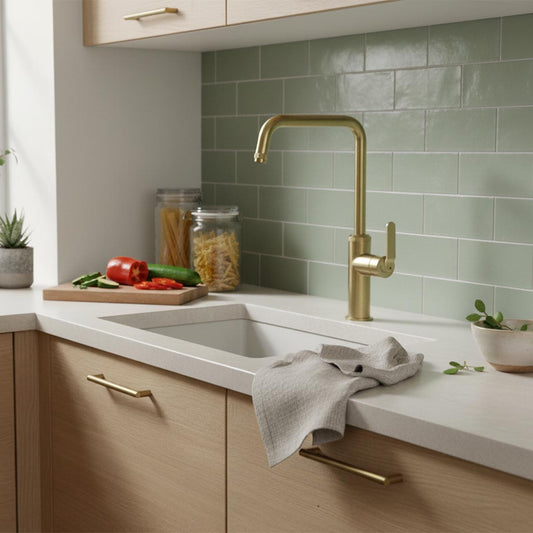
Brass kitchen taps are known for their durability, strength, and timeless aesthetic. Brass is resistant to corrosion and tarnishing, making it an excellent material choice for long-lasting taps. Brass taps often have a vintage or industrial look, which can add character to your kitchen. Over time, brass develops a patina, adding to its charm.
-
Best For: Traditional or rustic kitchens, durability, and timeless appeal.
4. Pull-Down Taps
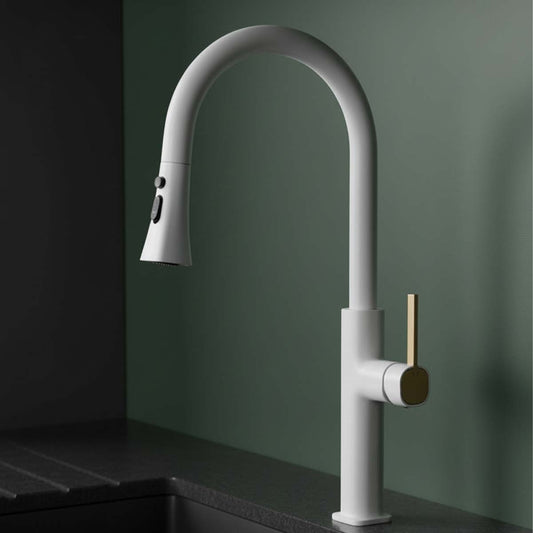
Similar to pull-out taps, pull-down taps feature a sprayer that extends downward, allowing you to direct the water flow where it’s needed most. These taps are perfect for larger sinks or when you need more reach for cleaning. They often come with a high-arc spout, offering generous clearance for washing big items like pots or pans.
-
Best For: Larger sinks, flexible reach, and cleaning convenience.
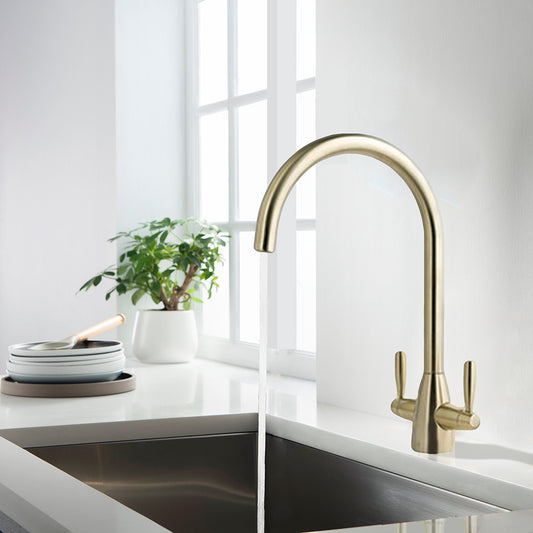
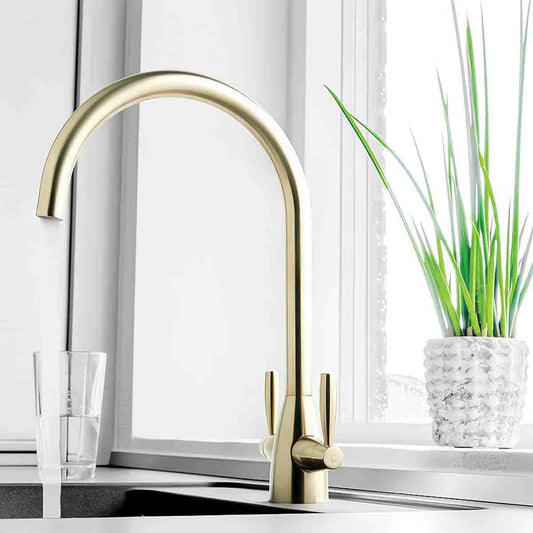
5. High-Arc (Gooseneck) Taps
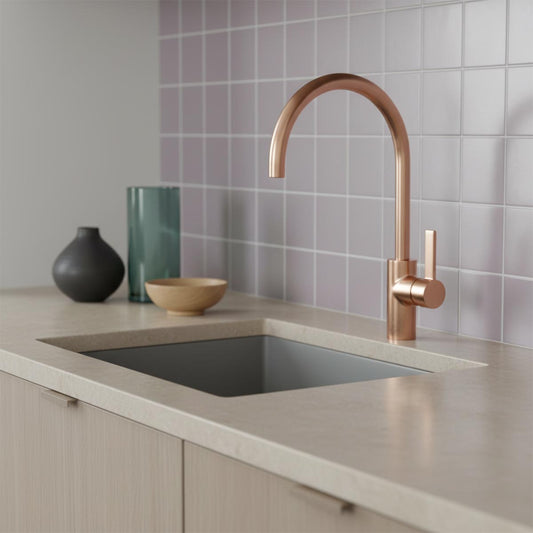
High-arc taps, also known as gooseneck taps, have a tall, curved spout, providing plenty of space underneath for washing large pots and pans. These taps often feature a sleek design and offer great clearance, making them a top choice for busy kitchens. High-arc taps can be either single or double handle, depending on your preference.
-
Best For: High clearance, easy access for large cookware, modern kitchens.
6. Deck-Mounted Taps
Deck-mounted taps are installed directly onto the countertop or sink deck. These taps are common and easy to install, making them a versatile choice for many kitchen designs. They come in a range of styles, including monobloc, high-arc, and traditional designs, and can be paired with various sink configurations.
-
Best For: Simple installation, flexibility, and a variety of styles.
7. Instant Hot Water Taps
Instant hot water taps provide near-boiling water instantly. These taps are great for making tea, coffee, or soups without waiting for a kettle to boil. They can be an excellent addition to a busy kitchen, providing a constant supply of hot water for cooking, cleaning, or beverages.
-
Best For: Convenience, energy efficiency, and quick access to boiling water.

Water Pressure for Kitchen Tap
Water pressure plays a significant role in the functionality of your kitchen tap. It affects how strong the water flow is and how well appliances like dishwashers, water filters, and faucets perform. Here’s everything you need to know about water pressure for your kitchen tap:
1. What Is Water Pressure?
Water pressure is the force that pushes water through pipes to your kitchen tap. It is typically measured in bars or psi (pounds per square inch).
-
Standard Pressure: In most UK homes, the water pressure is usually between 1-3 bars. For optimal kitchen tap performance, a pressure range of 1.5-2 bars is recommended.
2. Low Water Pressure
Low water pressure means the water flows slowly or weakly from your kitchen tap, which can be inconvenient, especially when washing dishes or filling large pots. This may be caused by:
-
Clogged Pipes: Debris or limescale can accumulate in pipes, reducing water flow.
-
Pipe Size: Small, narrow pipes can limit the amount of water flowing.
-
Faulty Pressure Regulator: If your home has a pressure-regulating valve, it may malfunction, resulting in lower water pressure.
Solutions:
-
Clean your tap aerators and filters to remove any blockages.
-
Replace or upgrade old or narrow pipes.
-
Consider installing a water pressure booster if the issue persists.
3. High Water Pressure
High water pressure, typically above 3 bars, can cause damage to your plumbing system. It can result in:
-
Leaky Taps: High pressure can lead to leaks in your kitchen tap or other plumbing fixtures.
-
Damaged Pipes: The constant force from high pressure may cause pipes to burst or weaken over time.
Solutions:
-
Install a pressure-reducing valve to manage high pressure and bring it down to safe levels.
-
Have a plumber assess your system to check for irregularities.
4. How to Measure Water Pressure
To measure the water pressure at your kitchen tap, you can use a pressure gauge. Attach it to a hose bib or outdoor tap and turn the water on. The gauge will give you an accurate reading of the pressure in bars or psi.
5. Types of Kitchen Taps and Pressure
-
Low Pressure Taps: Designed to work with lower water pressures (less than 1 bar). Ideal for homes with gravity-fed systems.
-
High Pressure Taps: Requires a pressure of at least 1 bar to function properly. These taps often need a pressurized system, such as a combi boiler or pressurized water tank.
Make sure your kitchen tap is compatible with your home’s water pressure system for optimal performance.
6. Factors Affecting Water Pressure in Your Kitchen
-
Location in the House: If your kitchen is on the upper floor or far from the main water supply, it might experience lower water pressure.
-
Water Supply: Issues with your local water provider can cause fluctuations in pressure, especially during peak usage times.
-
Hot Water Pressure: Hot water systems, particularly in older homes with tank-based systems, may have lower water pressure compared to cold water.
7. How to Improve Water Pressure in Your Kitchen
To improve water pressure:
-
Install a pressure booster pump if water pressure is consistently low.
-
Add a pressure-regulating valve to prevent over-pressurization.
-
Ensure your water pipe system is up-to-date, free from blockages, and capable of supporting your kitchen appliances and taps.
Understanding water pressure in your kitchen is crucial for choosing the right taps and ensuring smooth operation of your water appliances. Whether you face low or high pressure, solutions like pressure-boosting pumps, pressure-regulating valves, or pipe replacements can help maintain a steady and strong water flow. Always ensure that your kitchen tap is compatible with the water pressure in your home to avoid potential damage and inefficiency.

Choosing the Perfect Kitchen Tap: Key Factors to Consider
Certainly! Here's a more UK-specific approach, expanding on the same key considerations while reflecting UK standards, terminology, and preferences:
1. Functionality and Features
-
Water Flow and Pressure:
-
The water flow rate in the UK is typically measured in litres per minute (L/min). Standard kitchen taps usually offer a flow rate of around 6-8 L/min, but some eco-friendly options provide reduced flow without compromising performance.
-
Low-Pressure Systems: If you have a low-pressure system (e.g., gravity-fed or older plumbing), you may need a tap designed for low-pressure systems. Alternatively, a boiler-fed tap can provide consistent water pressure. Some taps come with built-in pressure compensating devices to ensure even water flow.
-
Single or Dual Handles:
-
Single-handle taps are simple to use, allowing easy control of both water temperature and flow with one hand, which is useful for busy kitchens.
-
Dual-handle taps allow precise control over hot and cold water separately, giving a more traditional or vintage aesthetic. They are often found in classic or period-style kitchens.
-
Pull-Out/Pull-Down Sprayer:
-
A pull-out or pull-down sprayer is ideal for versatile tasks such as rinsing vegetables, cleaning dishes, or filling large pots. Pull-down models are particularly useful for larger sinks or sinks with deep basins.
-
Touchless or Touch-Activated:
-
Touchless taps use motion sensors to activate the flow of water automatically, ideal for maintaining hygiene and reducing contact with the tap, especially when your hands are messy.
-
Touch-activated taps allow water to be turned on and off with a simple tap on the faucet, which is particularly useful in preventing cross-contamination.
-
360° Rotation:
-
If you have a large or double sink, a 360° rotating tap gives you the flexibility to reach all corners of the sink, allowing you to move the spout from one basin to another effortlessly.
2. Style and Design
-
Finish:
-
Chrome: Popular for its sleek, shiny appearance, chrome is relatively easy to maintain but can show fingerprints and watermarks more easily.
-
Brushed Nickel: Known for its matte finish, brushed nickel resists fingerprints and is more durable, making it perfect for high-traffic kitchens.
-
Matte Black: Ideal for modern or industrial kitchen designs, matte black finishes are stylish but can show water spots over time.
-
Gold, Copper, and Brass: These finishes evoke a more luxurious or vintage feel. While aesthetically pleasing, they may require regular maintenance to avoid tarnishing.
-
Height and Reach:
-
High-Arc Taps: High-arc spouts offer more space for large pots, deep bowls, and easy filling of tall containers. A high-arc tap is often chosen for modern kitchens with larger sinks.
-
Low-Arc Taps: These taps have a more compact design, making them suitable for smaller sinks or kitchens with limited space.
-
Spout Reach: A longer spout reach makes it easier to direct water into large pots or across double sinks. Ensure that the tap reach is suitable for your sink configuration.
-
Mounting Type:
-
Deck-Mounted Taps: Most UK kitchen sinks are designed for deck-mounted taps where the faucet is installed on the sink or countertop. Be sure to check the number of mounting holes in your sink to ensure compatibility.
-
Wall-Mounted Taps: Wall-mounted taps, often seen in modern or industrial designs, offer a minimalist and clean look but require more complex plumbing installation.
3. Material and Durability
-
Material:
-
Stainless Steel is the most popular choice for kitchen taps in the UK. It’s highly resistant to rust and tarnishing, is easy to clean, and is durable for long-term use.
-
Brass is often used in high-quality taps due to its strength, although it may tarnish over time and require polishing to maintain its appearance.
-
Plastic: While more affordable, plastic taps are generally not as durable or stylish as metal ones. They may be suitable for temporary or budget installations but may need replacing sooner.
-
Finish Durability:
-
Some finishes come with PVD (Physical Vapour Deposition) coatings that are more resistant to scratches, tarnishing, and corrosion. These finishes tend to have a longer lifespan and are easier to maintain than traditional coatings.
4. Compatibility
-
Sink Configuration:
-
Single-Hole Sink: Many modern kitchen taps in the UK are designed for single-hole installations, where the tap and any other elements (like a sprayer) are integrated into one unit.
-
Multi-Hole Sink: If your sink has multiple pre-drilled holes for separate faucet and accessories, make sure the tap you choose is compatible with the number of holes in your sink. You may need to purchase an additional cover plate if the tap has fewer holes than your sink.
-
Water Connections:
-
Ensure the tap is compatible with your home’s plumbing. Most UK homes use standard 15mm plumbing connections, but it’s always good practice to check the inlet size of the tap and compare it to your existing pipework.
5. Water Efficiency
-
Eco-Friendly Features:
-
Look for taps with aerators that mix air with water, reducing the overall flow while maintaining a strong water stream.
-
WaterSense Certified Taps: In the UK, look for taps with water-saving technology like EcoFlow. These taps are designed to conserve water while providing the necessary pressure, which is especially important for eco-conscious homeowners.
6. Ease of Maintenance
-
Valve Types:
-
Ceramic Disc Valves are commonly used in modern kitchen taps. They are durable, smooth to operate, and require little maintenance over time. These valves are less prone to leaks and can last for years without requiring replacement.
-
Compression Valves are typically found in older taps. They require more frequent maintenance and can wear out over time, causing leaks and issues with water flow.
-
Cleaning and Stain Resistance:
-
Some taps come with anti-fingerprint or anti-watermark coatings to reduce the buildup of stains and grime. Choosing a tap with a durable finish can reduce the time spent on regular cleaning.
7. Budget
-
Prices for kitchen taps in the UK can vary significantly depending on material, design, and features. Basic taps can cost as little as £30-£50, while high-end models (with features like touchless operation or premium finishes) can range from £200-£500 or more. Consider your budget and how often you plan on using the tap to determine the level of investment.
Understanding WRAS-Approved Kitchen Taps
Why Choose a WRAS-Approved Kitchen Tap?
A WRAS-approved kitchen tap refers to a faucet that has been certified by the Water Regulations Advisory Scheme (WRAS) in the UK. WRAS approval ensures that the tap meets the necessary standards for safe, potable water and complies with UK water regulations.
Here’s a more detailed explanation of WRAS approval and its significance when choosing a kitchen tap:
What is WRAS Approval?
WRAS is an organisation that assesses plumbing products and systems to ensure they do not introduce any contaminants or impurities into the public water supply. For a kitchen tap to be WRAS-approved, it must meet certain regulatory standards set out by the UK’s water authorities.
Why is WRAS Approval Important?
-
Water Safety: WRAS approval ensures that the materials used in the tap (such as metal alloys, rubber seals, or plastics) do not release harmful substances into the water. This is crucial for ensuring the water that comes out of the tap is safe for drinking and cooking.
-
Legal Requirement: In the UK, it is a legal requirement to use WRAS-approved products for any plumbing installations or renovations that connect to the mains water supply. Failure to comply with these regulations can result in water contamination or potential legal penalties.
-
Preventing Backflow: WRAS approval guarantees that the tap has proper backflow prevention mechanisms in place. Backflow is when water from your sink or appliances flows back into the water supply, potentially contaminating the entire water system. WRAS-approved taps feature design elements that prevent this risk.
Features of WRAS-Approved Kitchen Taps
-
Non-Toxic Materials: WRAS-approved taps use materials that are non-toxic and safe for human consumption, preventing the leaching of harmful substances like lead or harmful chemicals into the water.
-
Backflow Prevention: WRAS approval ensures that the tap includes adequate backflow protection to prevent contamination of the water supply from waste or non-potable water sources.
-
Conformance to Regulations: A WRAS-approved tap complies with the Water Supply (Water Fittings) Regulations 1999, which aim to prevent waste, misuse, and contamination of the water supply.
-
Durability: WRAS-approved taps are tested for long-lasting performance to ensure they maintain the quality of the water over time and are not likely to deteriorate or cause leaks.
How to Identify a WRAS-Approved Kitchen Tap?
-
WRAS Marking: Look for the WRAS logo on the product packaging or the tap itself. This indicates that the product has been tested and approved.
-
Product Documentation: Manufacturers of WRAS-approved taps will provide documentation that confirms the product has passed WRAS testing. You can always ask the supplier for this information.
-
Certifications: Ensure the tap is listed on the WRAS database, which is available on the official WRAS website. It will confirm that the tap has met all the required standards.
When choosing a kitchen tap, opting for a WRAS-approved tap is essential to ensure water safety, regulatory compliance, and long-lasting performance. It is a small but important detail that can protect your home’s water supply and give you peace of mind regarding the quality of your tap water.
Conclusion: A Simple DIY Project with Big Impact
Replacing or installing a new kitchen tap is a straightforward DIY project that can significantly improve both the functionality and aesthetic of your kitchen. By following the step-by-step instructions outlined above, you can confidently remove your old tap and install a new one like a professional. Always take your time, double-check for leaks, and ensure you’ve chosen the right tap for your kitchen’s needs. With a little effort, you’ll have a kitchen tap that looks great, works flawlessly, and lasts for years to come.
FAQs About Removing and Fitting a Kitchen Tap
If you have basic plumbing knowledge and the right tools, replacing a kitchen tap is a manageable DIY project. However, if you're unsure about any steps or encounter complicated issues, it’s always a good idea to consult a professional plumber.
Before purchasing a new tap, check the number of holes in your sink to ensure compatibility. Most sinks are designed for either one, two, or three-hole taps. Measure the spacing between holes and check the specifications of your new tap to make sure it will fit.
If your new tap is leaking, it could be due to improperly tightened connections or missing plumber's tape. Double-check all connections to ensure they’re tightened correctly, and reapply plumber’s tape to the threads of the water supply lines if necessary. If the leak persists, you may need to replace washers or seals.


