How to Achieve a Professional Finish When Painting Your Radiator: A Step-by-Step Guide
Table Of Contents:
-
Introduction
→ -
Towel Radiators Valves Collection
→ -
Why Paint Your Radiator?
→ -
What You’ll Need
→ -
How to Paint a Radiator: A Step-by-Step Guide
→ -
Radiator Paint Ideas to Enhance Your Space
→ -
Additional Tips for a Professional Finish
→ -
Should I Sand My Radiator Before Painting?
→ -
How to Paint Behind a Radiator: A Step-by-Step Guide
→ -
Cost of Painting a Radiator: A Detailed Breakdown
→ -
Conclusion
→ -
FAQs: Painting Your Radiator
→
Introduction
Painting a radiator is not just a cosmetic update—it’s an excellent way to protect and prolong the life of your heating system while enhancing the overall appearance of your room. Over time, radiators can become discolored, rusty, or simply out of place with your newly updated decor. A fresh coat of paint can revitalize a tired radiator and make it blend seamlessly into your living space. If you’ve never painted a radiator before, don’t worry! With proper preparation and the right tools, you can achieve a professional-looking finish that adds both style and functionality to your heating system.
Why Paint Your Radiator?
Before diving into the process, it's important to understand why painting your radiator is a worthwhile investment. Aside from aesthetic improvement, there are several practical benefits:
-
Protects Against Rust and Corrosion: Radiators are exposed to moisture and heat regularly, making them prone to rust over time. Painting the radiator not only enhances its appearance but also creates a protective barrier that helps prevent rust and prolongs the radiator’s lifespan.
-
Protects Against Rust and Corrosion: Radiators are exposed to moisture and heat regularly, making them prone to rust over time. Painting the radiator not only enhances its appearance but also creates a protective barrier that helps prevent rust and prolongs the radiator’s lifespan.
-
Improves Heat Distribution: A smooth, well-maintained radiator allows heat to distribute more evenly throughout the room. This can make your heating system more efficient, potentially lowering energy costs.
-
Enhances Your Room’s Aesthetic: Radiators are often large, visible fixtures that can stand out in a room. By painting them in a color that matches your decor, they can blend in or become a stylish focal point, elevating the look of your space.

What You’ll Need
To achieve a smooth, durable finish when painting your radiator, you’ll need to gather the right supplies. While the list isn’t extensive, each tool plays a crucial role in the process:
-
Radiator Paint: It’s vital to choose a paint specifically designed for radiators. This paint is heat-resistant, which ensures that it won’t peel or chip when exposed to the radiator's heat. You can choose from different finishes such as gloss, satin, or matte based on your preferences and the overall look you want to achieve.
-
Brushes and Rollers: A small, angled paintbrush is perfect for the detailed work around the radiator’s crevices and corners. For larger, flatter areas, a foam roller will provide a smoother finish. Make sure the brushes and rollers are of good quality to ensure an even application.
-
Sandpaper: Fine-grit sandpaper (around 120-grit) will help remove old paint, rust, and imperfections, creating a smoother surface for the new paint to adhere to.
-
Masking Tape and Drop Cloths: Protect the walls, floors, and surrounding areas from accidental splashes by using masking tape to cover areas you don’t want to paint. Drop cloths are essential for catching any drips.
-
Cleaning Supplies: Use a mild detergent or a degreaser to clean the radiator thoroughly. A clean surface ensures better paint adhesion, helping to create a long-lasting finish.
-
Gloves and Protective Gear: It’s important to protect your hands, especially when handling chemicals like paint removers, cleaners, or primers.
How to Paint a Radiator: A Step-by-Step Guide
Step 1: Turn Off the Heating and Let the Radiator Cool
The first step is to turn off the radiator and wait for it to cool completely. If the radiator is hot, the paint will not adhere properly, and there’s a risk of burns. Allow the radiator to cool for several hours or even up to a full day, depending on its size and the room’s temperature.
Step 2: Prepare the Area
It’s essential to protect the surrounding surfaces from paint drips and splatters. Lay drop cloths on the floor beneath the radiator, and use masking tape to cover the edges of the walls and floors near the radiator. This extra preparation will save you time during the cleanup process.

Step 3: Clean the Radiator Thoroughly
Before you begin sanding or painting, the radiator must be free of any dirt, dust, grease, or old paint that could interfere with adhesion. Clean the surface with a mild detergent and warm water, then wipe it down with a cloth. For stubborn rust or grime, use a wire brush or steel wool to gently scrub the surface. A clean radiator ensures the new paint goes on smoothly and lasts longer.
Step 4: Sand the Surface
Next, use fine-grit sandpaper to lightly sand the radiator. This step is vital for removing any remaining rust, old paint, or rough spots. Sanding roughens the surface just enough to give the new paint something to grip onto, ensuring better adhesion. After sanding, wipe away any dust with a damp cloth and allow the radiator to dry completely.
Step 5: Apply a Primer (Optional)
Although some radiator paints are self-priming, it’s often a good idea to apply a coat of primer. A good primer helps create an even surface and improves the adhesion of the topcoat. Opt for a heat-resistant primer specifically designed for metal surfaces. Use a paintbrush to apply a thin, even coat of primer, and let it dry according to the manufacturer’s instructions before proceeding.
Step 6: Apply the Paint
Now comes the fun part—painting! Use a high-quality, heat-resistant radiator paint for the best results. The color and finish are entirely up to you, but be sure to choose a paint that can withstand heat without peeling or cracking.
-
Brush Application: Start by using a small, angled brush to paint the intricate parts of the radiator, such as the joints and corners. Take your time to cover every nook and cranny.
-
Roller Application: For the flatter surfaces, a foam roller works well to apply a smooth, even coat. Be sure to apply the paint in thin, even layers to avoid drips and streaks.
It’s best to apply two to three thin coats of paint rather than one thick coat. Allow each coat to dry completely before applying the next. This layering method will ensure a more durable and even finish.
Step 7: Let the Paint Dry and Cure
Once the final coat of paint is applied, let the radiator dry completely. Depending on the paint and environmental conditions, this could take several hours or up to 24 hours. For optimal results, let the paint cure for a few days before turning the radiator back on. This extra time will help ensure that the paint fully hardens, reducing the risk of smudging or peeling.
Step 8: Reassemble and Test
After the paint has fully dried and cured, remove any masking tape and drop cloths. Turn the radiator back on to test its functionality. If any areas need touch-ups, apply a little more paint and let it dry before using the radiator again.

Radiator Paint Ideas to Enhance Your Space
When it comes to radiator paint ideas, there are countless ways to incorporate style into your home while also achieving a fresh, modern look. Here are some creative options:
-
Classic White or Neutral Tones: A timeless choice, white or beige can make a radiator blend seamlessly with any decor style. These neutral colors will ensure the radiator doesn’t overpower the room but still offers a clean and polished finish. This is especially great for minimalist or Scandinavian-inspired interiors.
-
Bold, Vibrant Colors: For a statement piece, consider painting your radiator in a bold color like deep navy blue, rich red, or even mustard yellow. This can turn an otherwise utilitarian piece into a bold focal point of the room. Vibrant hues work well in eclectic, contemporary, or industrial-themed spaces.
-
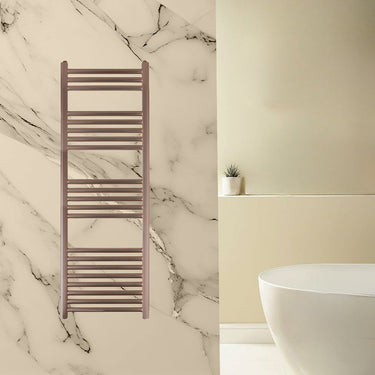
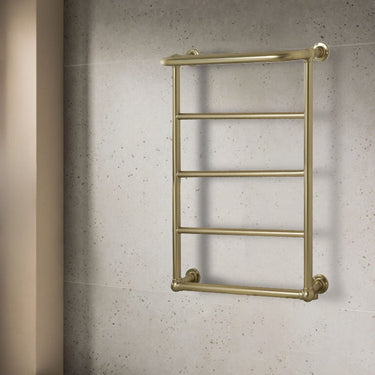
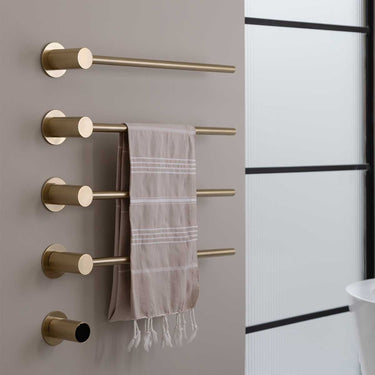
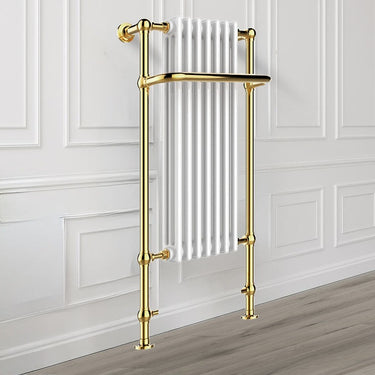
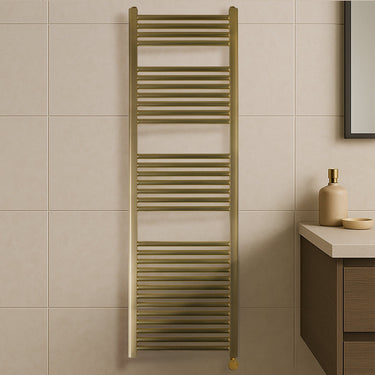
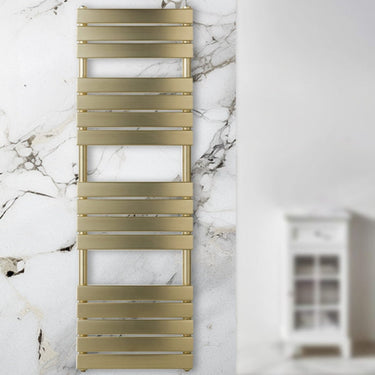
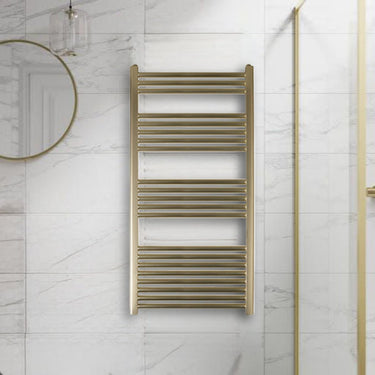
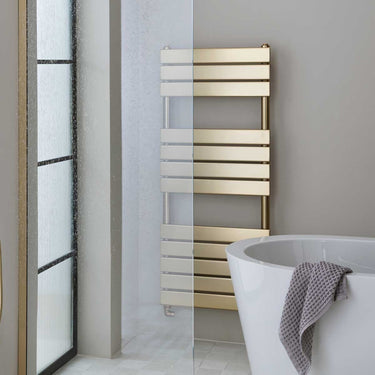
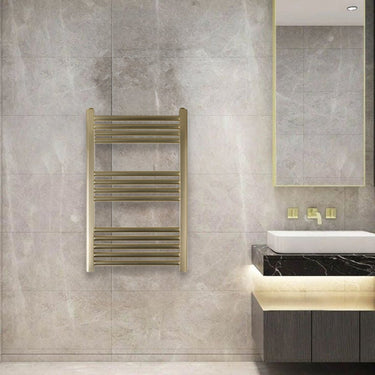
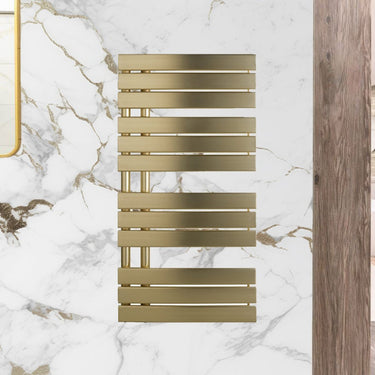
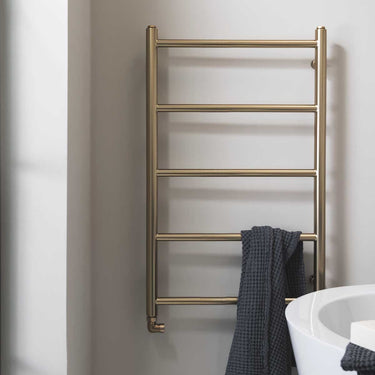
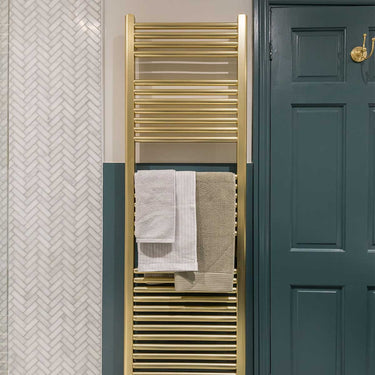
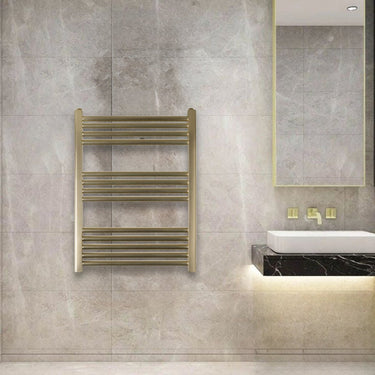
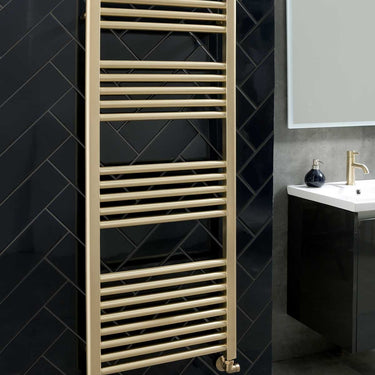
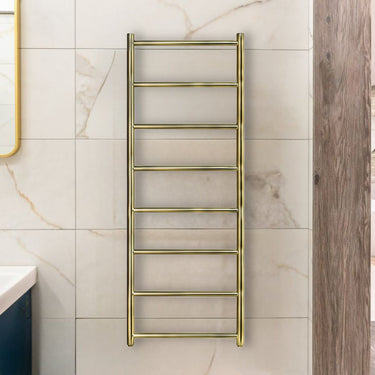
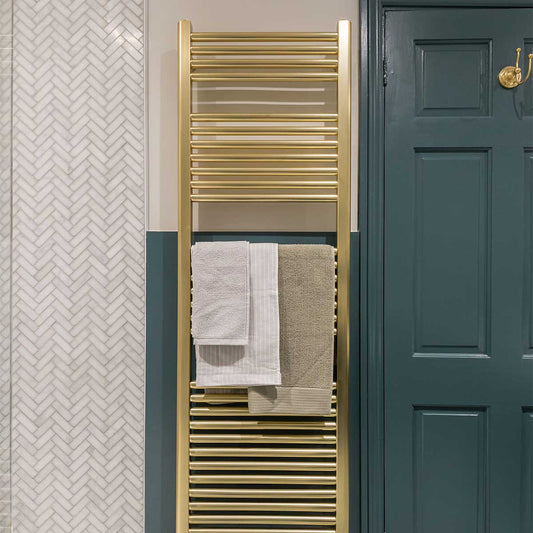
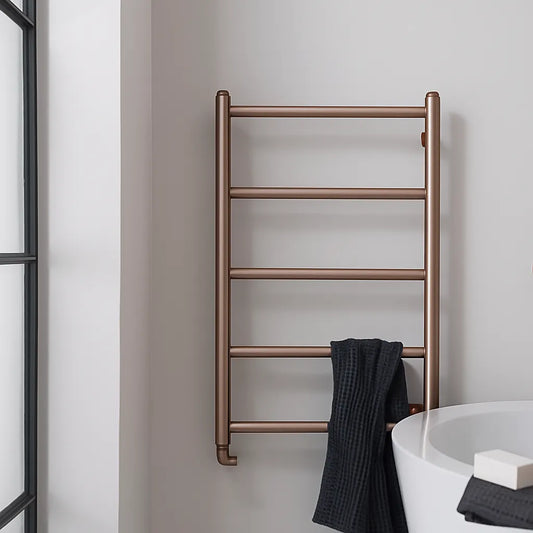
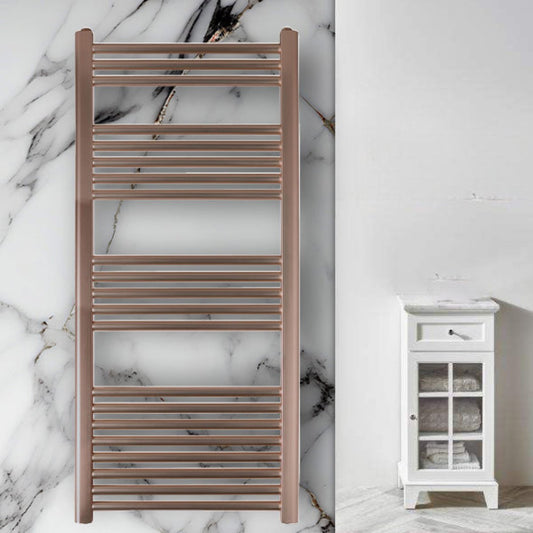
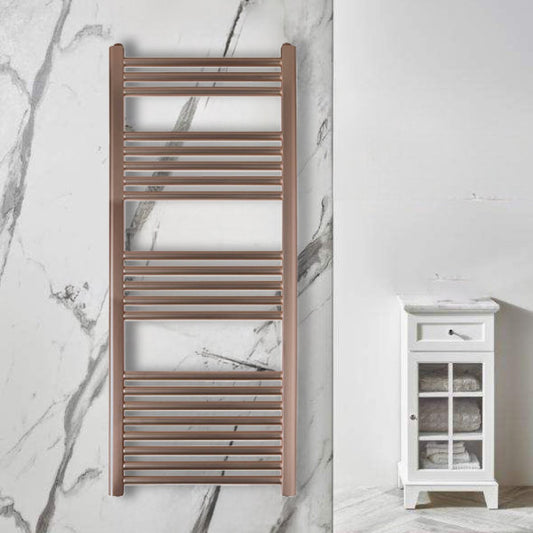
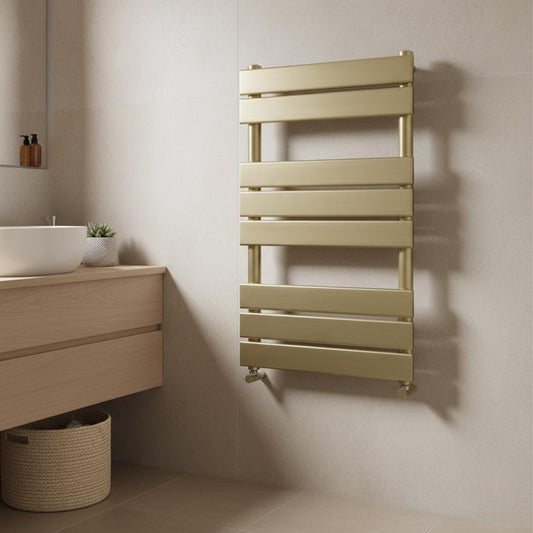
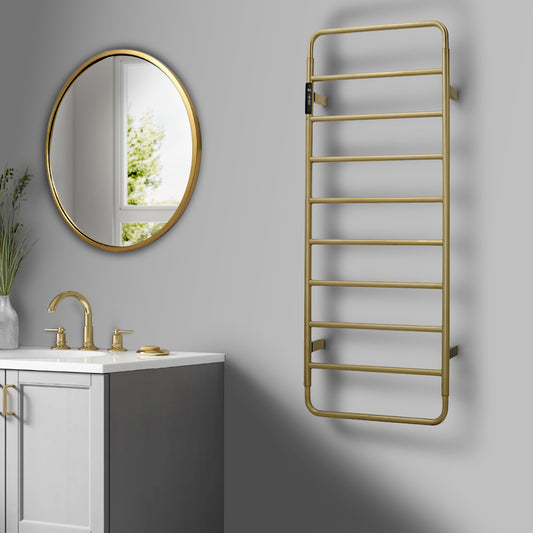
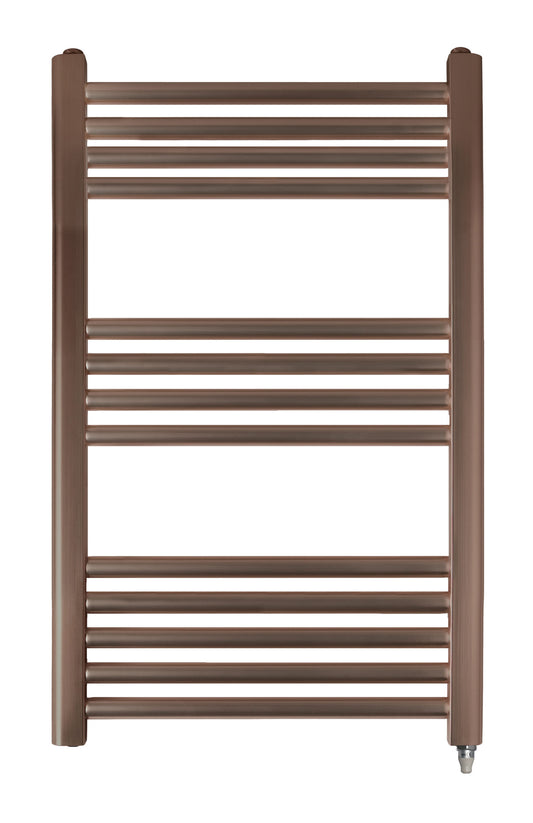
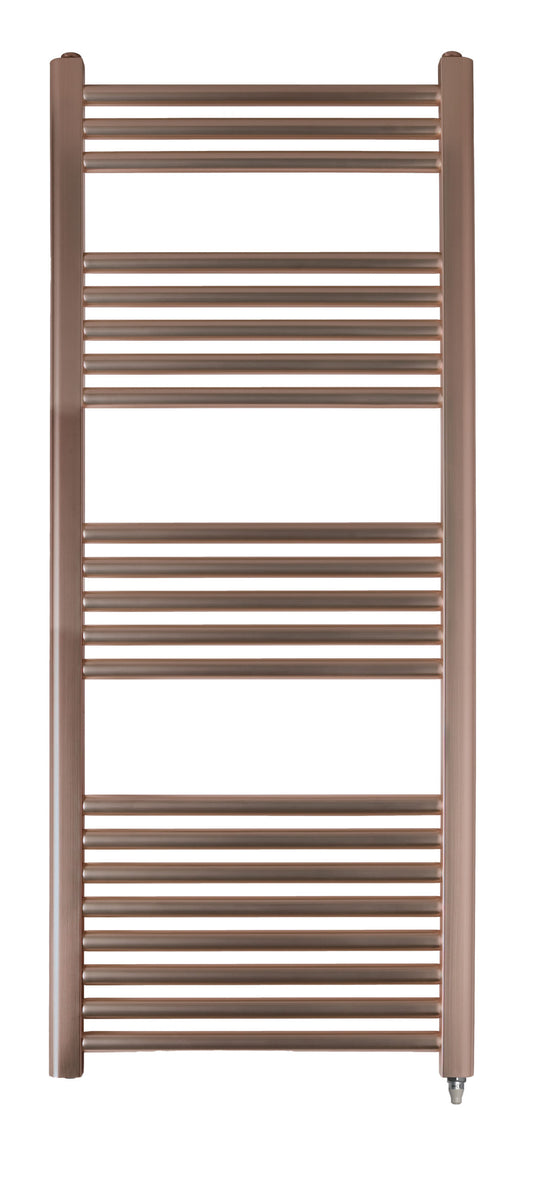
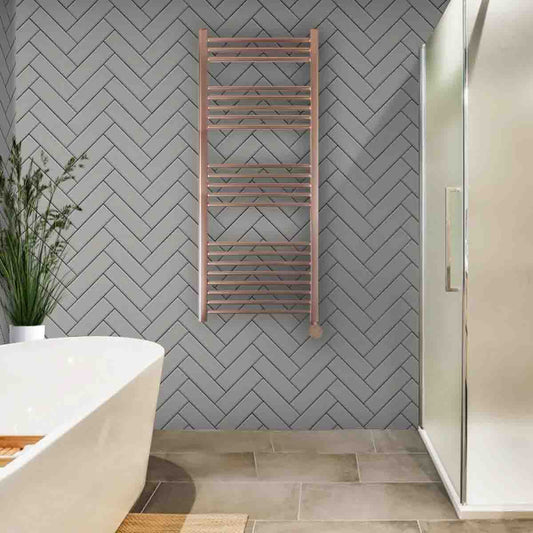
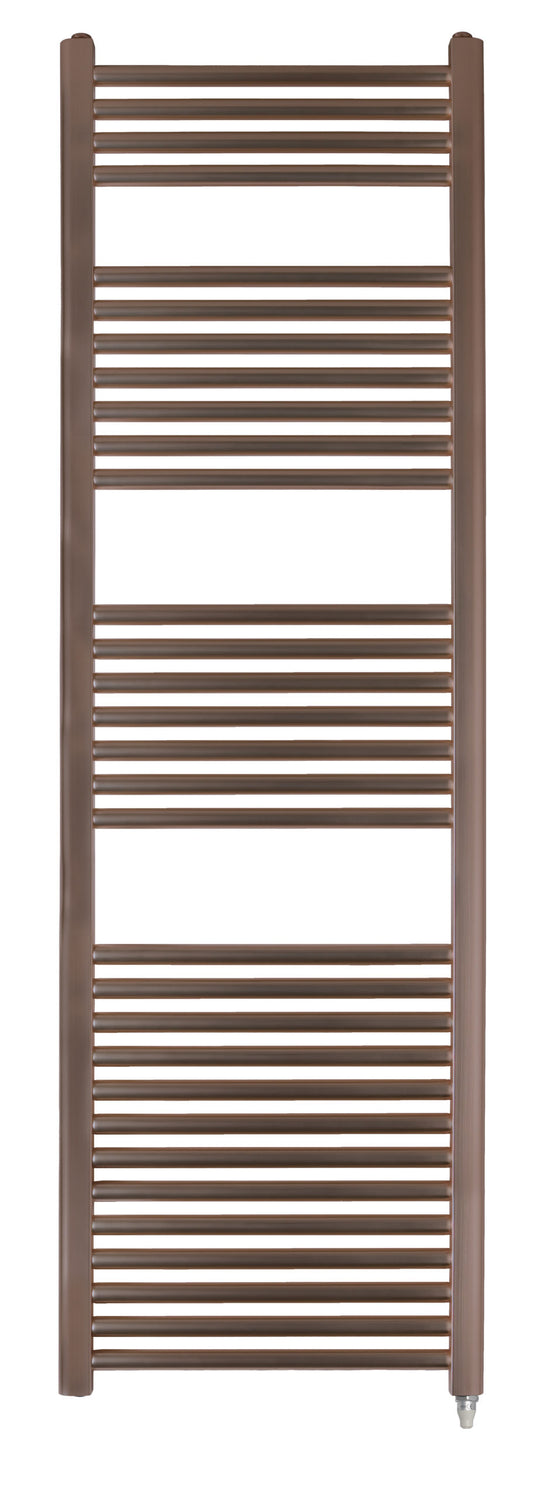
Metallic Finishes: If you want to add a touch of luxury, consider a metallic finish. Colors like gold, silver, or copper can add a sophisticated, high-end feel to your radiator while reflecting light around the room. Metallic finishes are perfect for adding an elegant touch to modern or industrial spaces.
-
Textured or Faux Finishes: If you’re feeling particularly adventurous, you can go beyond simple color by experimenting with faux finishes. A textured or hammered metal effect can give your radiator a vintage or industrial look, adding depth and character to the room.
-
Matte Black or Charcoal: Matte black radiators are very on-trend and can give a modern, sleek appearance to any room. A matte black finish can complement darker color palettes or work as a contrast to lighter walls, creating a sophisticated vibe.
-
Pastel Shades: Soft pastel hues like mint green, light blue, or blush pink are becoming increasingly popular for radiators. These subtle shades can bring a calming vibe to a room and work especially well in bedrooms or bathrooms.
-
Two-Tone or Gradient Effects: For a more artistic approach, consider using two complementary colors or creating a gradient effect on your radiator. This technique works well if you want to combine two different shades, such as using a dark color at the bottom and a lighter tone at the top, or mixing contrasting colors like navy and gold.
Additional Tips for a Professional Finish
-
Thin Layers Are Key: Avoid applying thick coats of paint, as they can result in uneven coverage and may peel or crack under heat. Thin, even layers are essential for a smooth and durable finish.
-
Ventilate the Room: Ensure proper ventilation while painting, as fumes from paint and primers can be strong and potentially harmful.
-
Be Patient: Rushing through the process might seem tempting, but patience is crucial for a quality finish. Allow each layer to dry fully before applying the next.
-
Use the Right Paint: Regular household paints aren’t suitable for radiators, as they can’t withstand the heat. Always use heat-resistant paint specifically designed for radiators to ensure long-lasting results.

Should I Sand My Radiator Before Painting?
Yes, sanding your radiator before painting is highly recommended. It’s an essential step that prepares the surface for the best possible finish and ensures that the new paint adheres properly and lasts longer. Here's an in-depth look at why sanding is important and how to go about it:
Why Sanding is Necessary Before Painting:
-
Removes Rust and Old Paint
Over time, radiators can accumulate rust, peeling paint, or chips, which not only affect their appearance but can also prevent the new paint from adhering properly. Sanding helps to remove these imperfections, ensuring the surface is clean and even, providing a stable base for fresh paint. -
Creates a Smooth Surface
If your radiator has rough patches, old paint drips, or uneven areas, sanding smooths them out. This step ensures that when you apply the new coat of paint, the surface will look uniform and polished, without any visible bumps or inconsistencies. -
Improves Paint Adhesion
Sanding roughens up the surface slightly, giving the paint something to grip onto. This is crucial for preventing peeling, flaking, or chipping in the future. Without this step, the paint may not bond properly and could wear off prematurely. -
Prepares for Primer
Sanding also prepares the radiator for primer application. A properly sanded surface will allow the primer to adhere more effectively, providing an additional layer of protection for the radiator and ensuring better results with the final paint.
How to Sand a Radiator:
-
Turn Off and Cool the Radiator
Before starting any work, ensure that the radiator is turned off and completely cool. Working with a hot radiator can be dangerous and can also affect the sanding process. -
Clean the Radiator
Use a damp cloth to wipe down the radiator and remove any dust, grease, or dirt. Cleaning before sanding ensures you don’t grind debris into the surface, which could affect the quality of the finish. -
Choose the Right Sandpaper
Opt for fine-grit sandpaper, around 120-180 grit, for sanding. Coarser sandpapers can leave marks or scratches on the radiator’s surface, which could show through the paint later. Fine-grit sandpaper will smooth the surface without damaging the underlying material. -
Light Sanding: If the radiator has only a small amount of rust or peeling paint, lightly sand over the affected areas.
-
Heavy Sanding: If there are larger patches of rust or peeling paint, you might need to sand more aggressively in those spots, but always finish with a fine-grit sandpaper to smooth everything out.
-
Use the Right Tools
For smaller radiators, you can use hand-sanding blocks, but for larger radiators or intricate areas, consider using an electric sander or oscillating tool with a sanding attachment. These tools will make the job quicker and less strenuous. -
Sand the Surface
Gently sand the radiator in a circular motion, focusing on areas with rust, peeling paint, or rough spots. Be mindful not to press too hard, as this could damage the metal or cause unevenness. If your radiator has intricate details or tight spaces, you might need to use smaller sanding tools or even steel wool for hard-to-reach areas. -
Clean Again
Once you’ve finished sanding, it’s important to clean the radiator once more to remove any dust created during the sanding process. You can use a damp cloth or a vacuum with a soft brush attachment to ensure the surface is completely dust-free before priming or painting. -
Inspect the Surface
Before applying primer, inspect the surface to ensure it’s smooth and clean. If you notice any rough patches or remaining rust, sand those areas again until you’re satisfied with the surface.
What Comes After Sanding?
Once your radiator is properly sanded and cleaned, you’re ready to move on to the next steps:
-
Prime the Radiator
After sanding, apply a metal primer specifically designed for radiators. Priming will create a barrier between the radiator’s surface and the paint, improving adhesion and longevity. -
Apply Paint
Once the primer has dried, you can start applying your radiator paint. Choose a heat-resistant paint that is specifically formulated for metal surfaces and radiators to ensure it can withstand the high temperatures. -
Allow Drying Time
Be sure to follow the manufacturer’s instructions regarding drying time for both primer and paint. Applying additional coats before the previous one has fully dried can lead to imperfections in the finish.
Sanding your radiator before painting is a crucial step that ensures your new coat of paint will adhere properly, last longer, and look smooth and polished. By removing rust, smoothing out rough patches, and preparing the surface for primer, you’re giving your radiator the best chance for a long-lasting, professional-looking finish. Although it requires a little effort, the end result will be well worth it!
How to Paint Behind a Radiator: A Step-by-Step Guide
Painting behind a radiator can be tricky, but with the right tools and techniques, you can achieve a clean, professional finish. Here’s a step-by-step guide on how to paint behind your radiator effectively.
What You’ll Need:
-
Radiator paint (heat-resistant, suitable for metal)
-
Primer (optional but recommended)
-
Paintbrush (a long-handled or angled brush for precision)
-
Roller (optional for larger areas)
-
Painter’s tape (for protecting surrounding surfaces)
-
Drop cloth or plastic sheeting (to protect the floor)
-
Small cleaning brush or duster (to remove dust)
-
Screwdriver or wrench (to remove the radiator, if possible)
-
Wooden or metal stick (to reach behind the radiator)
Step 1: Turn Off the Heating
Ensure the radiator is off and completely cool before starting. If possible, let it cool for a few hours to avoid working with a hot surface.
Step 2: Clean the Area
Dust and dirt can accumulate behind the radiator, so start by cleaning the wall and radiator. Use a small cleaning brush or duster to remove cobwebs or dust. Wipe down the radiator and the wall with a damp cloth, and allow them to dry completely.
Step 3: Protect Surrounding Areas
Cover the floor and nearby surfaces with a drop cloth or plastic sheeting to catch any spills or splashes. Use painter’s tape to mask off any areas you don’t want to paint, such as the edges of the radiator or the surrounding walls.
Step 4: Remove the Radiator (Optional)
If the radiator is easy to detach and you want to give it a more thorough coat of paint, consider removing it from the wall. This step will give you complete access to the wall behind it. Use a screwdriver or wrench to carefully unscrew and lift the radiator off the wall (make sure to follow safety precautions for draining water if it's a water radiator).
If you don’t want to remove the radiator, proceed with painting around and behind it as best you can.
Step 5: Use a Long-Handled Brush or Stick
If you can’t remove the radiator, use a long-handled brush, an angled paintbrush, or a stick with a rag wrapped around it to reach behind the radiator. Dip the brush or stick in your radiator paint (and primer, if using) and gently apply it behind the radiator, making sure to cover the entire surface.
Step 6: Use a Roller for Larger Areas
For larger wall sections behind the radiator, use a small roller with a long handle to quickly apply paint. Roll carefully to avoid splashing the surrounding surfaces.
Step 7: Paint the Radiator (If Removing)
If you’ve removed the radiator, now is the time to paint it. Start by applying a coat of primer, allowing it to dry completely. Then, apply a thin coat of heat-resistant radiator paint, ensuring that you cover all the exposed surfaces. Let it dry fully before applying additional coats if needed.
Step 8: Touch Up Areas
Once the paint is dry, inspect for any missed spots or streaks. Touch them up with a small brush and allow the paint to dry completely.
Step 9: Reattach the Radiator (If Removed)
If you removed the radiator, carefully reattach it to the wall once the paint has dried. Make sure all screws and fittings are secure before turning the heating back on.
Step 10: Clean Up
Once the paint has dried, carefully remove the painter’s tape and clean up the area. Dispose of any drop cloths or protective sheeting, and clean your brushes for future use.
Painting behind a radiator can seem challenging, but with the right tools and some patience, you can achieve great results. Whether you remove the radiator or work around it, taking the time to carefully paint behind it will help refresh the entire room, giving your space a clean, polished look.

Cost of Painting a Radiator: A Detailed Breakdown
The cost of painting a radiator can vary significantly depending on whether you're taking a DIY approach or hiring a professional, as well as the materials and the specific type of radiator. Below is an expanded breakdown of costs to help you understand what to expect.
DIY Radiator Painting Costs
If you choose to paint the radiator yourself, the main costs will come from the materials you need. Here’s a detailed look at each component:
-
Radiator Paint
Radiator paint is a specialized product designed to withstand high temperatures and prevent peeling or damage. The cost typically depends on the brand and type of paint. -
Cost: £10 - £20 per can
-
One can is usually enough to cover one to two coats on a standard-sized radiator. If you're painting multiple radiators or a large one, you may need more than one can.
-
Paint Options: There are various finishes available, such as matte, satin, or gloss. The type you choose may affect the price, but the difference is usually minimal.
-
Primer (Optional but Recommended)
Applying a primer before painting helps improve paint adhesion, especially on metal surfaces. It ensures the paint lasts longer and provides better coverage. -
Cost: £8 - £15 per can
-
Radiator-specific primers help prevent rust and provide a better base for paint to stick to.
-
If your radiator is already rusty or has areas with peeling paint, a primer is especially important to smooth the surface and protect against further damage.
-
Paintbrushes and Rollers
Depending on the size and shape of your radiator, you may need different tools. A long-handled paintbrush or angled brush is ideal for reaching between the bars of the radiator. You can also use a small roller for flat surfaces or larger areas. -
Cost: £5 - £15
-
Brushes: A good quality brush will give you more precision and a smoother finish.
-
Rollers: Small rollers are great for applying an even coat over larger, flat areas of the radiator. Be sure to choose a roller with a short nap for better control.
-
Painter’s Tape and Drop Cloths
Painter's tape is used to mask off areas that you don’t want to paint, such as the wall or floor near the radiator. Drop cloths or plastic sheeting protect the surrounding floor and surfaces from accidental paint splashes. -
Cost:
-
Painter’s tape: £2 - £5
-
Drop cloth: £5 - £10
-
These are inexpensive tools but important for keeping the job neat and preventing stains on other areas.
-
Cleaning Supplies
Cleaning your radiator before painting is crucial to remove dust, grease, or rust. You may need degreaser or other specialized cleaning products to prep the radiator properly before applying primer and paint. -
Cost: £5 - £10
-
If you don't already have cleaning products at home, a degreaser or metal cleaner will be helpful for cleaning any oil or grime off the radiator’s surface.
Total DIY Cost Estimate:
For a basic DIY job, you can expect the total cost of painting a radiator to range between £30 and £60. This estimate assumes you already have some basic supplies, like cleaning cloths or gloves. If you're painting multiple radiators or using more premium materials, your costs may rise.
If you're painting a larger or more intricate radiator, the cost of materials may increase slightly, but it still remains a cost-effective option compared to hiring a professional.
Professional Radiator Painting Costs
If you prefer to hire a professional, there are labor charges on top of the cost of materials. The price for professional painting services can vary depending on the size of the radiator, the complexity of the job, and the experience of the painter. Here's an overview of what to expect:
-
Labor Costs
Professionals charge either by the hour or per radiator, and prices vary depending on location, skill, and time involved. Typically, painting a radiator professionally involves preparing the surface, priming (if needed), and applying multiple coats of paint. -
If the radiator is large, intricate, or in a difficult-to-reach space, labor costs may be higher, ranging from £100 to £200 or more.
-
Materials Included or Additional
Some professionals include the cost of paint and materials in their quote, while others may charge separately for the supplies. -
Cost of Materials: If not included, professional painters may charge between £20 - £40 for high-quality paint and primers. This would add to the overall price of the job.
Professional Painting Service Cost Estimate:
Hiring a professional to paint a radiator typically costs £50 to £100 for a standard-sized radiator, including labor. For larger or more complex jobs, the cost can increase to £150 to £200, especially if the radiator is difficult to access or requires extensive preparation.
This option is ideal if you don't have the time, tools, or experience for the job, or if you want a quick, professional finish without the effort of doing it yourself.
Additional Considerations:
-
Size and Number of Radiators
Larger radiators or multiple radiators will naturally cost more in terms of both materials and labor. If you’re painting several radiators, it's worth asking for a bulk discount if hiring a professional. -
Condition of the Radiator
If the radiator has significant rust or damage, you may need to spend more time on prep work, which could increase both DIY and professional costs. Rust removal, sanding, and additional priming could add to your overall expenditure. -
Location
Prices may vary depending on where you live, with cities or areas with higher costs of living typically charging more for professional services. -
DIY vs Professional
Doing the job yourself is cheaper and more cost-effective, but it requires time and effort. If you're looking for a quick, professional result, hiring a specialist may be the better option.
In summary, if you opt for a DIY approach, painting a radiator can cost anywhere from £30 to £60 for materials, while professional radiator painting services generally range from £50 to £200, depending on the size and complexity of the job. Whether you go the DIY route or hire a pro, painting your radiator is an affordable way to refresh its look and enhance your room’s overall appearance.
Conclusion
Painting your radiator is a simple yet effective way to refresh both the appearance and functionality of your heating system. By following these detailed steps and using the right tools, you can achieve a professional-looking finish that enhances your room’s aesthetic and prolongs the life of your radiator. Whether you want to update the color or protect the metal from rust, this DIY project is a cost-effective and rewarding way to breathe new life into an old radiator. With the proper preparation, patience, and attention to detail, you’ll enjoy a beautifully painted radiator that not only looks great but works efficiently as well.
FAQs: Painting Your Radiator
No, regular paint is not designed to withstand high temperatures. Always use heat-resistant radiator paint to ensure durability and prevent peeling or cracking due to heat exposure.
You should wait at least 24 hours for the paint to dry completely. For the best results, let the paint cure for a few days before turning the radiator back on to avoid damaging the finish.
It’s best to apply two to three thin coats of paint, allowing each layer to dry completely before applying the next. This ensures a more durable, smooth, and even finish.
Yes, you can paint the radiator while it's still attached to the wall. Just be sure to protect the surrounding area with drop cloths and masking tape to avoid accidental splashes or drips.
To avoid drips, apply thin, even coats of paint. Use a small, angled brush for detailed areas and a foam roller for larger flat surfaces. Allow each coat to dry fully before adding another.


