Mastering the Installation: How to Fit a Wall Mounted Bathroom Tap
Table Of Contents:
-
Introduction
→ -
Monobloc Basin Mixer Taps Collection
→ -
Preparation: Choosing Your Wall Mounted Tap
→ -
Tools and Materials Needed
→ -
Step-by-Step Installation Guide
→ -
Maintenance Tips
→ -
Conclusion
→
Introduction
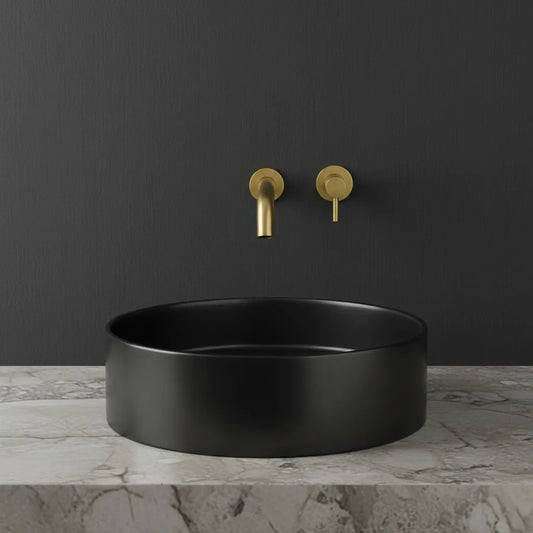
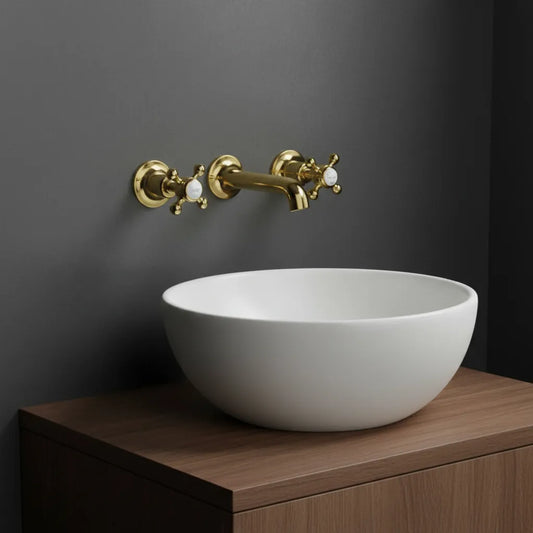
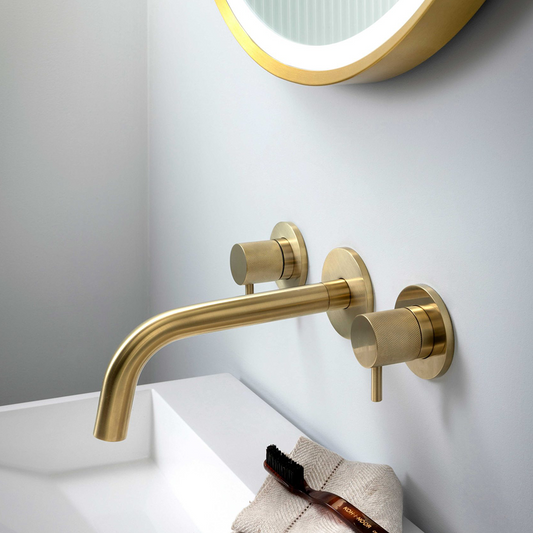
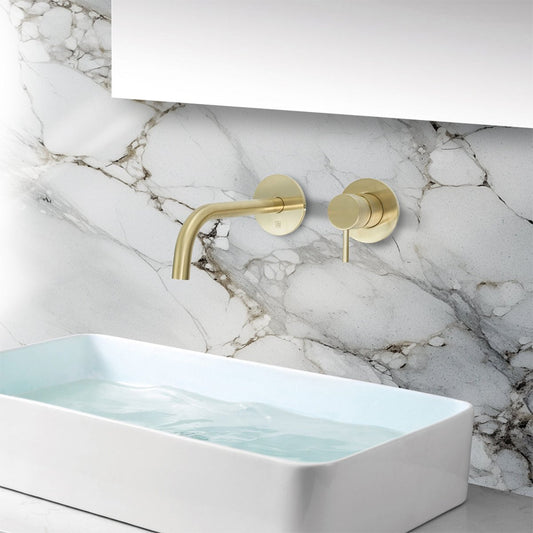
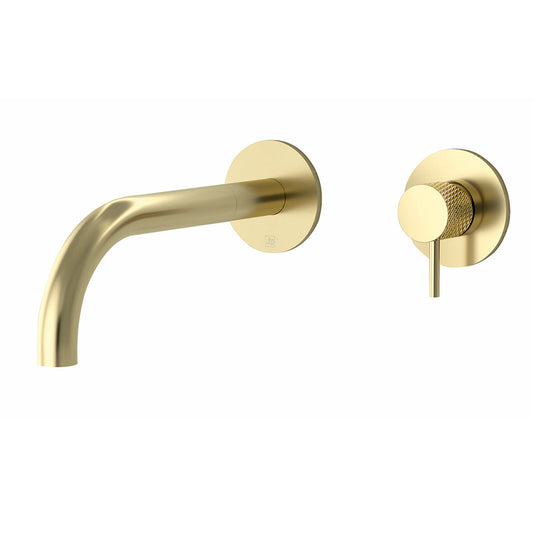
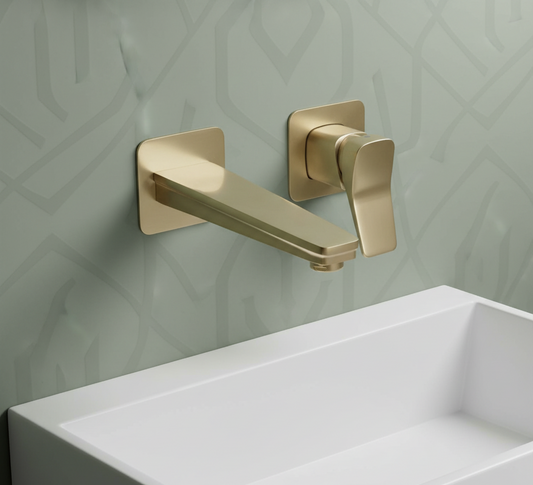
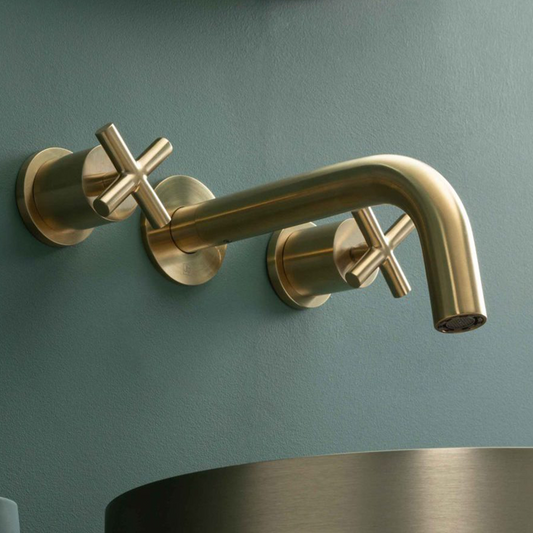
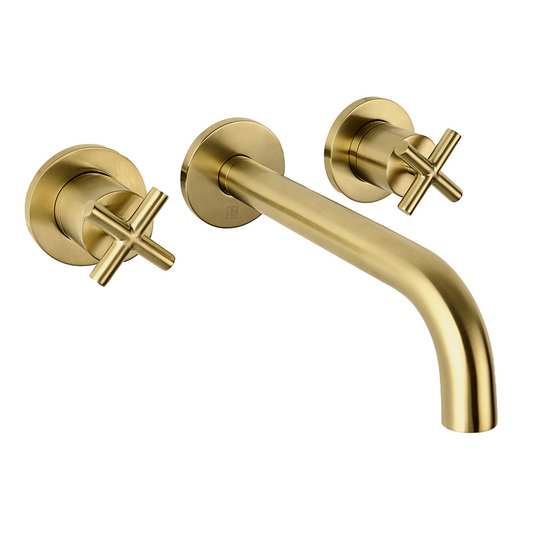
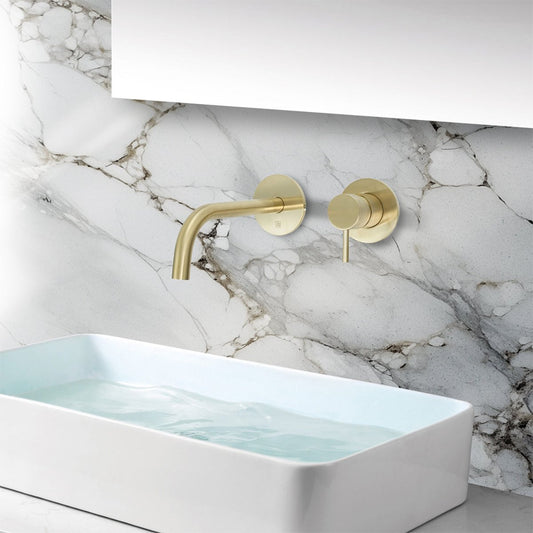
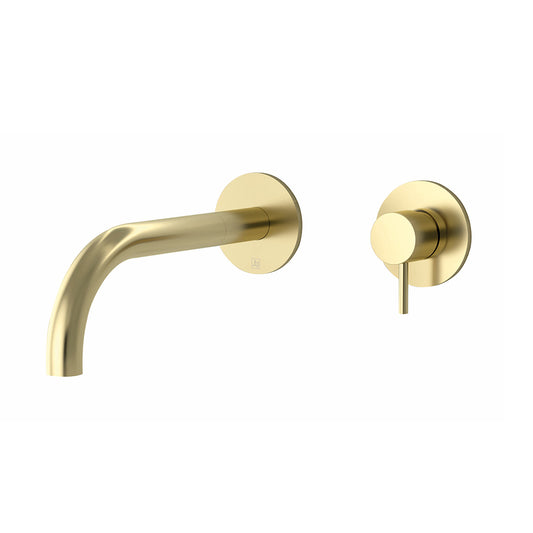
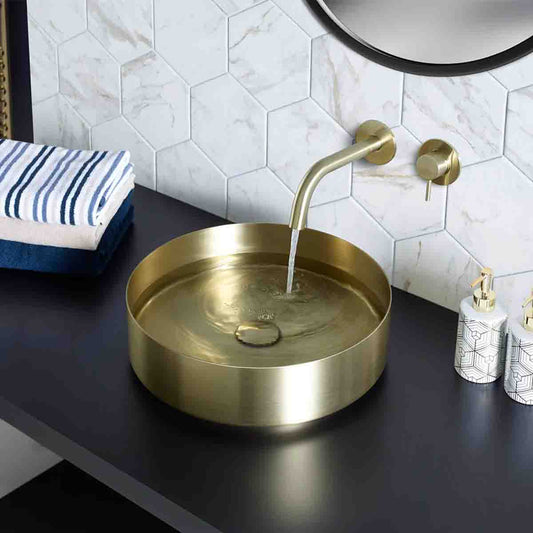
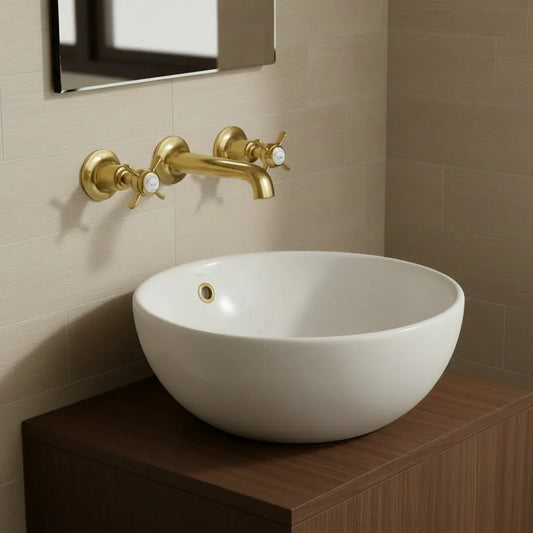
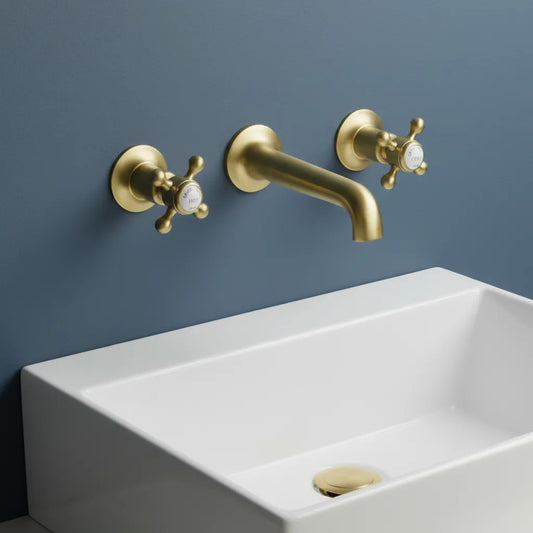
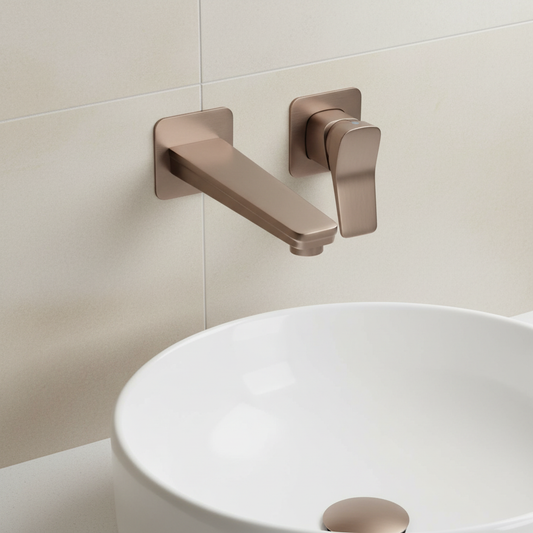
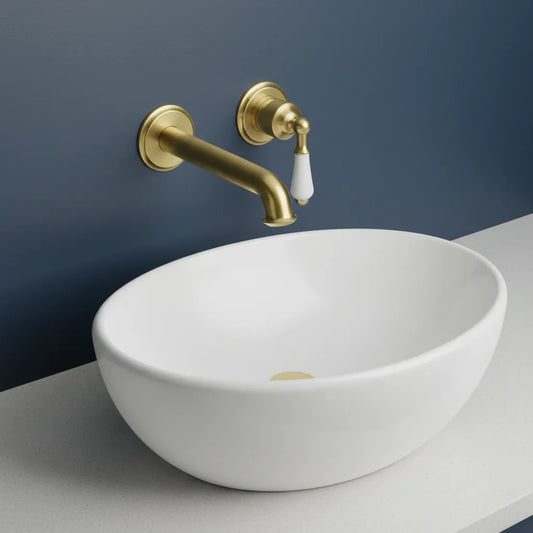
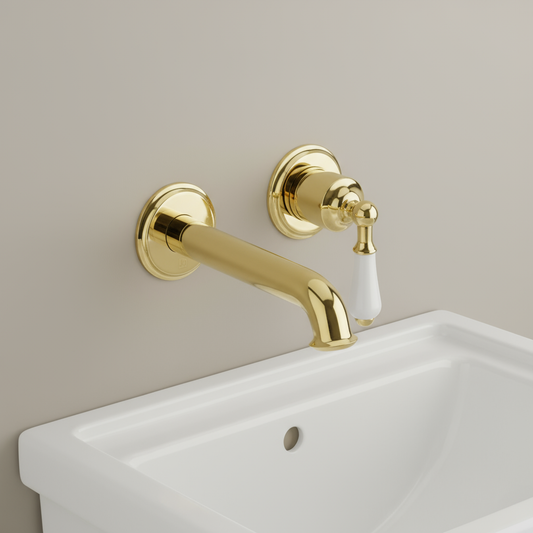
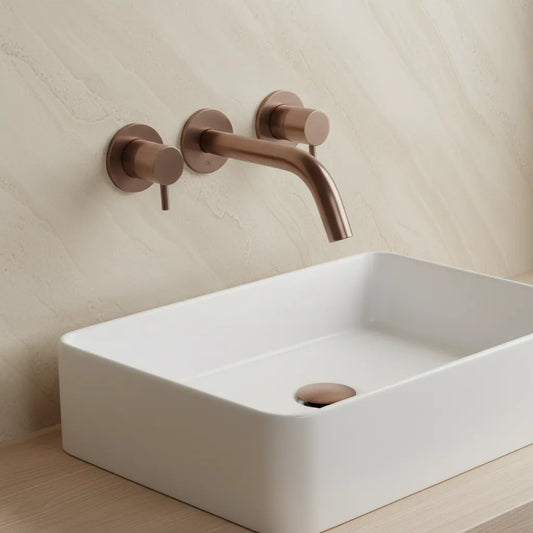
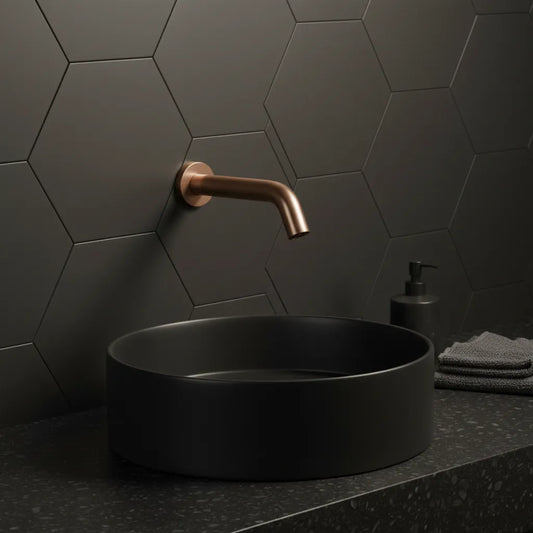
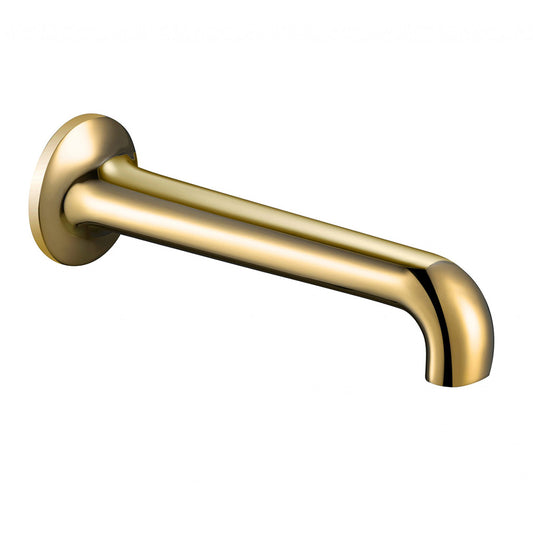
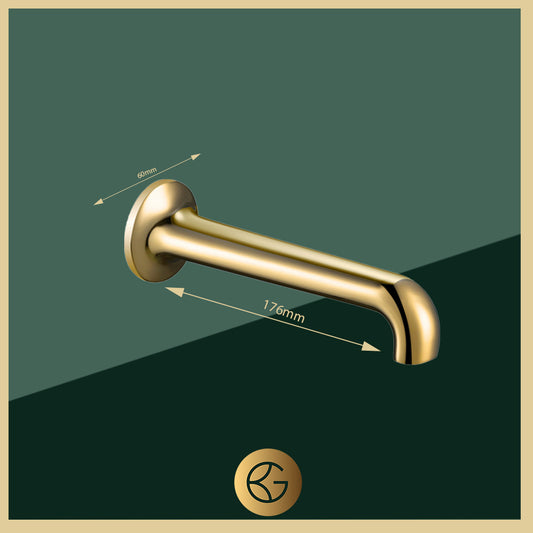
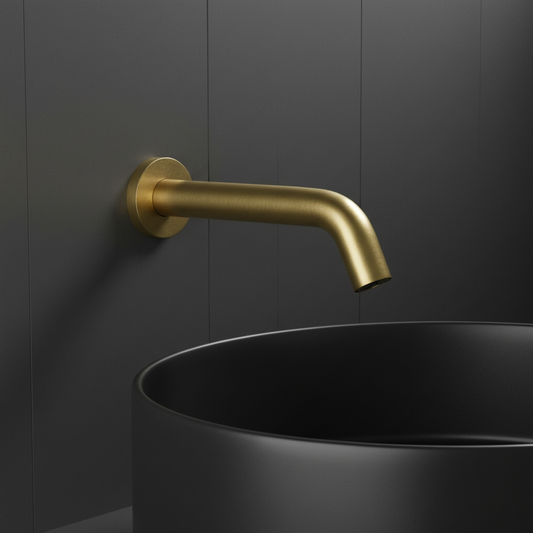
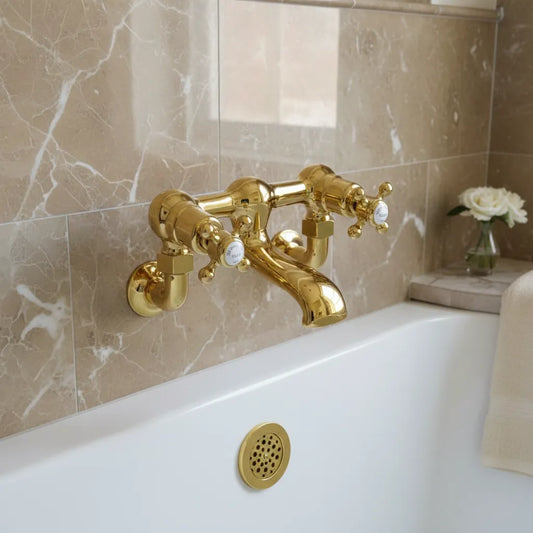
Elevating the elegance and sophistication of any bathroom, wall mounted bathroom taps offer a sleek, contemporary look while saving precious counter space. Perfect for minimalist designs or smaller bathrooms, these taps bring both style and functionality to the forefront.
In this comprehensive guide, we’ll walk you through the steps to correctly fit a wall mounted tap, ensuring a flawless finish that complements your bathroom's aesthetic. Dive into our curated selection at Gold Bathroom UK to find your perfect tap.
Preparation: Choosing Your Wall Mounted Tap

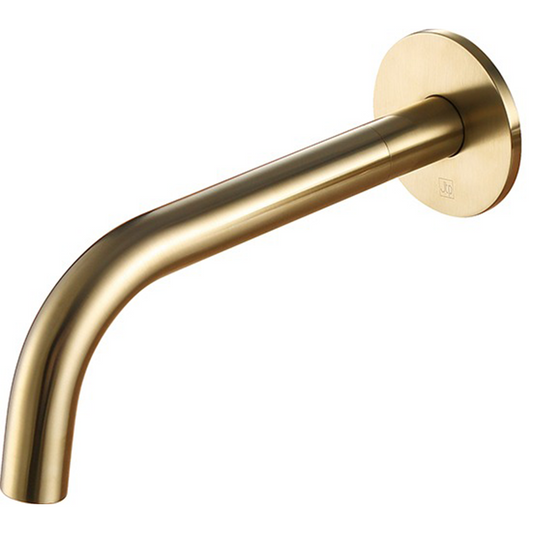
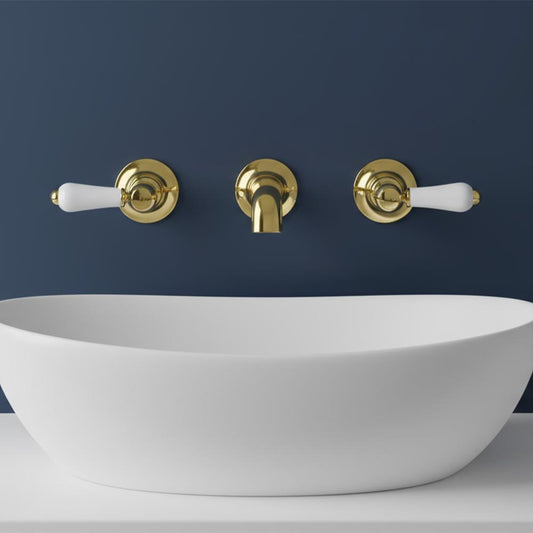
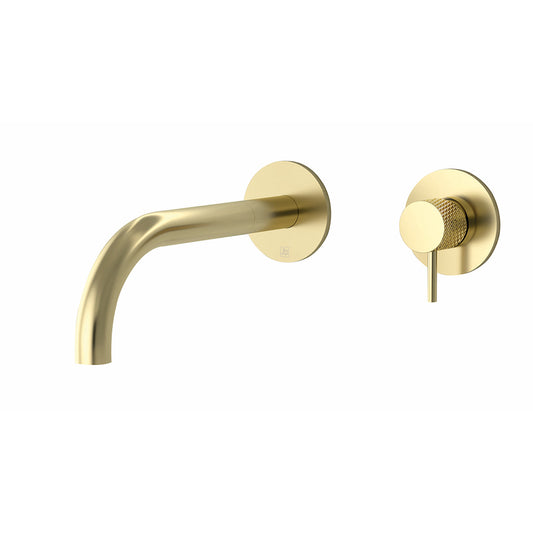
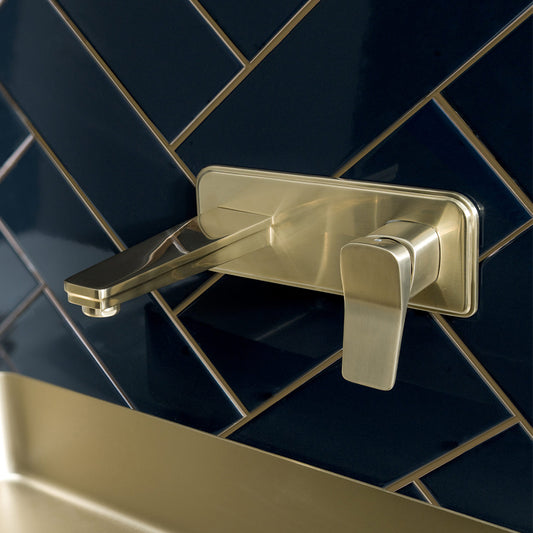
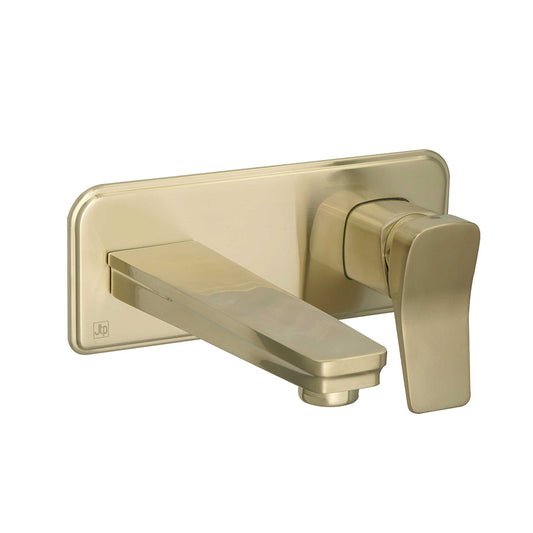
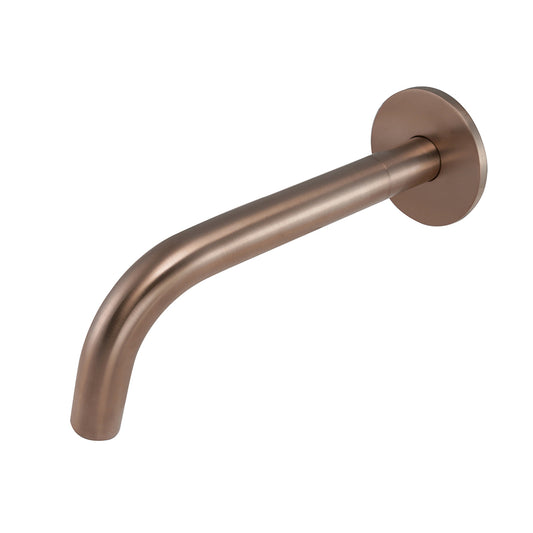
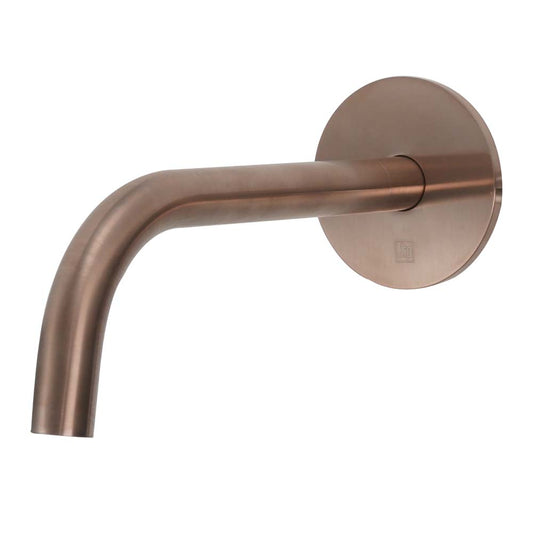
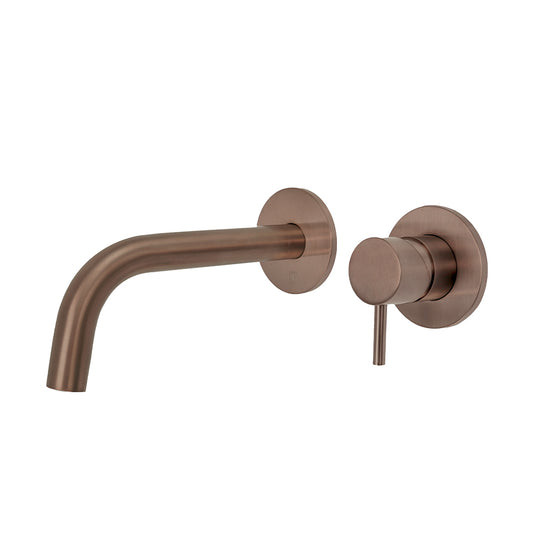
Before embarking on the installation process, selecting the right wall mounted tap is crucial. Consider the design, finish, and water flow rate to ensure it meets your bathroom’s functional needs and aesthetic desires. Gold Bathroom UK offers a variety of wall mounted taps that blend seamlessly with any bathroom design, from modern minimalist to classic elegance.
Tools and Materials Needed:
-
Adjustable wrench
-
Pipe cutter
-
Spirit level
-
Drill and bits (appropriate for your wall type)
-
Wall anchors and screws (if necessary)
-
Teflon tape
-
Silicone sealant
Step-by-Step Installation Guide:
 |
1. Turn Off the Water Supply:Ensure the main water supply is turned off to prevent any accidental water spillage during installation. |
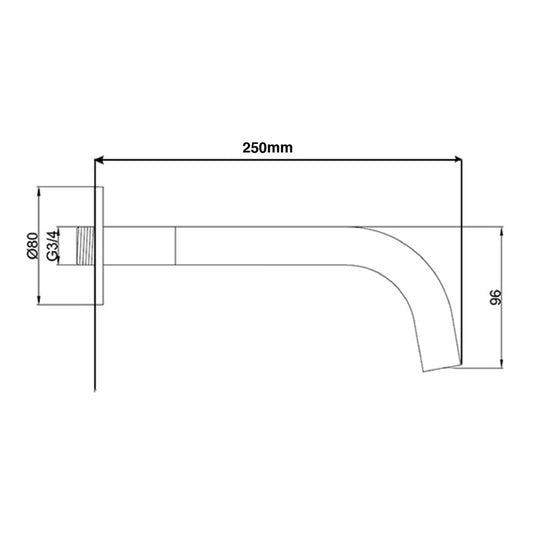
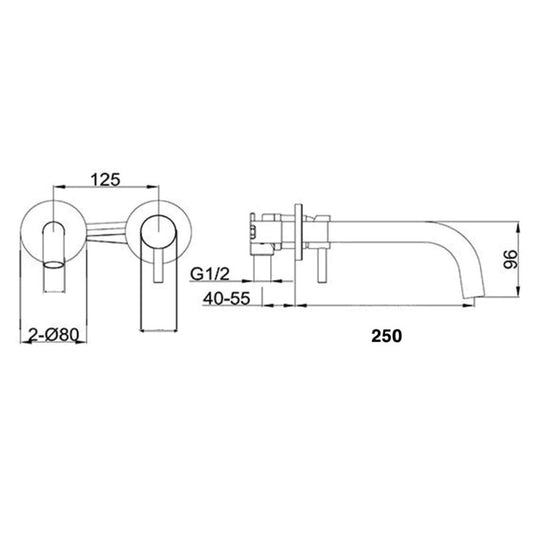
2. Mark the Installation Points:Hold the tap against the wall where you want it installed. Use a spirit level to ensure it's perfectly horizontal. Mark the wall through the mounting holes. |
 |
 |
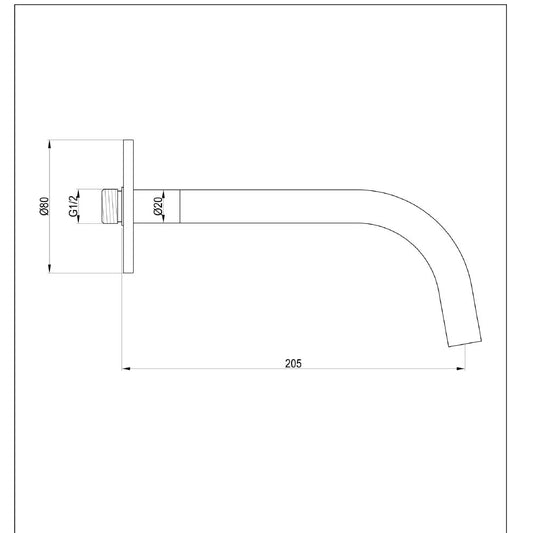
3. Prepare the Pipes:Measure and cut the water supply pipes to the correct length, ensuring they align with the tap’s inlets. Clean the cut ends. |
4. Drill and Secure the Mounting Plate:Drill holes where you’ve marked for the tap, considering any wall anchors needed for your wall type. Secure the mounting plate to the wall. |
 |
 |
5. Attach the Water Supply Lines:Wrap Teflon tape around the threads of the water supply pipes for a watertight seal. Connect the pipes to the tap, using an adjustable wrench to tighten them. |
6. Mount the Tap:With the water supply lines connected, carefully mount the tap onto the wall, aligning it with the previously installed mounting plate. Ensure it's securely fastened. |
 |
|
|
7. Seal with Silicone:Apply silicone sealant around the base of the tap where it meets the wall to prevent water from seeping behind the wall. |
8. Test Your Installation:Turn the water supply back on and check for any leaks around the connections. Adjust if necessary. |
 |
 |
9. Final Touches:Once you’ve confirmed there are no leaks and the tap operates smoothly, clean any fingerprints or smudges off the tap to give it a pristine finish. |
Maintenance Tips:

To keep your wall mounted tap looking and functioning its best, regular maintenance is key. Clean it with mild soap and a soft cloth to avoid scratching the surface. Check periodically for any signs of wear or leaks, addressing issues promptly to maintain optimal performance.
Conclusion:
Installing a wall mounted bathroom tap can dramatically enhance the look and feel of your bathroom, offering a modern touch and freeing up space. By following these detailed steps, you can ensure a successful installation, creating a focal point in your bathroom that’s both stylish and functional.
Explore Gold Bathroom UK’s exquisite range of wall mounted bathroom taps to find the perfect addition to your bathroom renovation project.


